Filling an object with an image – Apple Keynote 2 User Manual
Page 68
68
Chapter 4
Changing Object Properties
Filling an Object With an Image
You can place an image inside of a drawn shape or inside a table cell.
To fill an object with an image:
1
Select the object in which you want to place an image.
2
In the Graphic Inspector, choose Image Fill or Tinted Image Fill from the Fill pop-up
menu, and select an image.
3
To change the image, click Choose, select the image, and click Open (or drag the
image file from the Media Browser or Finder to the image well in the Graphic
Inspector).
4
Choose a scaling option from the pop-up menu.
 Scale to Fit resizes the image to fit the object’s dimensions as well as possible. If the
object’s shape is different from that of the original image, parts of the image may
not appear; blank space may also appear around the image.
 Scale to Fill makes the image appear larger or smaller, sizing it to leave no space
around the image, even if the object and image have different shapes.
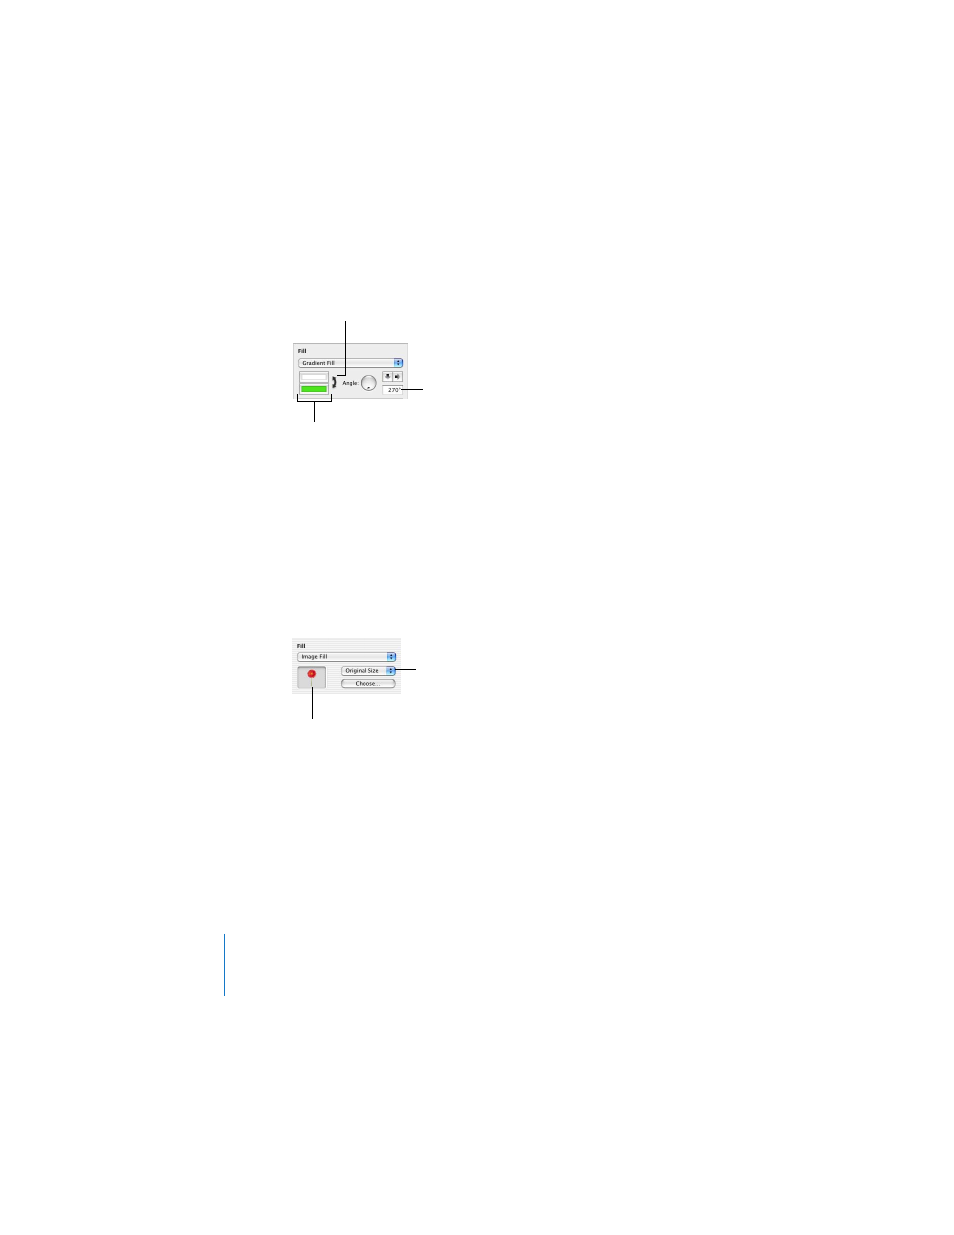
Set the direction of the
gradient with the Angle
wheel, or type in a value.
Click the double-headed
arrow to invert the gradient.
Click each color well to
make color selections.
Use the pop-up menu to
set a scaling option for the
image within the object.
To change the image,
drag a file from the Media
Browser or the Finder into
the image well.