Send test email, Aastralink web ui – Aastra Telecom AastraLink Pro 160 User Manual
Page 147
Configuring Network Settings
41-001190-02 Rev. 01, Rel. 1.2
4-37
Configuring AastraLink Pro 160 System and Network Parameters
Send Test Email
After you configure and save the SMTP settings at the location,
Configuration->Network->External Services, you can test the settings to make
sure they work correctly by clicking the
Clicking the
administrator’s email address configured at the location,
My Phone->Preferences->My Profile. An example of a received SMTP test email
is as follows:
Email sent at: 12:06:17 PM 24-04-2008
Receiving the email verifies that the SMTP settings are correct. If you do not
receive the email, go back to Configuration->Network->External Services, and
edit the values for the SMTP fields as required.
4
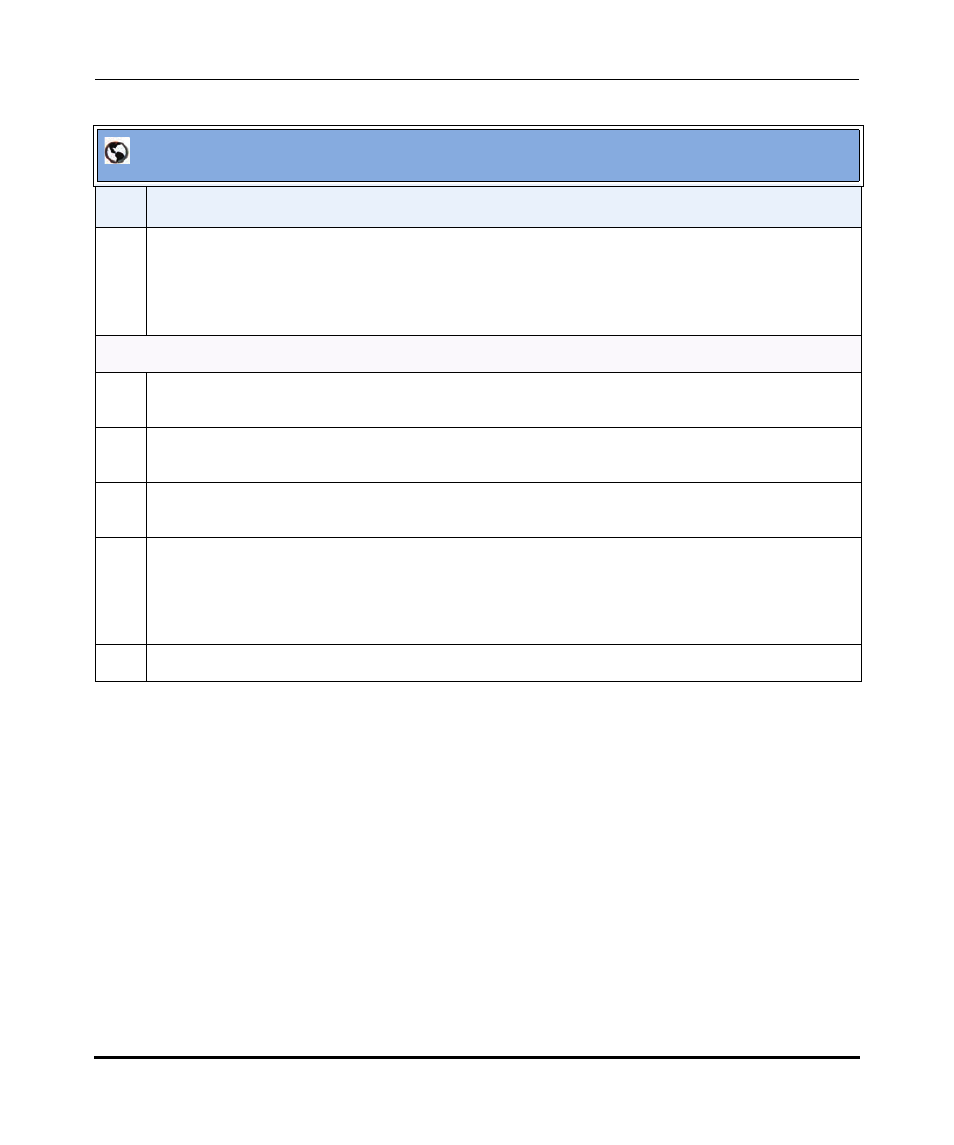
Select the SMTP relay port that handles SMTP traffic on the SMTP server, in the “SMTP Relay Port”
field. Valid values are:
•
MTA (port 25) (default)
•
MUA (port 587)
Server Authentication Requirement
5
If your network server requires authentication, enable the field “Server requires authentication” by
checking the box. Disable this feature by unchecking the box.
6
If “Server requires authentication” is enabled, enter an SMTP username in the “SMTP Username”
field. This username must appear in the SMTP message received by the server.
7
If “Server requires authentication” is enabled, enter an SMTP password in the “SMTP Password”
field. This password must appear in the SMTP message received by the server.
8
If “Server requires authentication” is enabled, enter an SMTP account in the “SMTP Account” field.
For example: [email protected]
This account must appear in the SMTP message received by the server.
9
Click
AastraLink Web UI
Step
Action