Hired-Hand Unitized Mega Cool: Square Bottom User Manual
Page 12
Part No. 4801-5396 Rev. 5-08
Unitized System - Square Reservoir
Page 12 of 63
5. Slide Bottom Section into splice and hold together for 30 seconds.
Wipe off excess glue.
6. Wait 30 minutes before rough handling.
Do not apply fluid pressure until cement is fully cured (At least 24 hours).
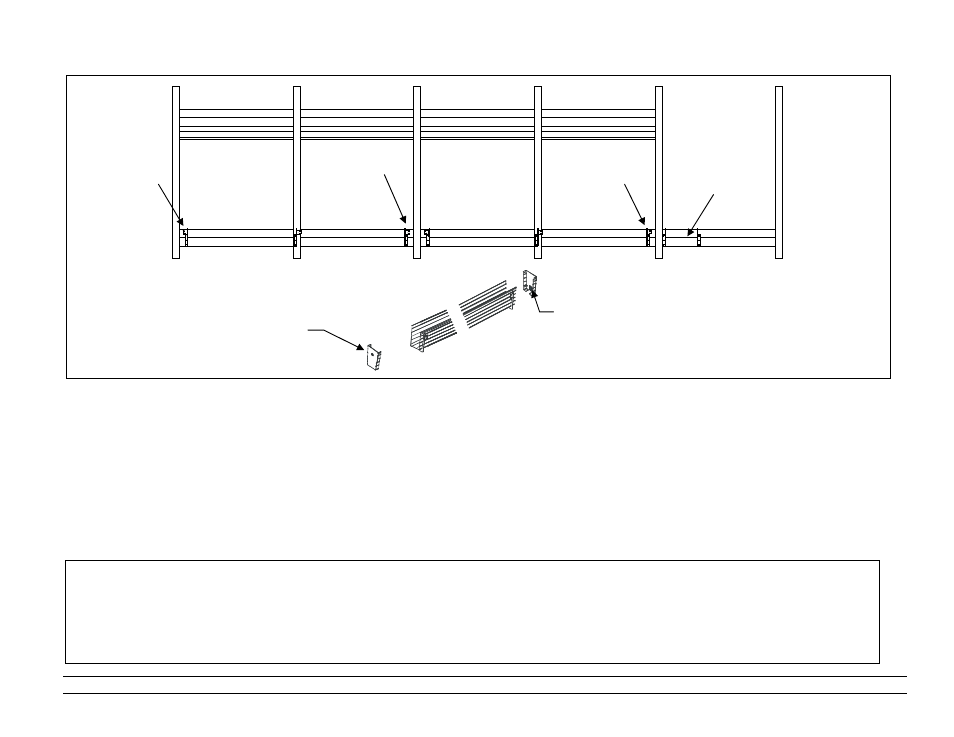
Install PVC Flat Bottom Reservoir (Without Water Tank)
1. Glue sections of Reservoir together with Weldon PVC Plastic Pipe Cement, see the Procedures below. (supplied).
2. Glue the Inlet End Cap onto the end of one reservoir section and the Outlet End Cap onto the end of another section and glue splices onto
the ends of each one of these sections.
3. Place the reservoir section with the Inlet End Cap on end where pump will be installed. (If pump will be to the far left of the system, the
Outlet End Cap will be to the far left of the reservoir. (See pages 18 and 19.)
4. Glue reservoir pieces together, starting at the center of the system and moving towards the ends.
IMPORTANT! : Avoid Splices falling where a support bracket is fitted!
5. Place the section with the Inlet End Cap on the opposite end of the system to the Outlet End Cap.
1. Clean sections and splices with PVC cleaner.
2 Apply thick coat of PVC 719 inside of splice or end cap. (Use care
when greater than 85
°F).
3. Apply liberal coating to inside and outside of bottom section.
4. Assemble parts quickly. Cement must be fluid.
Procedures for Gluing PVC Reservoir Sections
Inlet End Cap
(Float Valve Assembly)
Outlet End Cap
(Pump Assembly)
RH
L-Bracket
Water
Tank
Splice
Support
LH
L-Bracket