Default annotation buttons – Extron Electronics Annotator User Guide User Manual
Page 40
Default Annotation Buttons
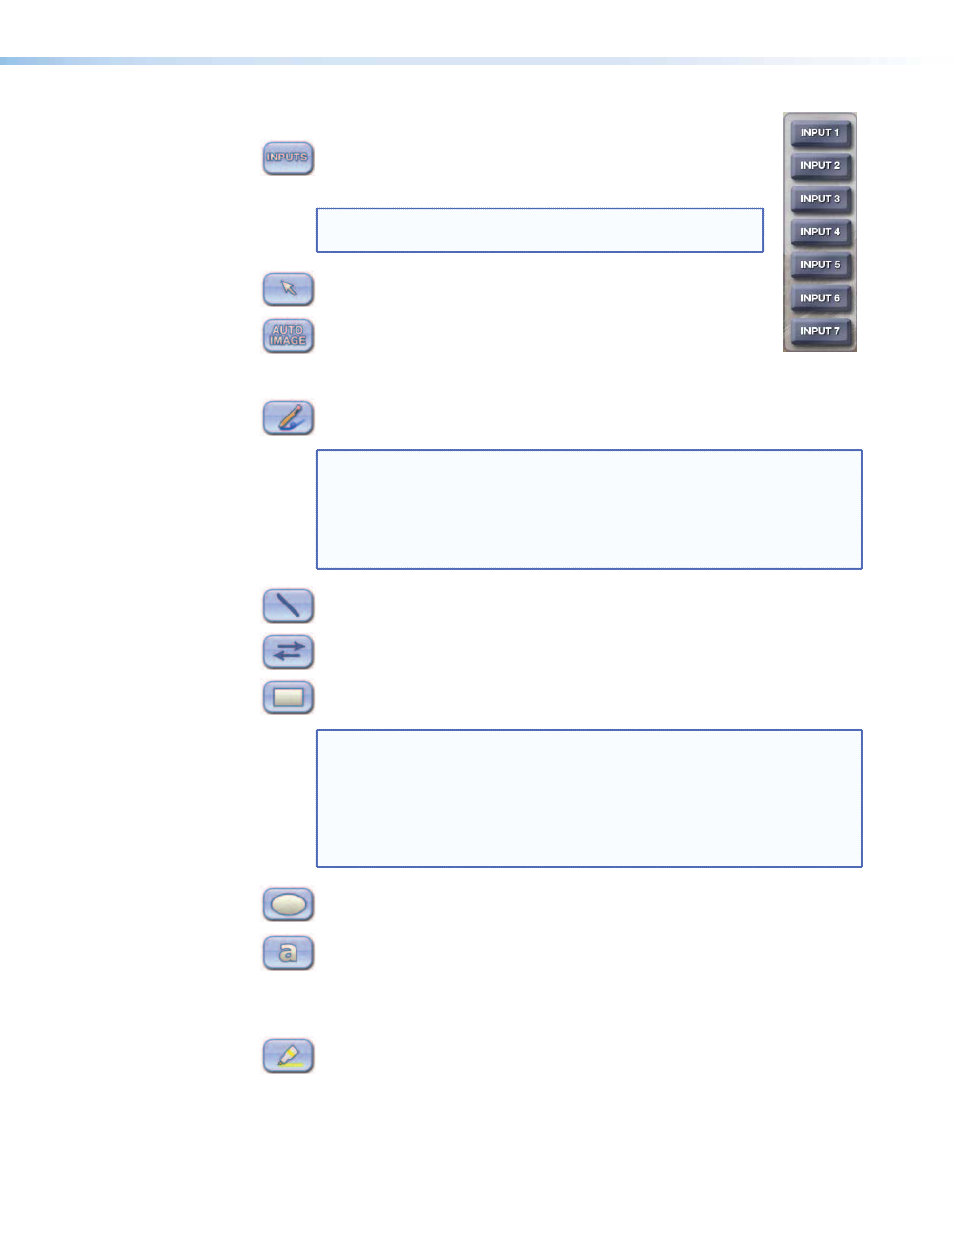
Input selection — Selecting this button opens a pop-up palette
displaying the Annotator’s six inputs. Selecting any input button
switches the display to that input.
NOTE: A seventh input button (shown at right) is also
displayed if an optional HD-SDI input board is installed.
Pointer — Selecting this button changes the cursor to an
extra-large arrow of the currently selected color.
Auto-Image — On selection of this button, the unit performs an
auto image (automatic sizing, centering, and filtering to optimize
the output image on the currently selected input). A secondary button
appears to the left of the Auto Image button to confirm the action is desired.
Freehand — Selecting this button allows the user to draw freely on the
display screen.
NOTE: For Freehand, Line, Arrow, and Highlighter functions, the start point is
where the screen is touched (by finger or stylus), or where the cursor
starts when holding down the primary mouse button. The finish point
is where the stylus or finger is lifted from the screen, or at the point
where the mouse button is released.
For all drawn annotations, line color and weight are adjustable.
Line — Selecting this button allows the user to create a straight line
between two points.
Arrow — Selecting this button allows the user to create a straight line
between two points with an arrow at the end point.
Rectangle — Selecting this button allows the user to create a rectangle
with edges parallel to the raster.
NOTE: For Rectangle and Ellipse functions, the primary corner is where the
screen is first touched (by finger or stylus), or where the cursor starts
when holding down the primary mouse button. The opposite corner
is where the stylus or finger is lifted from the screen, or at the point
where the mouse button is released.
Unless the fill option is also selected, only the rectangle or ellipse
outline is drawn.
Ellipse — Selecting this button allows the user to create an ellipse
between the primary and the opposite corners of a non-drawn rectangle.
Text — Selecting this button allows the user to create on-screen text with
a keyboard connected to the rear USB or PS/2 port. Text insertion
begins either at the mouse operated cursor point, or where the screen is
touched. If no insertion point is defined, then text is inserted at the
previous active function’s end point.
Highlighter — Selecting this button allows the user to highlight the video
information, not the annotation.
Annotator • On Screen Annotation
34