Editing a calendar reference in a schedule, Deleting on and off times in a schedule, Deleting calendar references in a schedule – GE Industrial Solutions A Series Lighting Control Panelboards Programmer User Guide User Manual
Page 14: A series
A Series
®
Lighting Controller Programmer
Chapter 5 – Schedules Menu
10
2.
Press the
Fn
key to use the Set Schedule function.
On/Off times are not accepted into the schedule
unless they are modified. To keep a displayed time
the same, adjust it using the arrow keys up one
minute, back down one minute, and then press 3 to
accept the change.
3.
Use the arrow keys to scroll to the time blocks for that
day.
4.
Press the 3 key to edit a time block.
5.
Hold down the
OK
key while pressing the up arrow
key to adjust the hour of the On time.
6.
Use only the arrow keys to adjust the minutes.
7.
Press 3 to accept the change and then repeat the
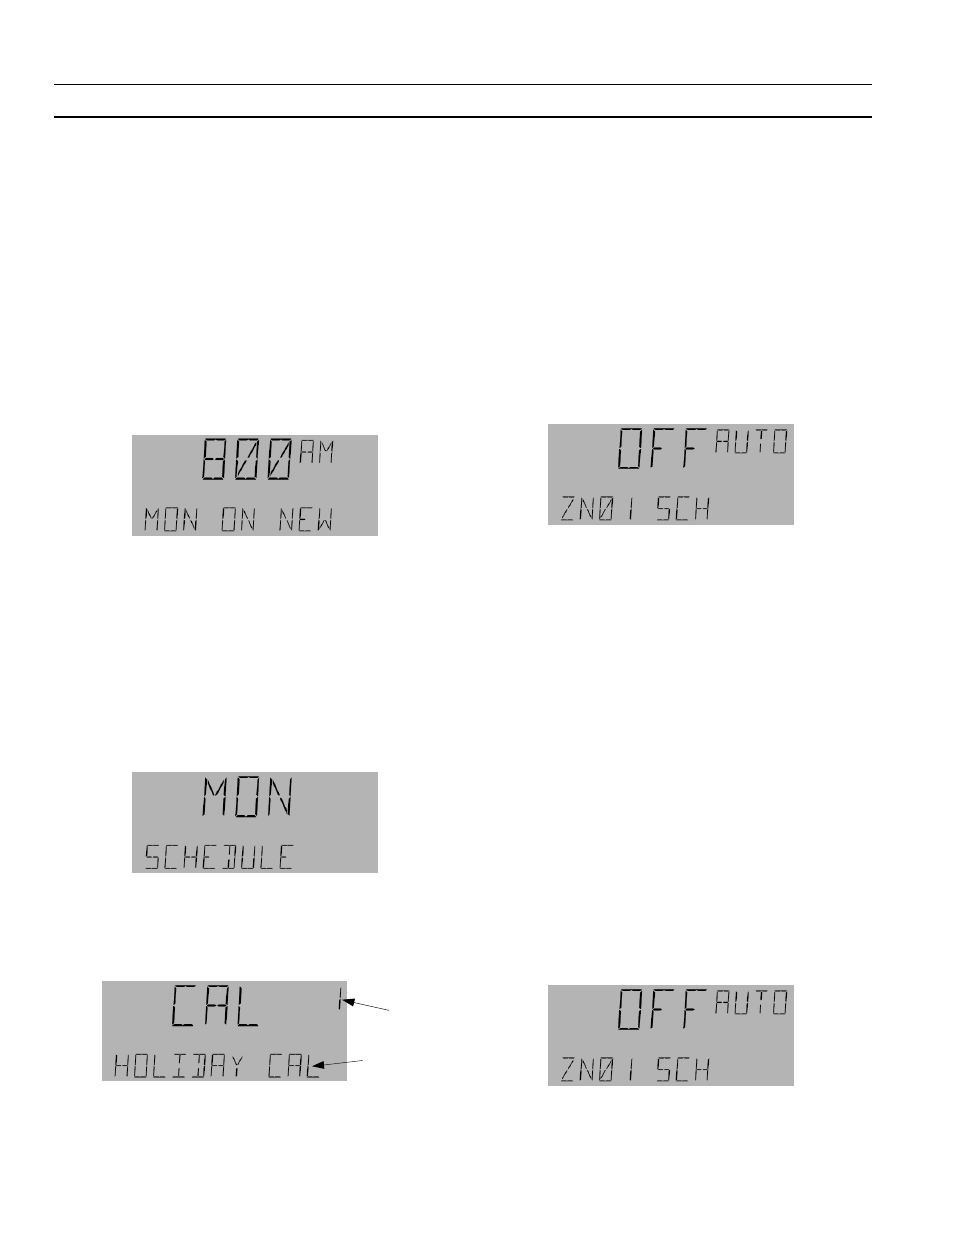
process to edit the Off time. When the Off time is
accepted, the option to enter a new On time appears:
8.
Add a New time block as explained above or press 3
to go to the next CAL/DAY. The LCD screen displays
the next day. Continue to edit times or press
ESC
twice to exit the Schedules menu.
Editing a Calendar Reference in a
Schedule
Use the following procedure to edit a calendar reference:
1.
Use the arrow keys to scroll to the desired schedule
and press
OK
. Press
Fn
to enter the schedule:
2.
Use the arrow keys to scroll though the days of the
week until the LCD screen displays the calendar
reference and press
OK
. The calendar reference
number flashes. Press
OK
again to edit the calendar
schedule.
3.
Hold down the
OK
key while pressing the up arrow
key to adjust the hour of the On time.
4.
Use only the arrow keys to adjust the minutes.
5.
Press 3 to accept the change and then repeat the
process to edit the Off time.
6.
Press 3 to accept the changes and press
ESC
twice to
exit the Schedules menu.
Deleting On and Off Times in a
Schedule
To delete time blocks in a schedule, set the On time to the
same time as the Off time for a specific day of the week.
Once these changes have been accepted, the controller
deletes that time block automatically.
1.
Navigate to the desired schedule and press the
OK
key:
2.
Press the
Fn
key and scroll with the arrow keys to the
desired day of the week.
3.
Press the 3 key to adjust that day. Keep pressing 3
until the time block to be deleted appears.
4.
Hold down the
OK
key while pressing the arrow key
to adjust the hour; release the
OK
key and use only
the arrow keys to adjust the minutes so that the On
time matches the scheduled Off time for that time
block.
5.
Press 3 to accept the changes; the LCD screen
displays the next time block, if there is any, or it
shows a new On time. Press 3 again to advance to the
next day.
6.
Continue deleting times, or press Esc twice to exit the
Schedules menu.
Deleting Calendar References in
a Schedule
A calendar reference can be deleted by setting the
reference number to 0.
1.
Navigate to the desired schedule, and press the
OK
key:
2.
Press the
Fn
key and scroll with the arrow keys to the
desired day of the week with the Cal reference on the
screen.
Calendar
Reference
Number
Calendar Name