Choosing aperture and shutter speed, Manual exposure), Manual exposure (p. 49) – OM SYSTEM OM-1 Mirrorless Camera User Manual
Page 49: Pa s m b, Shooting, 49 en, Rotate the mode dial to m, Adjust aperture and shutter speed, Take pictures
49
EN
Shooting
2
Choosing aperture and shutter speed
(
M
: Manual Exposure)
PA S
M
B
n
In this mode, you choose the aperture and shutter speed. You can adjust settings
according to your goals, for example by combining fast shutter speeds with small
apertures (high f/-numbers) for increased depth of field.
1
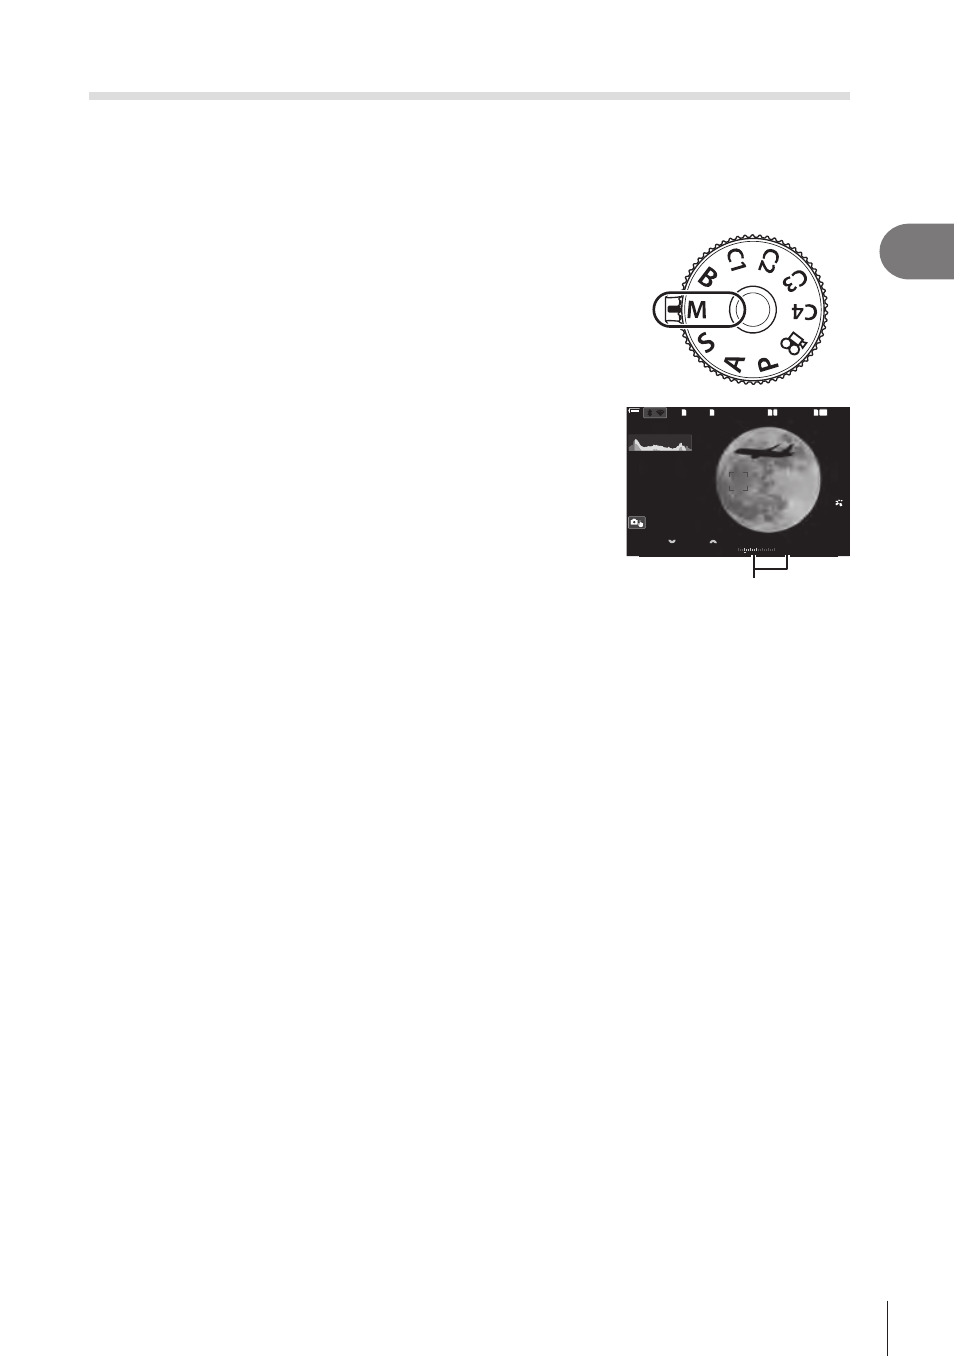
Rotate the mode dial to
M
.
2
Adjust aperture and shutter speed.
• Use the front and rear dials to adjust the following
settings.
Front dial: Aperture
Rear dial: Shutter speed
• Choose from shutter speeds of 1/8000–60 s.
• Shutter speeds as fast as 1/32000 s are available in
silent mode.
g
“Shooting without shutter sound
•
The display shows the difference between the exposure
produced by the selected aperture and shutter speed
and the optimal exposure metered by the camera. The
display will flash if the difference exceeds ±3 EV.
BKT
S-OVF
00
+
-
-2.0
-2.0
MM
1
1023
1023
1/
250
1/
F
250
5.6
5.6
1
1
[1:02:03]
[1:02:03]
FF
60p
60p L-8
L-8
S-AF
S-AF
33
L
1
4K
F
100 %
100 %
r
r
O
O
200
200
ISO
Difference from optimal
exposure
• When [Auto] is selected for [
K
ISO], ISO sensitivity will automatically be adjusted
for optimal exposure at the selected exposure settings. [
K
ISO] defaults to [Auto].
g
“Changing ISO sensitivity (ISO)” (P. 113)
3
Take pictures.
%
You can choose the functions performed by the front and rear dials.
g
%
You can use the
Fn
lever to reverse the roles of the front and rear dials. The lever
can also be assigned other roles.
g
“Customizing the Fn Lever (Fn Lever Settings)”
%
Depending on the shutter speed selected, you may notice banding in the display caused
by flicker from fluorescent or LED light sources. The camera can be configured to reduce
the effects of flicker during live view or when pictures are taken.
g
in Photographs (Anti-Flicker Shooting)” (P. 135), “Reducing Flicker Under LED Lighting
(
%
You can choose whether the display reflects the effects of exposure compensation or
maintains a constant brightness for ease of viewing.
g