2 a u to matic d at u m set ting – HEIDENHAIN TNC 426B (280 472) Touch Probe Cycles User Manual
Page 68

56
3 Touch Probe Cycles for Automatic Workpiece Inspection
3.2 A
u
to
matic D
at
u
m Set
ting
U
U
U
U
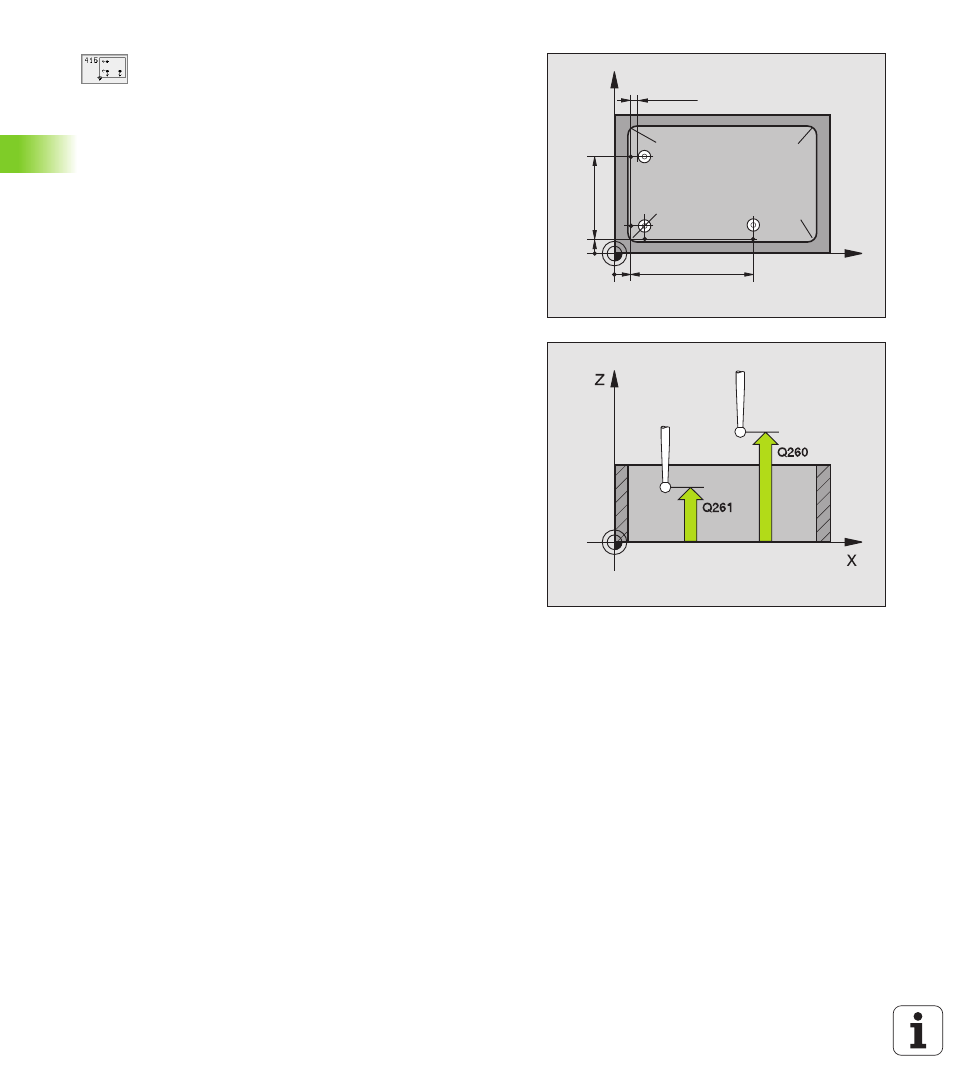
First measuring point in the 1st axis
Q263
(absolute): coordinate of the first touch point in the
reference axis of the working plane.
U
U
U
U
First measuring point in the 2nd axis
Q264
(absolute): coordinate of the first touch point in the
minor axis of the working plane.
U
U
U
U
Spacing in 1st axis
Q326 (incremental): distance
between the first and second measuring points in the
reference axis of the working plane.
U
U
U
U
Spacing in 2nd axis
Q327 (incremental): distance
between third and fourth measuring points in the
minor axis of the working plane.
U
U
U
U
Corner
Q308: number identifying the corner which the
TNC is to set as datum.
U
U
U
U
Measuring height in the touch probe axis
Q261
(absolute): coordinate of the ball tip center (= touch
point) in the touch probe axis in which the
measurement is to be made.
U
U
U
U
Setup clearance
Q320 (incremental): additional
distance between measuring point and ball tip. Q320
is added to MP6140.
U
U
U
U
Clearance height
Q260 (absolute): coordinate in the
touch probe axis at which no collision between tool
and workpiece (fixtures) can occur.
U
U
U
U
Traversing to clearance height
Q301: definition of
how the touch probe is to move between the
measuring points:
0: Move at measuring height between measuring
points
1: Move at clearance height between measuring
points
U
U
U
U
Execute basic rotation
Q304: definition of whether
the TNC should compensate workpiece misalignment
with a basic rotation:
0: No basic rotation
1: Basic rotation
X
Y
Q264
Q263
Q326
Q327
Q308=1
Q308=2
Q308=3
Q308=4
MP6140
+
Q320
