Opening a salvo and uploading its crosspoint data – Grass Valley MRC v.1.2 User Manual
Page 122
112
Router Tools
Crosspoints Page
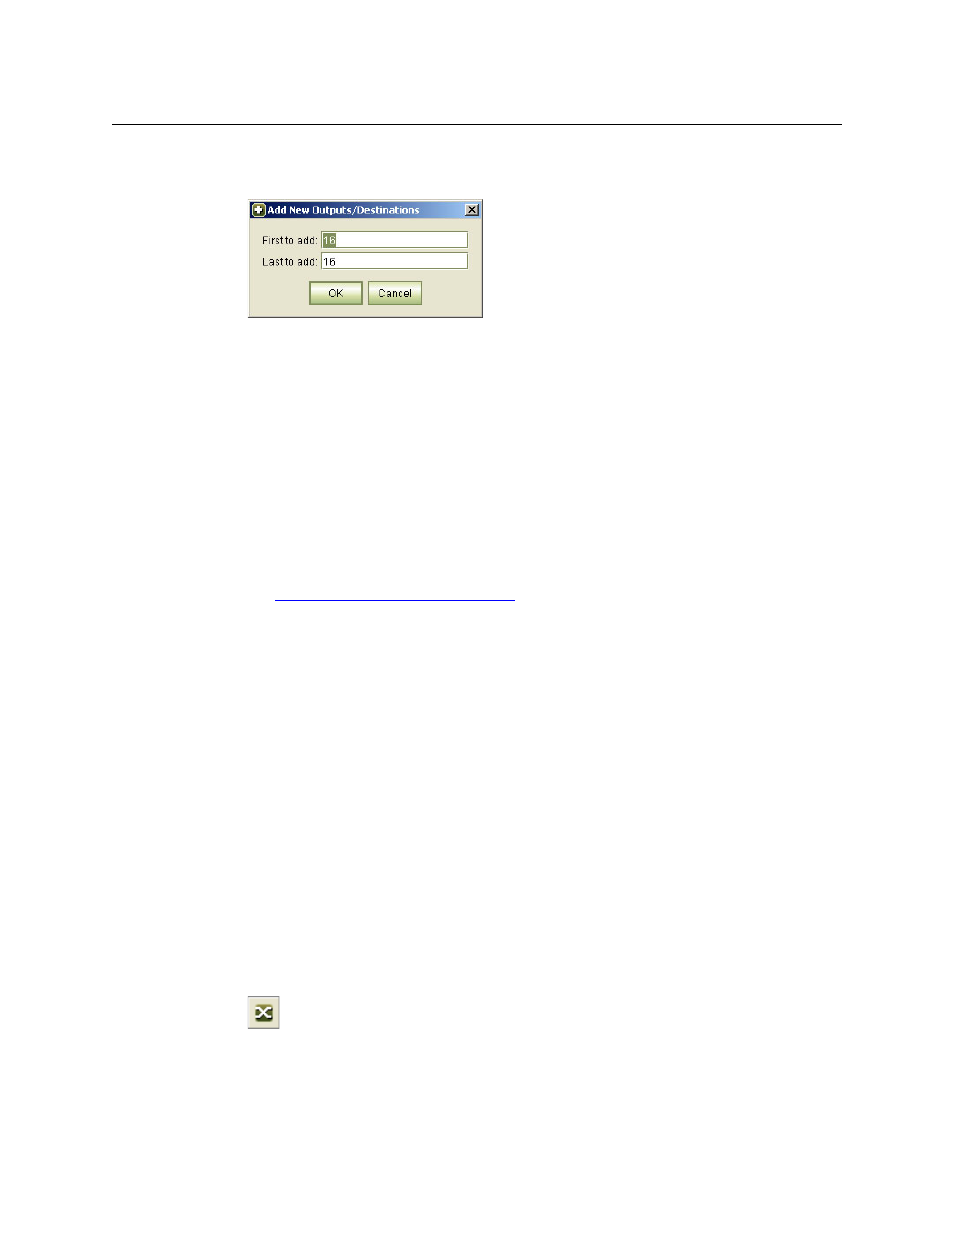
4 (Optional) Add an output to the salvo.
Choose Add New Output . . . from the context menu. The ‘Add New Outputs’ dialog appears.
Enter the starting row and ending row you want to add in the ‘First to add’ and ‘Last to add’
fields, respectively. Click OK.
The outputs appear in the Salvo tab. Outputs that already exist are left unchanged.
The initial dialog suggests adding 1 row just above the last row in the salvo.
In the ‘Salvo’ table, enter an input number in the ‘Source’ field for each new row. (There is no
point in having the row unless there is a source specified.)
5 (Optional) Remove an output (or outputs) from the salvo:
Select the row(s) representing the output(s) you want to remove.
Choose Delete from the context menu.
6 (Optional) Paste outputs from the ‘Current’ or ‘History’ tab, from another ‘Salvo’ tab, or from
and Excel file.
See
Copying and Pasting Crosspoint Data
7 (Optional) Click Save as Salvo. A ‘Save’ dialog appears.
Click Browse to specify the location and name of the file. Salvo files are saved with the file
extension .salvo. Click
Save.
Opening a Salvo and Uploading its Crosspoint Data
Salvos can be opened and applied at any time. Exercise caution that the salvo you have opened
contains the crosspoint data that you want. Uploading from a salvo to a router overwrites
existing crosspoint data.
How to Upload Data from a Salvo
1 Go to the ‘Crosspoints’ page. From the ‘Control Cards’ table, at the bottom of the page, select
a control card.
2 Click ‘Open Salvo’. The ‘Open’ dialog appears.
3 Click Browse to locate a previously saved salvo file and click Open. (Salvo files have the
extension .salvo.)
4 The crosspoint data from the salvo appear in a new ‘Salvo’ tab.
5 (Optional) Click the ‘Crosspoint’ button below the salvo table: