Copying and pasting crosspoint data, How to perform chop takes, Copy paste – Grass Valley MRC v.1.2 User Manual
Page 116
106
Router Tools
Crosspoints Page
How to Perform Chop Takes
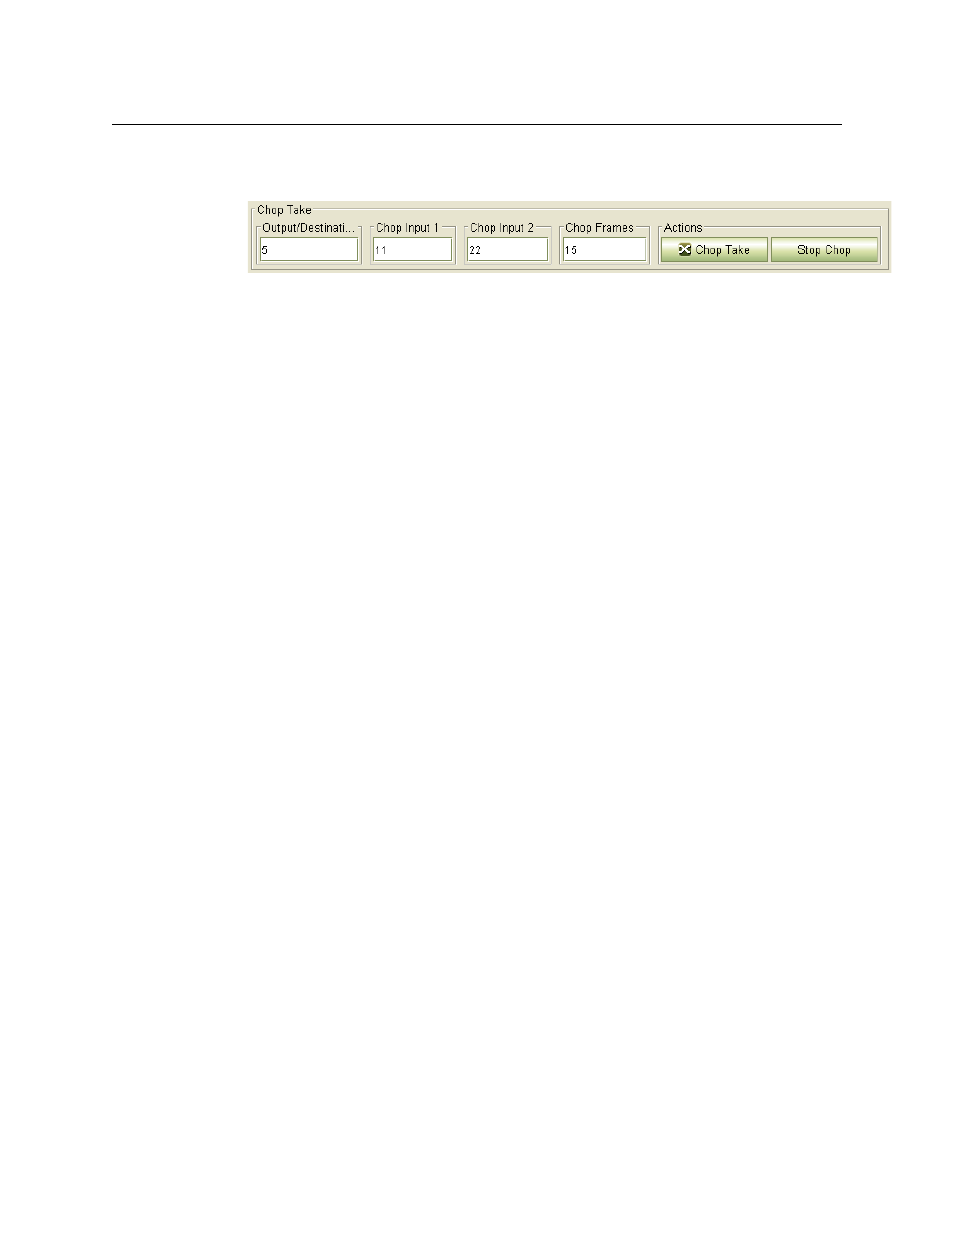
1 Go to the ‘Single Takes’ tab of the ‘Crosspoints’ page. Focus on the ‘Chop Take’ section:
2 Specify a level on which the take is to occur in the ‘Level’ drop-down list.
3 Specify an output in the ‘Output/Destination’ field.
4 Specify an input in the ‘Chop Input 1’ field. Specify another input in the ‘Chop Input 2’ field.
(You could specify the same input if it suits your needs.)
5 Specify the chop frequency as a number of frames.
6 Click ‘Chop Take’.
7 The chop takes begin and the event is recorded in the Log section.
8 To stop the chop takes, click ‘Stop Chop’. The stop event is recorded in the Log section.
A chop lets you toggle an output between two inputs automatically and at a rate you specify.
Copying and Pasting Crosspoint Data
Using the Copy and Paste commands (available in the context menu) you can create additional
crosspoint matrix states or update existing crosspoint matrices. These commands allow you to
copy and paste within the ‘Current’ and ‘Salvo’ tabs, copy to Excel files, and copy from Excel files.
Exporting to and importing from Excel gives you some diagnostic capability.
You can copy or paste sections of a crosspoint, contiguous or disjoint, as small as a single row, or
you can copy or paste entire matrices.
Copy
To copy a portion of a crosspoint matrix (to the clipboard), select a set of rows in the displayed
crosspoint matrix. Then type Ctrl-C or select Copy from the context menu.
To copy an entire crosspoint matrix (to the clipboard), deselect all rows in the displayed cross-
point matrix. Then type Ctrl-C or select Copy from the context menu.
Paste
To issue the paste command, type Ctrl-V or select Paste from the context menu.
When you use the Paste command, the ‘Paste Crosspoints’ dialog opens, displaying the outputs
(and their inputs) that you copied previously. Using this dialog, you can preview the data to be
pasted. (You cannot edit the data to be pasted.)
Pasting merges the crosspoint data on the clipboard with the target crosspoint matrix (whether
it is the one in the ‘Current’ tab or in a ‘Salvo’ tab). If an output already exists, the output data are
pasted onto the existing output. Outputs that do not already exist in the configuration are
added.