Grass Valley EDIUS v.5.1 User Manual
Page 661
EDIUS — User Reference Guide
661
Adding Voice Overs and Sound Effects
3.
Click the list button (V) on the
Device
button and select an input device
from the list of available devices.
4.
Click the list button (V) on the
Channel
button and select an audio
source (microphone, line-in, aux, etc).
Note
The Voice Over dialog options may change depending upon the selected
source. For example, if a monaural source is selected, the volume and meter
bar displays change to monaural.
5.
Adjust the volume of the source with the Volume slider.
Note
Maximum volume setting is 0 dB.
6.
Click the list button (V) on the
Output
button and select “Track” from the
Output list.
•
Bin - Add the audio clip only in the Asset Bin
•
Track - Add the audio clip to the A track specified in
7.
In the File name field, enter the desired name for the audio clip and
select the location in which to store the clip by clicking the
...
button.
8.
Prepare the source (microphone, line-in, aux, etc), and click the
Start
button.
Note
When the Start button is clicked, the button name changes to End. In the
upper left corner of the Recorder window, a white dot starts blinking and a 5
second countdown begins. At 1 second, the dot turns yellow and at 0, the dot
turns to red and recording begins.
9.
Click the
End
button to end voice over or sound effect recording.
Note
Recording stops automatically if Timeline playback cannot keep up to speed.
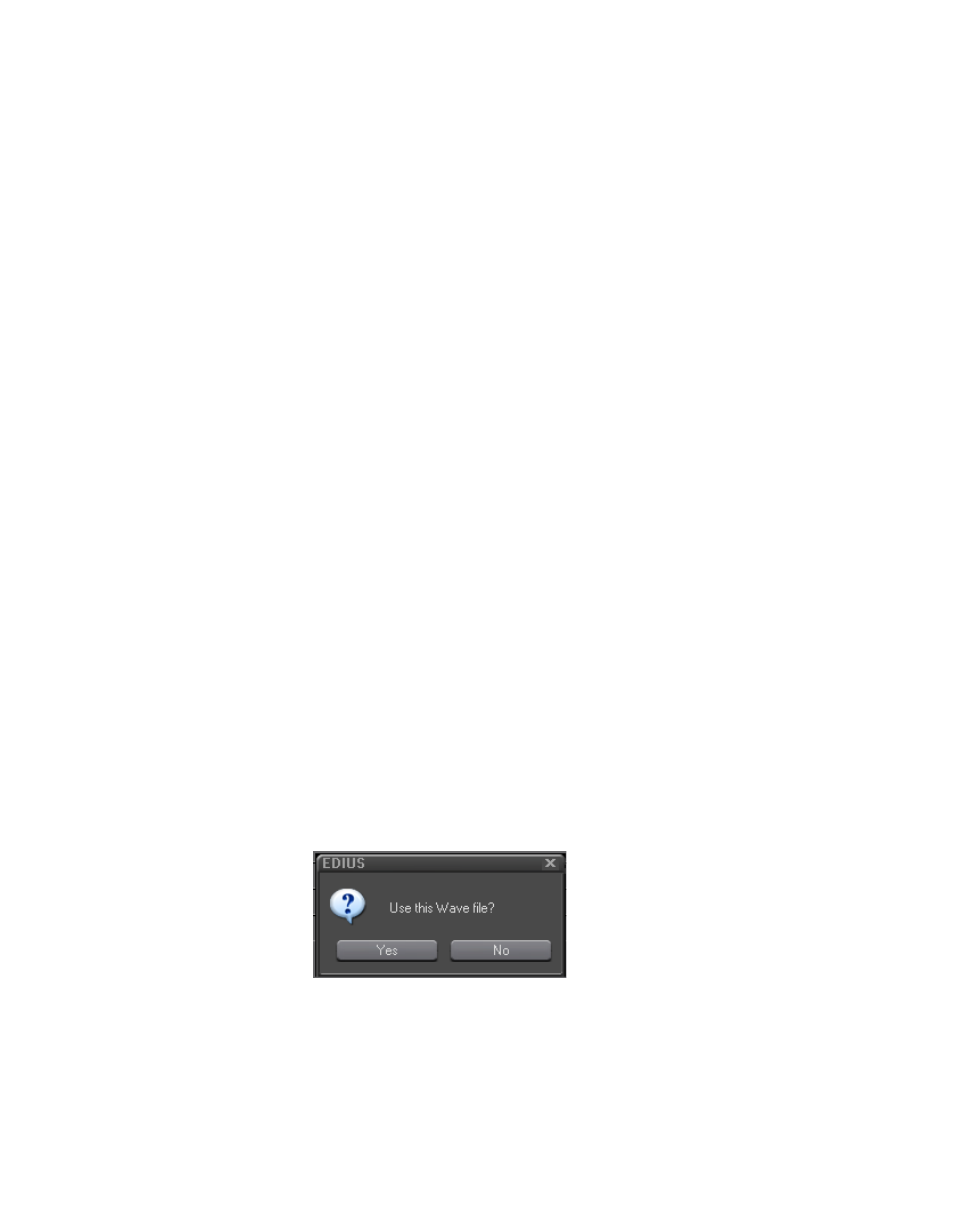
appears.
Figure 813. Use Wave File Confirmation Dialog
10.
Click the
Yes
button to save the file and insert the voice over or sound
effect on the selected A track.