Installing the doorlinx faceplate, Installing the doorlinx faceplate -7 – ClearOne DigiLinX User Manual
Page 86
DoorLinX
11-7
All specifications subject to change without notification. All rights reserved. Copyright © 2008 NetStreams
Main +1 512.977-9393 / fax +1 512.977.9398 / Toll Free Technical Support +1 866-353-3496
3600 W. Parmer Lane, Suite 100; Austin, TX 7872
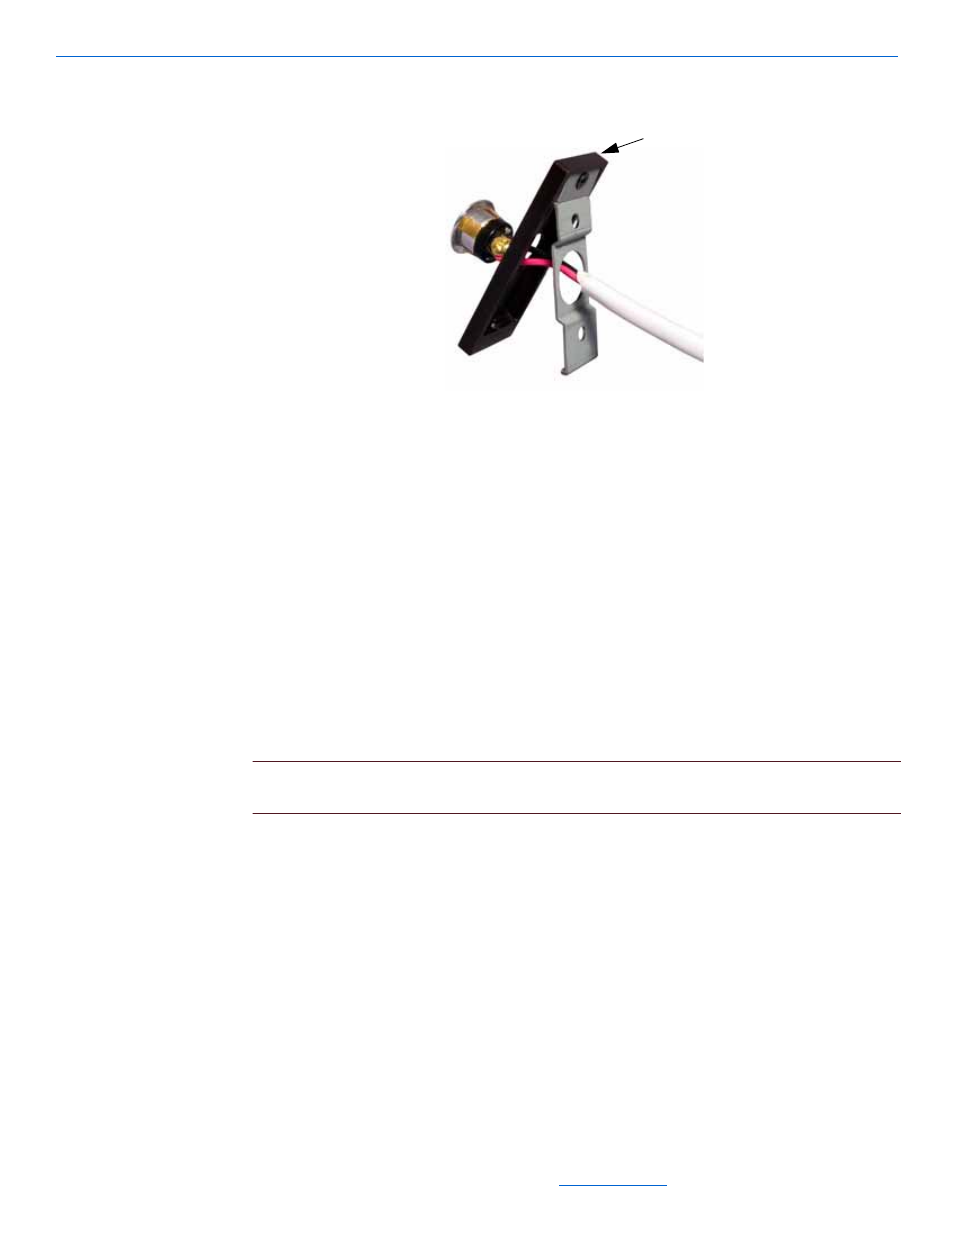
Figure 11-5
Doorbell Mounting Plate and Backside of the Doorbell and Faceplate
The doorbell does not need to be placed over a stud. The home determines the location
of the doorbell and the material it is attached to.
To install the doorbell mounting plate, complete the following steps:
1.
Position the mounting plate vertically over the doorbell hole.
2.
Screw the mounting plate into the material with appropriate screws, such as wood
or masonry screws.
Do not force the mounting plate into the material. The tab on the faceplate back must
hook over the top of the mounting plate.
Installing the DoorLinX Faceplate
After mounting the electronics package, you may install the faceplate.
NOTE:
Do not install the faceplate before the electronics package is completely
mounted in the wall.
To install the faceplate, complete the following steps (as shown in Figure 11-6):
1.
Mount the DoorLinX backbox into a horizontal 2-gang hole against a wall stud.
Use the adjustment sliders to adjust the backbox to the proper depth for the
Tab