Installing a wall-mounted speakerlinx, Installing a speakerlinx into a rack – ClearOne DigiLinX User Manual
Page 36
SpeakerLinX
4-5
All specifications subject to change without notification. All rights reserved. Copyright © 2008 NetStreams
Main +1 512.977-9393 / fax +1 512.977.9398 / Toll Free Technical Support +1 866-353-3496
3600 W. Parmer Lane, Suite 100; Austin, TX 7872
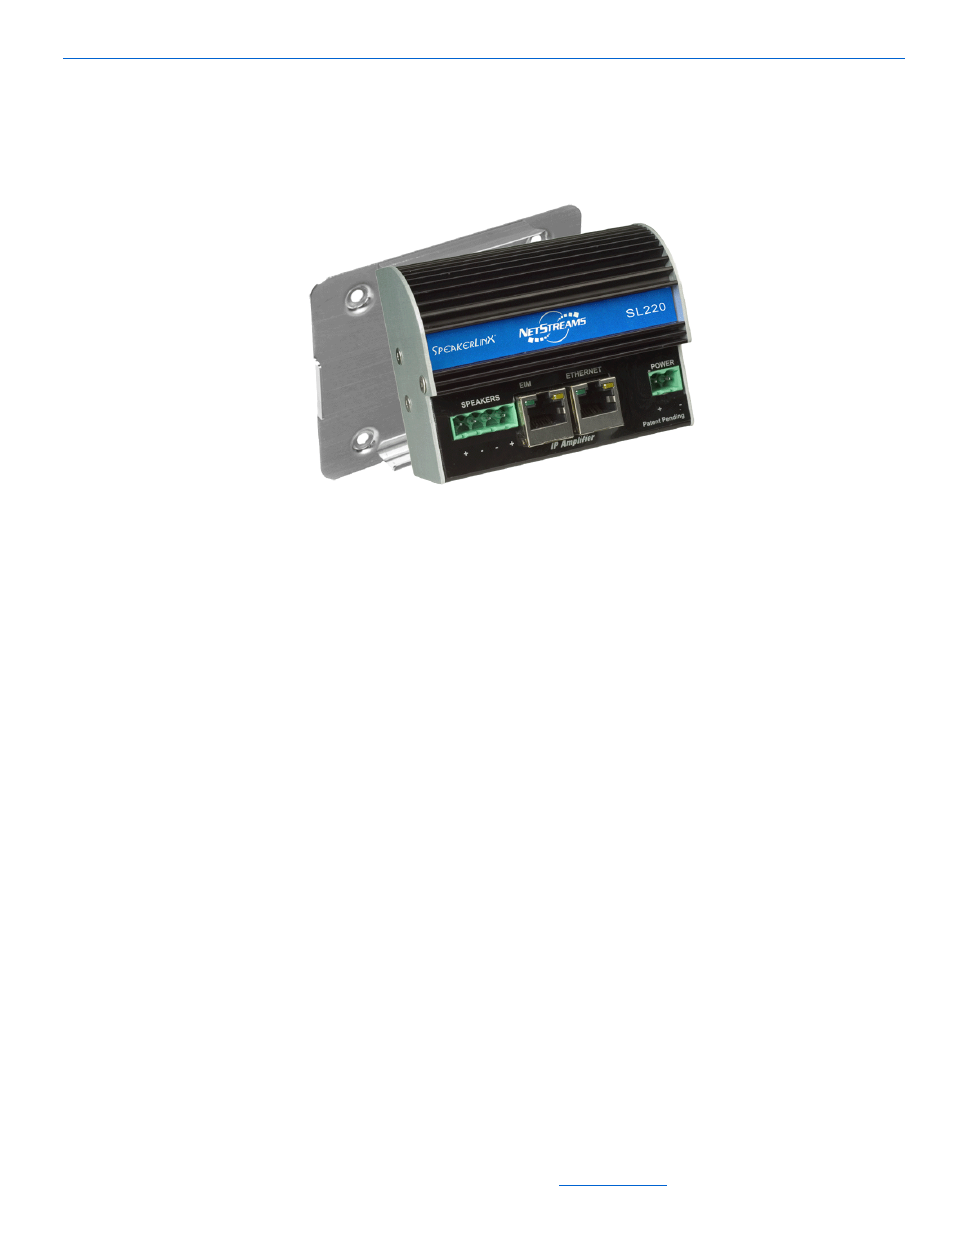
2.
Install the SpeakerLinX by sliding the bottom of the device into the clip and
pushing back until you feel it snap into place (see Figure 4-3).
3.
Connect all wires.
Figure 4-3
Wall mounting a SpeakerLinX
Installing a Wall-Mounted SpeakerLinX
The SpeakerLinX can be wall-mounted into walls that are 2 1/2” (64mm) or deeper. To
perform this installation, you need:
an SL220 or SL250 or SL254
a standard 2-gang box
a SpeakerLinX In-Wall Mounting Plate (NS-MKSL220-IW) - mounts either the
SL220 and SL250 or SL254.
To complete the installation:
1.
Install a 2-gang box at the location.
2.
Attach the SpeakerLinX to the metal mounting plate.
3.
Connect all wires.
4.
Insert the SpeakerLinX into the 2-gang box with the connection pointed into the
wall.
5.
Screw the metal mounting plate to the box.
6.
Snap the in-wall plate over the metal plate.
Installing a SpeakerLinX into a Rack
The SpeakerLinX can be installed into a rack location. To perform this installation,
you need:
an SL220 or SL250 or SL254