Installation, Installing a powerlinx pl600 or pl750, Installing in a rack – ClearOne DigiLinX User Manual
Page 71: Installation -4, Installing a powerlinx pl600 or pl750 -4, Installing in a rack -4
DigiLinX Installation and Design Guide
9-4
All specifications subject to change without notification. All rights reserved. Copyright © 2008 NetStreams
Main +1 512.977-9393 / fax +1 512.977.9398 / Toll Free Technical Support +1 866-353-3496
3600 W. Parmer Lane, Suite 100; Austin, TX 7872
80 Watts at 28VDC
power LED
IEC power cord
CE, C-Tick, and RoHS compliant.
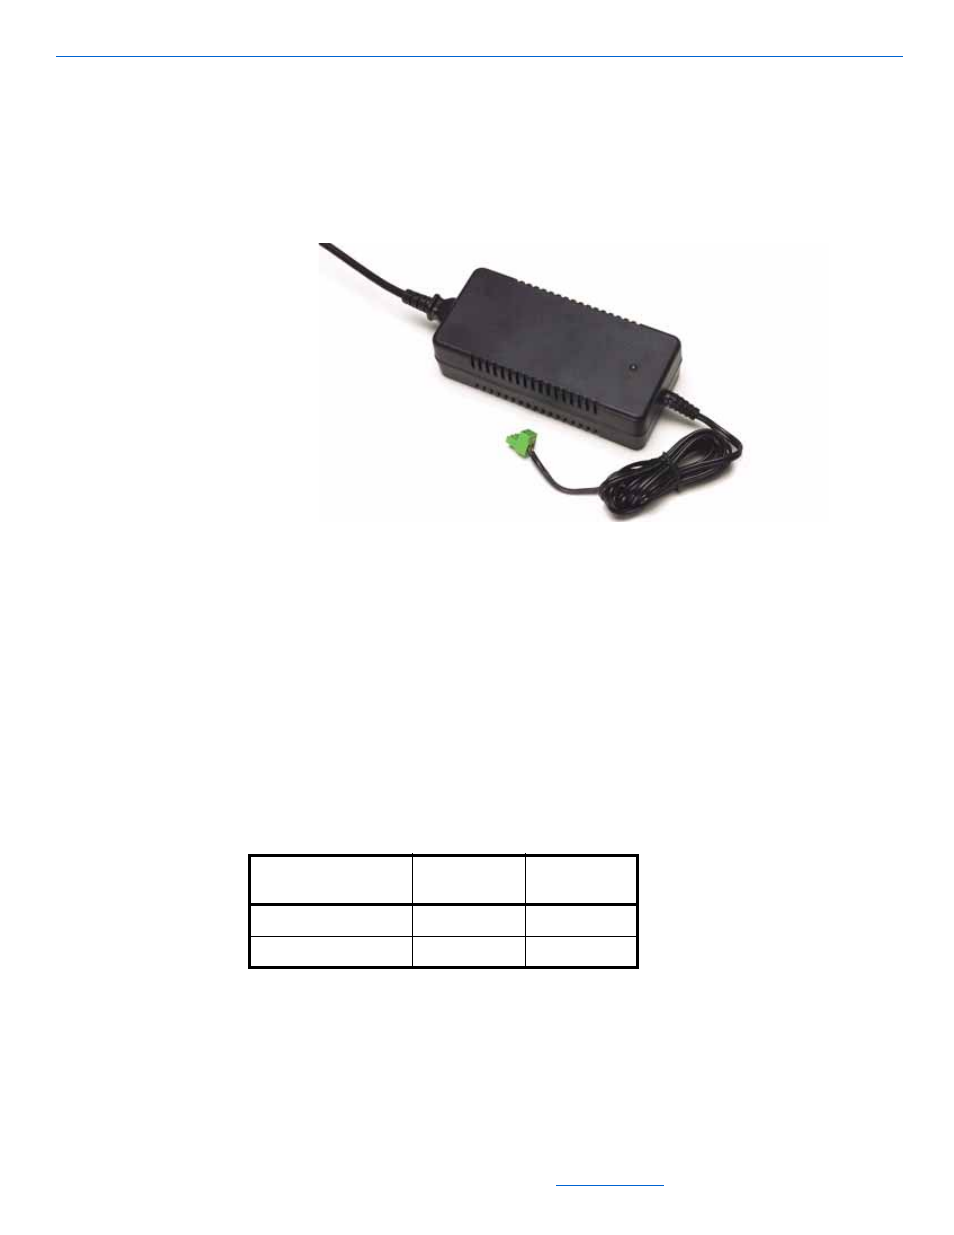
See Figure 9-4 for an example of the PL228.
Figure 9-4
PowerLinX PL228
Installation
This section discusses the installation of all PowerLinX devices.
Installing a PowerLinX PL600 or PL750
This section discusses installation of the PowerLinX PL600 or PL750 in either a rack
or a free standing environment. Refer to Table 9-1 for the maximum number of
SL220s or SL250s for the PL600 or PL750.
Installing in a Rack
To install a PL600 or PL750 into a rack, complete the following steps:
1.
Install the PL51 plate (sold separately) into the rack.
Table 9-1
Maximum Number of SL220s or SL250s per
PowerLinX PL600 or PL750
PowerLinX Model
Maximum
SL220s
Maximum
SL250s
PL600
6
0
PL750
12
6