Configure your servo drives, Configure your, Servo drives – Rockwell Automation 2098 CompactLogix Indexing Motion Accelerator Toolkit Quick Start User Manual
Page 43
Publication IASIMP-QS011B-EN-P — January 2009
43
Motion Logix Integration
Chapter 5
Configure Your Servo Drives
Follow these steps to configure your Servo Drives.
1. Use the rotary switches on the front of the Ultra3000 servo drive (labeled MSD and LSD) to set
the desired DeviceNet node address. Keep the addresses below 7 (use 01…06) if possible.
2. Make sure that the drive is not enabled (terminal 31 on the CN1 connector) and apply power
to the drive at this point.
3. Connect the serial programming cable (catalog number 2090-UXPC-D09xx) between your
workstation and the Ultra3000 servo drive.
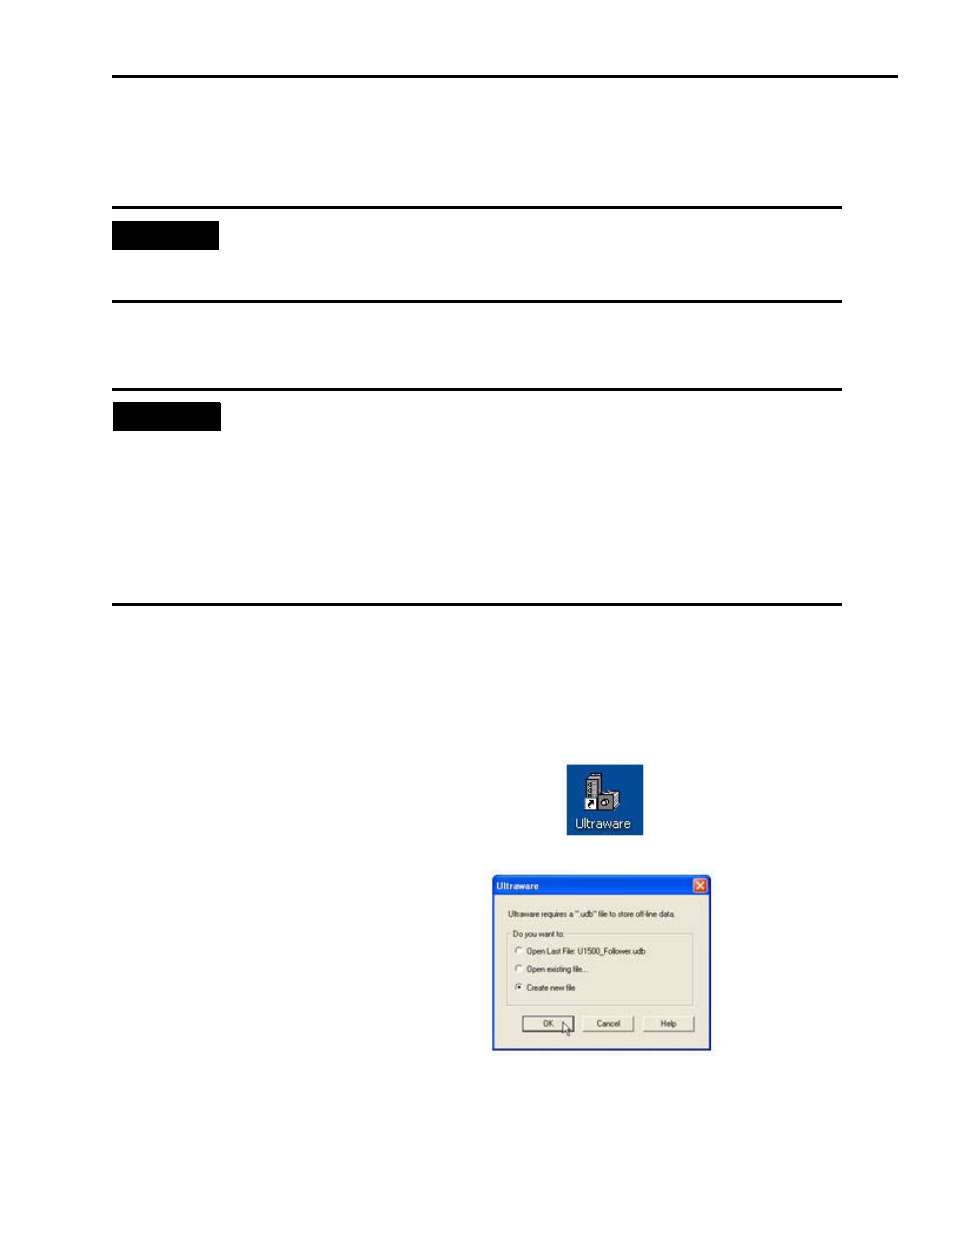
4. Open Ultraware programming software using the
Start menu or the desktop shortcut.
5. Select Create new file.
6. Click OK.
Ultraware will attach to the servo drive.
IMPORTANT
Before applying power to the Ultra3000 servo drive, you must set the node addresses
for the DeviceNet network. If you have already applied power to the drive, you must
cycle power after changing the network settings.
TIP
Keeping the addresses below 7 allows you to use RSNetWorx for DeviceNet, the
DeviceNet configuration software in demo mode. Demo mode does not require the
software to be purchased, but limits functionality to addresses under 7. Contact your
Rockwell Automation representative if addresses above 00…06 are required.
Each DeviceNet device must have a unique address.
To set your address to 01, set the MSD (most significant digit) to 0 and the least LSD
(least significant digit) to 1. Notice the line that runs down one side of the rotary switch,
indicating your choice.