3 recalibration procedure – Despatch P1400+ Temperature Controller User Manual
Page 75
69
12.3 Recalibration Procedure
Recalibration is carried out in five phases as shown in the
table
below, each phase corresponds to
an input range of the instrument.
CAUTION:
The 50mV phase MUST be calibrated before the thermocouple range.
Table 26.
Input Calibration phases
iP_1
50 mV
iP_2
10 V
iP_3
20 mA
iP_4
RTD input (200 ohm)
iP_5
Thermocouple (K type source at 0ºC required)
To start calibration, apply the required calibration input from the source type list above, using the
correct connections,
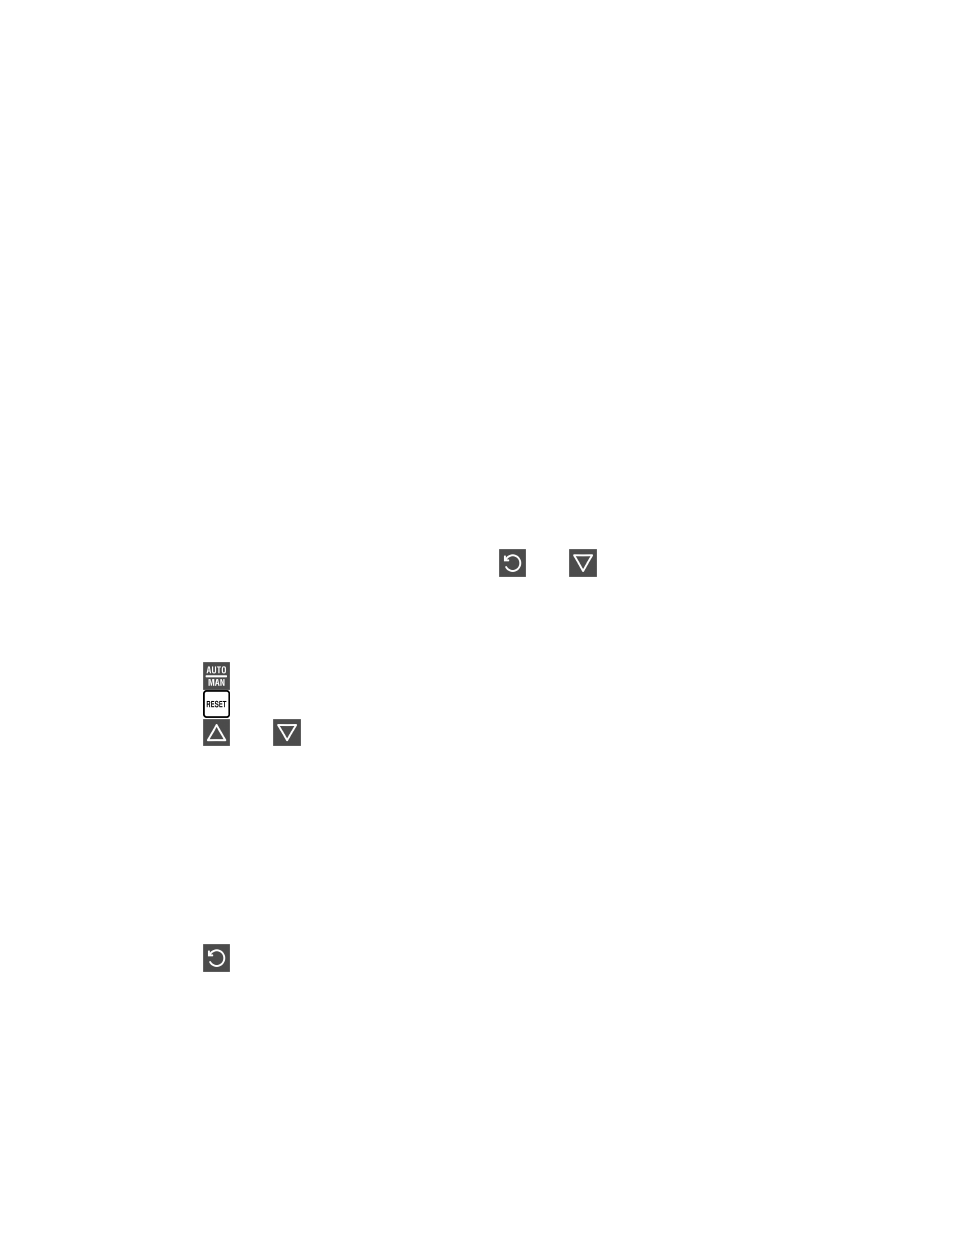
1. While the instrument is powering up, press and together until
iP_1
is displayed.
Note:
If a phase has not been previously calibrated the display will flash.
2. Press to initiate calibration on PID Controllers, or
Press to initiate calibration on Limit Controllers, or
Press and together to initiate calibration on Indicators.
3. During calibration the display changes to
−−−−
−−−−
−−−−
−−−−
for a few seconds.
4. If the input is misconnected or an incorrect signal is applied the calibration will be aborted
and the display will shown
FAiL
. The previous calibration value will be retained.
5. If the calibration has succeeded, the pass display is shown
iP_1
(non-flashing).
6. Press to step onto the next phase.
7. Repeat this process for each input type until all the phases are calibrated.
Note:
Switch off the instrument to exit the Calibration Mode.
Calibration Mode automatically exits if there is no button activity for five minutes.