Dakota Ultrasonics MINI--MAX User Manual
Page 91
MINI-MAX Ultrasonic Bolt Tension Monitor
85
7) Press the MEAS key once to activate the measure menu items. Press
the MEAS key multiple times to move right and the ESC key multiple
times to move left, until the LOC cell is highlighted.
8) Press the ENTER key to display the Group View Box.
9) Press the UP, DOWN, LEFT, and RIGHT arrow keys to scroll the target
cell cursor to the desired storage location.
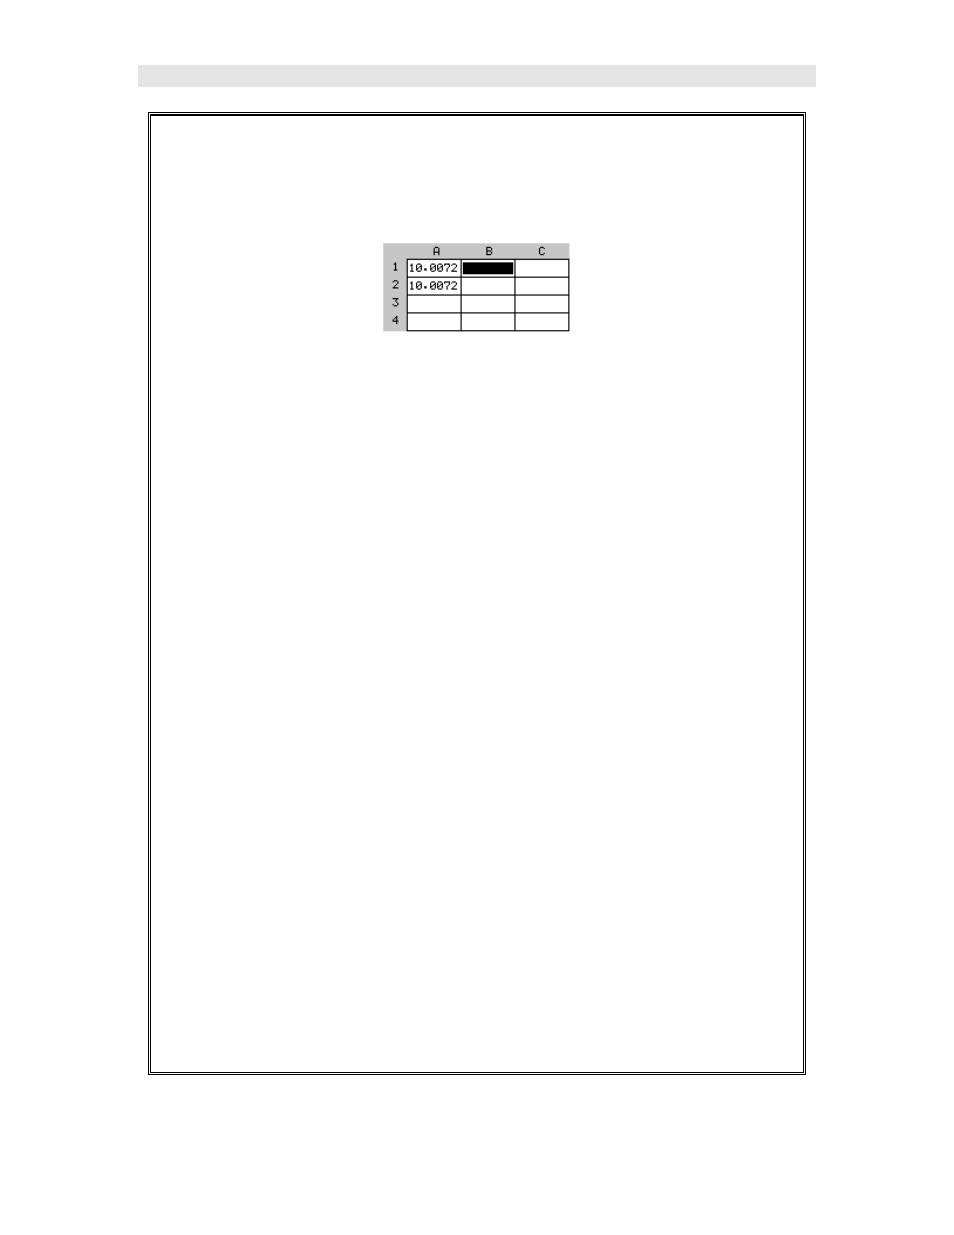
Note: Since this is the 1
st
verification following the initial measurement of
the Probe Zero Cal Bars, the cursor should be located on a cal standard in
column B. It’s also important to note that the L-REF stored in column A,
also contains all the MINI-MAX settings when the L-REF was initially
measured. These settings will automatically be copied to all the
columns B-ZZ, for each individual bolt. Therefore, no adjustments to
the MINI-MAX should be necessary.
10) If the elongation is +/- .0001” and “In Spec”, Press the ENTER key to
save the current reading in the highlighted cell location, storing all the
current probe zero verification data. Repeat steps 6 - 19 for the other
probe zero calibration standards. If the probe zero is “Out of
Spec”, proceed to the next step.
11) Assuming the elongation is “Out of Spec”, Press the MEAS key once to
activate the measure menu items. Press the MEAS key multiple times
to move right and the ESC key multiple times to move left, until the
TEMP cell is highlighted.