Dakota Ultrasonics MINI--MAX User Manual
Page 88
Dakota Ultrasonics
82
Note: The above steps may need to be repeated a couple of times in order
to bring the probe zero calibration into specification - .0005”. Note: This is
typically not necessary when using the glass block as a cal standard.
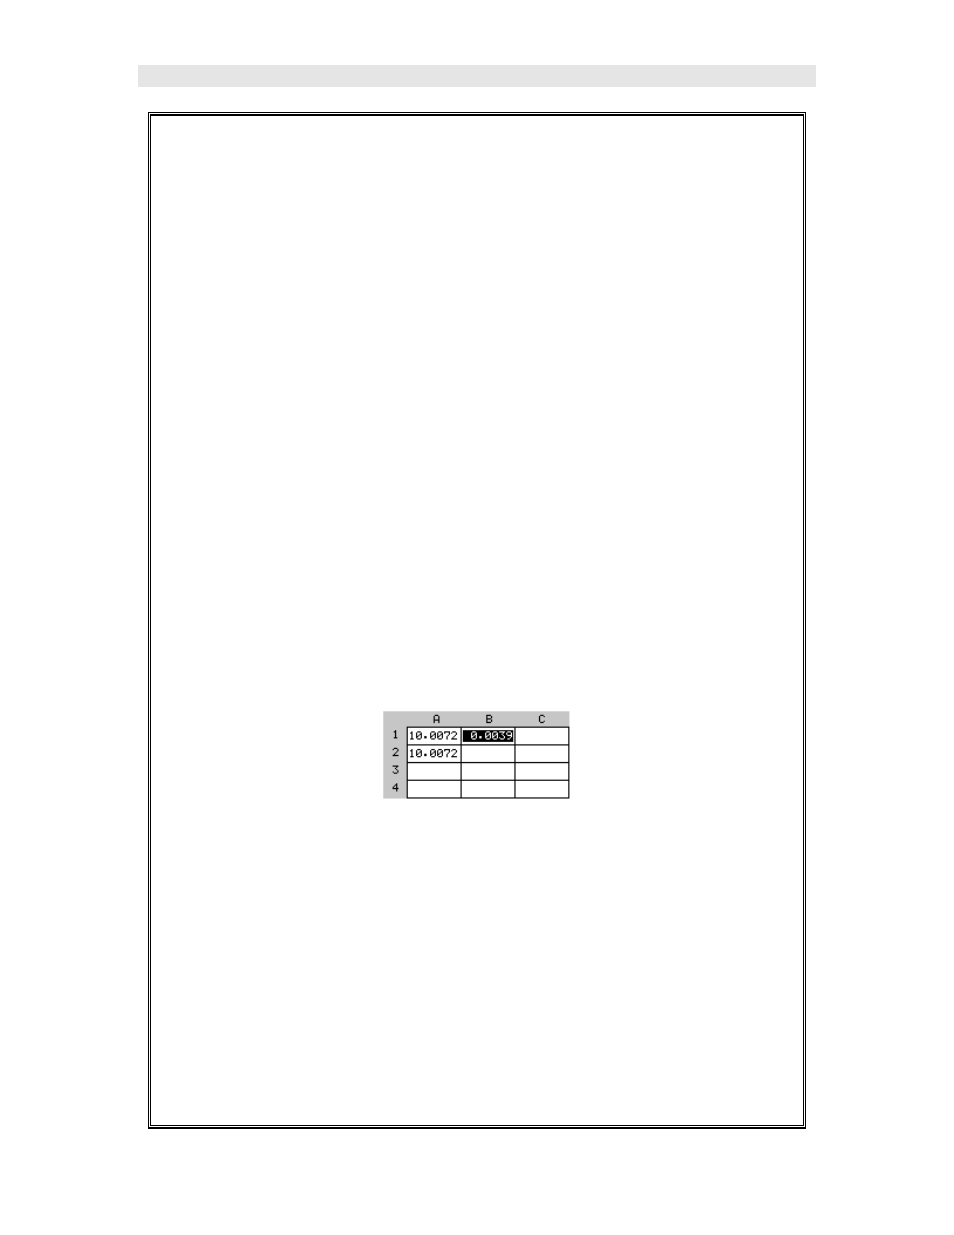
29) Once the zero/calibration is within specification, these initial lengths
should be saved in column A of the zero group previously created for
future reference and verification.
Note: A periodic check should be conducted to prior to starting a project, to
confirm the zero is still accurate. If it’s determined the Mini-Max is out of
spec, only minor adjustments to the temperature should be necessary.
Refer to the section on “Verifying the probe zero calibration”.
Note: Now that the zero is within spec, the values should be documented
in the probe zero calibration group created and opened in an earlier section.
30) Press the MEAS key twice to activate measurement screen. Press the
MEAS key multiple times to move right, and the ESC key multiple times
to move left until the LOC cell is highlighted.
31) Press the ENTER key to display the Group View Box.
32) Press the UP, DOWN, LEFT, and RIGHT arrow keys to scroll the target
cell cursor to the desired storage location.
Note: Since these are the first cal bar measurements taken, the
measurements have to be stored in column A. In fact, the most logical
approach would be to store the 3” bar in A1, and the 6” bar in A2.
However, if the glass block is the standard, store the 1” side in A1, 2” side
in A2, and the 3” side in A3.