Dakota Ultrasonics MINI--MAX User Manual
Page 90
Dakota Ultrasonics
84
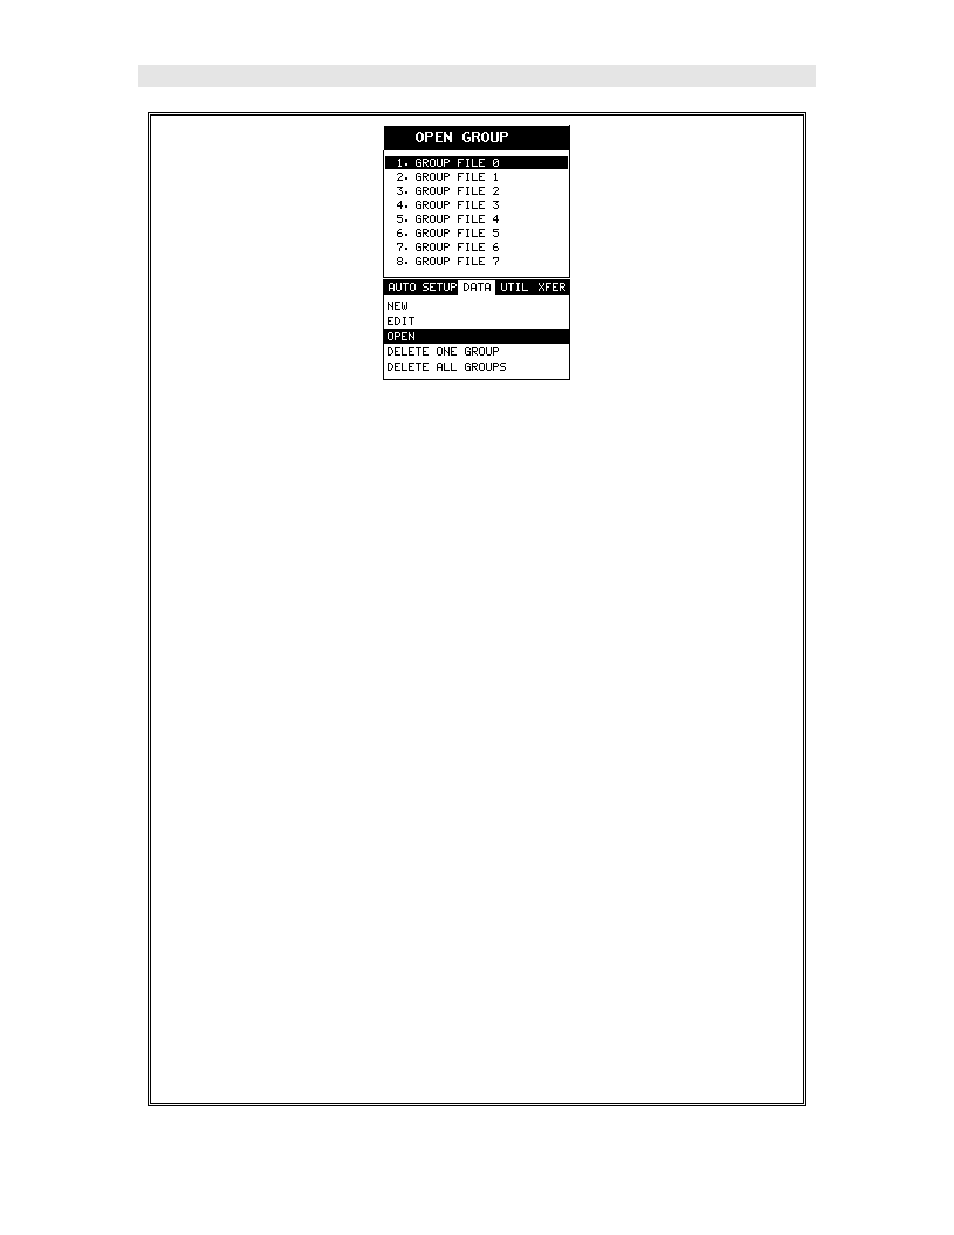
2) Use the UP and DOWN arrow keys to scroll through the sub menu
items until OPEN is highlighted.
3) Press the ENTER key to display the Open Group List Box.
4) Use the UP and DOWN arrow keys to scroll through the list menu items
until the group name containing the probe zero data is highlighted.
5) Press the ENTER key to load the zero data group into memory, followed
by pressing the OK key to confirm loading the group into memory.
Note: The user will always use this group for the zero verification
procedure, as it contains the original settings and measurement data of the
probe zero calibration standards.
6) Apply a drop of couplant to the cal standard or transducer, and attach it
to one end of the cal standard. Rotate the transducer clockwise and
counter clockwise applying a small amount of pressure to eliminate any
excess couplant between the transducer and cal standard. Be sure to
always place the transducer in the same location. This will help to
eliminate any potential measurement errors caused by changing the
sound path.