6 procedure (short cut steps 12 –18), Figure 15: short cut outputs tab – Campbell Scientific CR200/CR200X-series Dataloggers User Manual
Page 28
Section 2. Quickstart Tutorial
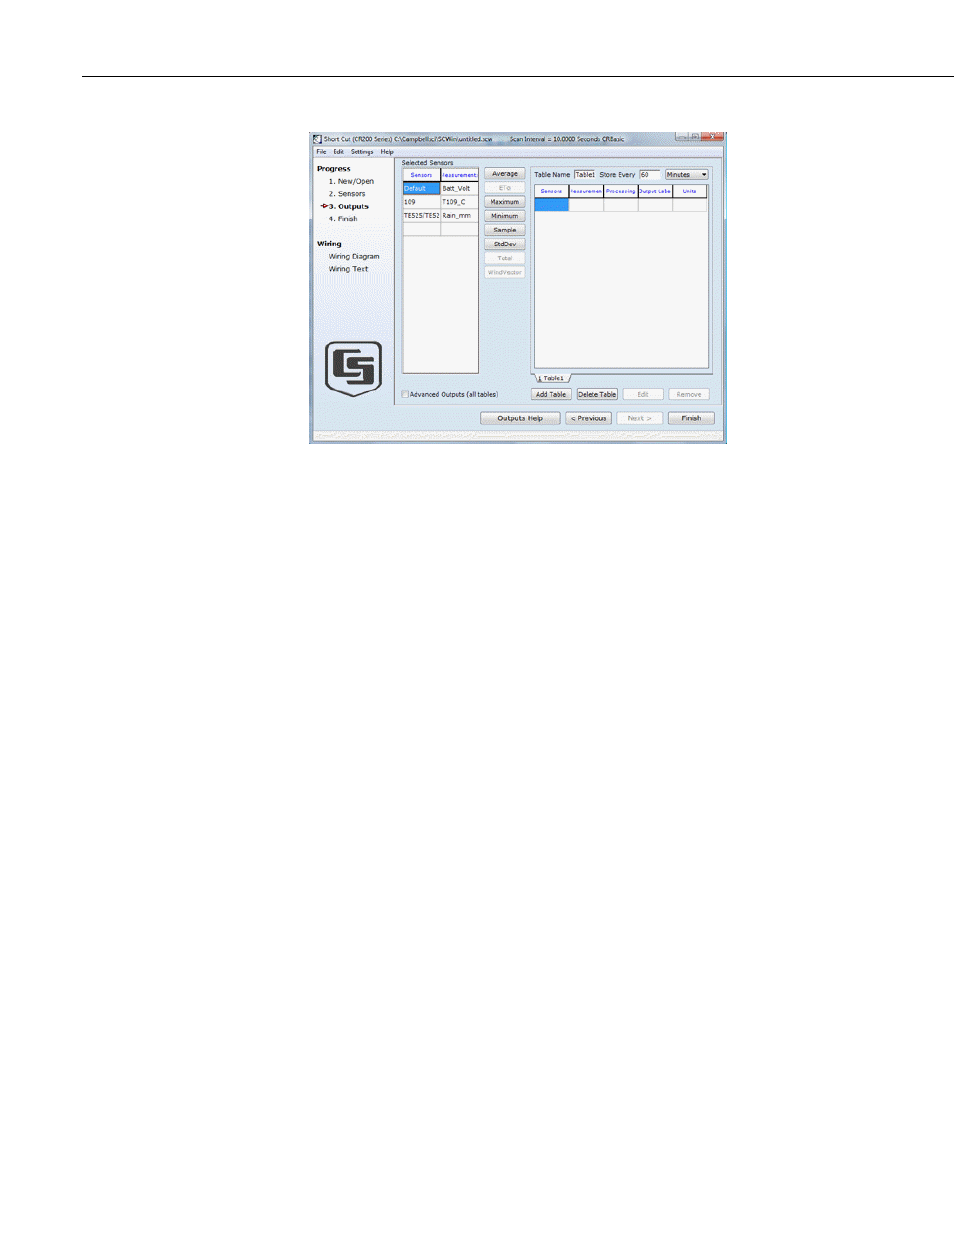
Figure 15: Short Cut Outputs Tab
2.2.3.1.6
Procedure (Short Cut Steps 12 –18)
1. By default, there are two Tables initially available. Both Tables have a
Store Every field along with a drop-down box to select the time units.
These are used to set the time interval when data is stored.
2. Only one Table is needed for this tutorial, so Table 2 can be removed.
Select Table 2 by clicking on its tab, and then click on Delete Table.
3. Change the Table Name to OneMin, and then change the interval to 1
minute (Store Every 1 Minutes).
4. Adding a measurement to the table is done by selecting the
measurement under Selected Sensors, and then clicking on one of the
processing buttons in the center of the window.
5. Click the Default sensor (battery voltage) and click the Minimum
button. Click the 109 temperature sensor and click the Average button.
Click the TE525 rain gauge sensor and click the Total button.
6. Click the Default sensor (battery voltage) and double click the
Minimum button. Click the 109 temperature sensor and double click
the Average button. Click the TE525 rain gauge sensor and double
click the Total button.
7. Click the Default sensor (battery voltage) and double click the
Minimum button. Do not store the time of minimum. Click the 109
temperature sensor and double click the Average button. Click the
TE525 rain gauge sensor and double click the Total button..
16