Adding a linked clip to a playlist, Introduction, How to insert a linked clip – EVS IPDirector Version 6.2 - June 2013 PLAYLIST PANEL User Manual User Manual
Page 98
5. Browse the playlist element until the timecode from which you want to keep the A/V
material.
6. Mark a new IN point.
7. Click the Update Element button.
The second playlist element is trimmed and the portion of undesirable A/V material is
removed.
8. In the Database Explorer, for example, select the clip(s) you want to insert between
the two playlist elements.
9. Drag it/them between the two playlist elements in the Playlist grid.
In the end, a portion of A/V material has been replaced by another one.
The transition between the elements is automatically set as "Cut".
During playout, depending on the option selected for the When Splitting an Element
setting under Tools > Settings > Playlist > General, the system will stop on the last
frame of the inserted element or apply an automatic transition between the inserted
element and the next one. See section "General Settings" on page 142.
5.10.
Adding a Linked Clip to a Playlist
5.10.1. Introduction
A linked clip is a clip that was created at the same time as the clip already present in the
playlist but taken from a different record train. For example when recording a show with a
main transmission cut and several isolated camera angles, if clips are created
simultaneously on all angles, these would be given a linked clip status by IPDirector.
Several actions on linked clips are possible from the Playlist Panel:
•
Insert a linked clip.
•
Replace by a linked clip.
5.10.2. How to Insert a Linked Clip
To insert a linked clip from the Playlist Panel, proceed as follows:
1. Select a clip in the playlist for which you want to insert linked clips.
2. Right-click the element.
The Playlist Element contextual menu is displayed.
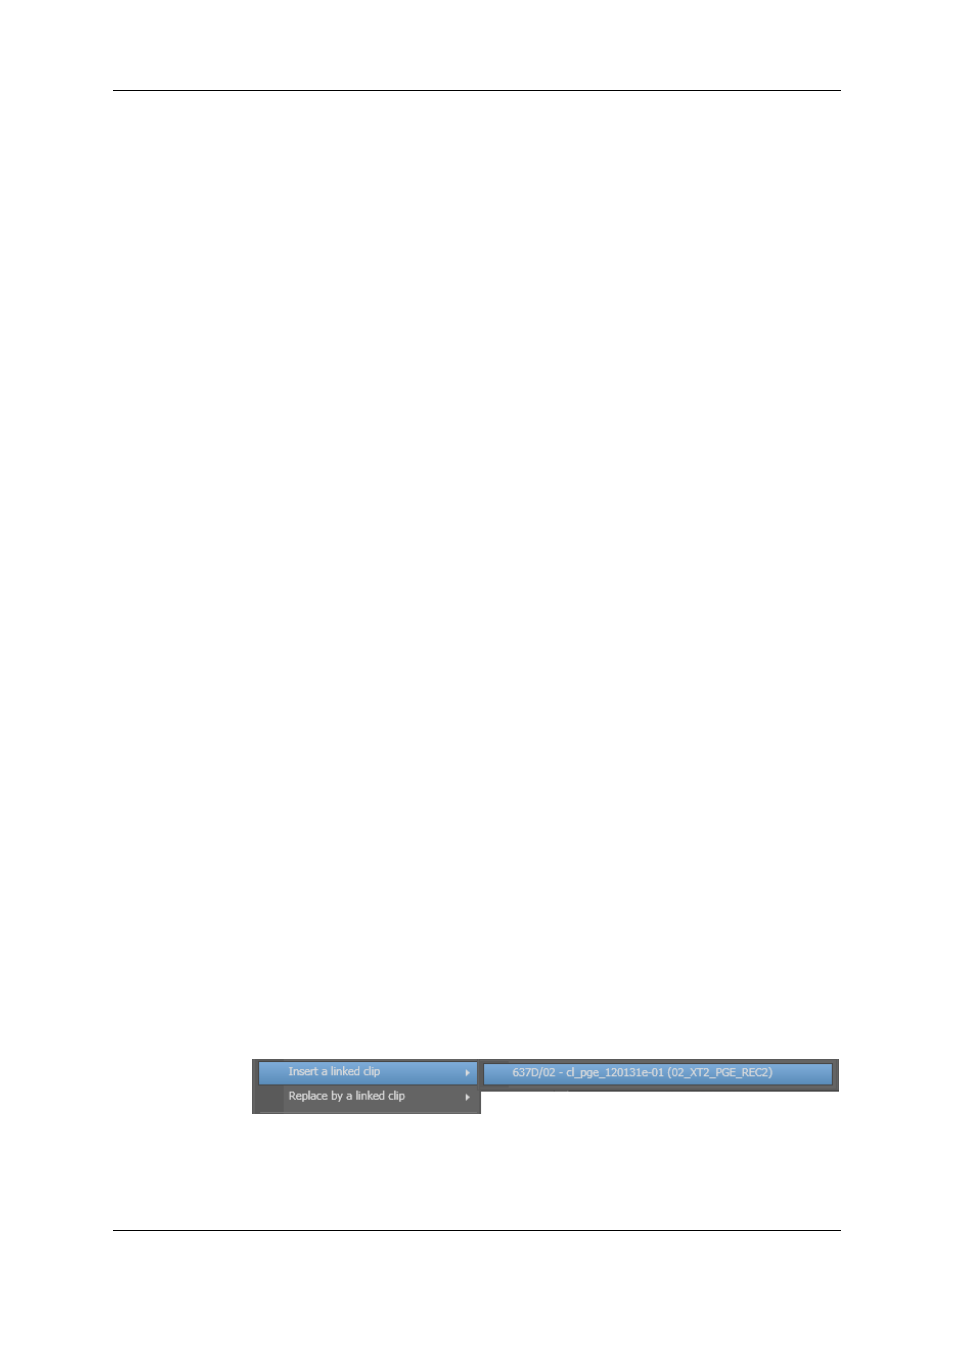
3. Select Insert a linked clip from the contextual menu.
84
5. Playlist Editing
EVS Broadcast Equipment S.A. - June 2013
Issue 6.2.A