Connecting interfaces and cables – RAD Data comm IPmux-1 User Manual
Page 40
Chapter 2 Installation
IPmux-1/1E Installation and Operation Manual
2-4 Installation and Setup
EN
A
DIS
Figure 2-1. The IPmux-1E ISDN-S Jumpers
➤
After completing the internal settings, reinstall the top cover as follows:
1. Position the IPmux-1/1E case on a flat, clean surface.
2. Slide the cover into the slots from the rear panel, and set the cover in place.
3. Fasten the cover to the rear panel with the locking spring screws (one is near
the POWER connector).
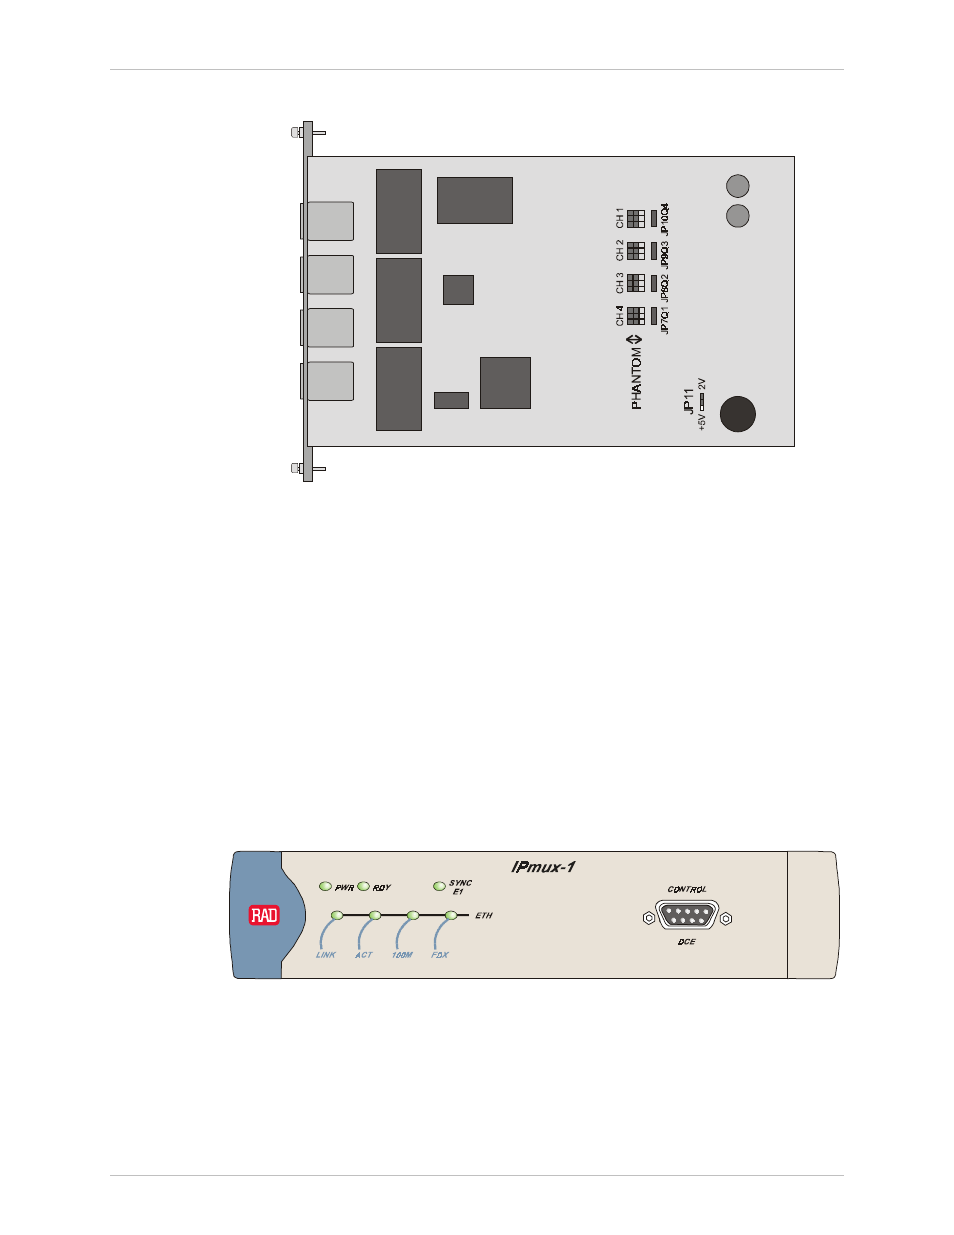
Connecting Interfaces and Cables
Figure 2-2 through Figure 2-5 illustrate the front and rear panel options available
for IPmux-1.
Figure 2-6 through Figure 2-9 illustrate the rear and front panel options available
for IPmux-1E.
Figure 2-2. IPmux-1 Front Panel
Order from: Cutter Networks
Ph:727-398-5252/Fax:727-397-9610
www.bestdatasource.com