Sony PCM-A10 High-Resolution Audio Recorder User Manual
Page 343
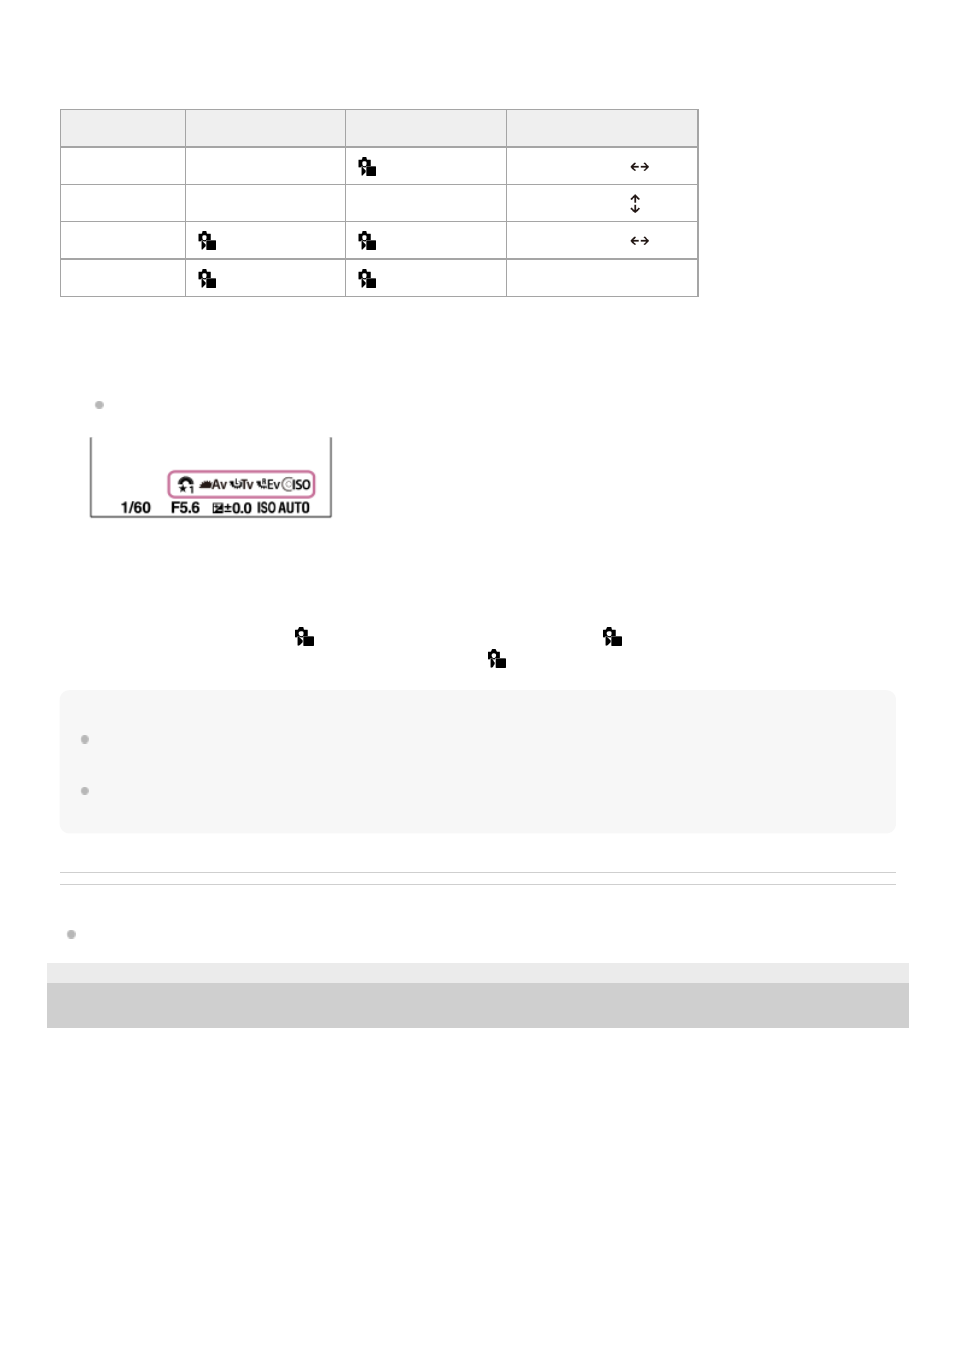
In the following example, the functions listed below are registered to "My Dial," and [My Dial 1→2→3] is assigned to the
C1 (Custom 1) button.
Note
“My Dial” settings in which every dial/wheel is set to [Not set] are not recalled when you press the custom key. They are also
skipped in [My Dial 1→2→3].
Even if a dial/wheel has been locked using the [Lock Operation Parts] function, it will be unlocked temporarily when “My Dial” is
recalled.
Related Topic
Assigning frequently used functions to buttons and dials (Custom Key/Dial Set.)
5-044-866-11(1) Copyright 2022 Sony Corporation
Operation part
My Dial 1
My Dial 2
My Dial 3
Front dial
Aperture
Creative Look
Move AF Frame
: Std
Rear dial L
Shutter Speed
W Balance (C Temp) Move AF Frame : Std
Rear dial R
Exposure Comp.
Focus Area
Move AF Frame
: L
Control wheel
ISO
White Balance
Not set
Press the C1 (Custom1) button.
The functions registered to [My Dial 1] will be assigned to the front dial, rear dial L, rear dial R, and control wheel.
The icons for the functions registered to [My Dial 1] are displayed in the lower part of the screen.
1.
Turn the control wheel to set the ISO value, turn the front dial to set the aperture value, turn the rear dial L to set the
shutter speed, and turn the rear dial R to set the exposure compensation.
2.
Press the C1 button again. The functions registered to [My Dial 2] will be assigned to the front dial, rear dial L, rear
dial R, and the control wheel.
3.
Turn the control wheel to set [
White Balance], turn the front dial to set [
Creative Look], turn the rear dial L to
set [W Balance (C Temp)], and turn the rear dial R to set [
Focus Area].
4.
Press the C1 button again, and change the setting values for the functions registered to [My Dial 3].
5.
343
343
- UWP-D22 Camera-Mount Wireless Cardioid Handheld Microphone System (UC14: 470 to 542 MHz) 16mm Fisheye Conversion Lens for FE 28mm f/2 Lens UTX-P40 Wireless Plug-On Transmitter (UC25: 536 to 608 MHz) ZV-E1 Mirrorless Camera (White) ZV-E10 Mirrorless Camera (Black) LBN-H1 Airpeak Battery Station VCL-ECF2 Fisheye Converter For SEL16F28 and SEL20F28