Height probe – HEIDENHAIN IK 5494-2D User Manual
Page 117
95
4
Probes
Height probe
The Height probe uses edge detection and the auto focus algorithm to scan many points, focus on
the highest Z-axis point and return this single point. The probe scans every pixel line bounded
by the probe outline to maximize the data available to the auto focus algorithm. This number of
scans cannot be changed in the Probe Library.
CAUTION
The point identified as the highest Z-axis value depends on the feature geometry, num-
ber of scan lines and the probe orientation. Be careful use the largest probe box size
possible at one elevation to maximize scan lines, and to orient the probe so that the
scan lines are not parallel to the contrast features to insure good auto focus results.
Select the probe from the Probe
menu, live video window on-screen
menu or the VED toolbar. Move the
probe, change its size or change its
orientation as described earlier in
this chapter.
To acquire the highest Z-axis point,
select and position the probe over
the largest area at the elevation of
interest, then click the center mouse
button to fire the
probe.
The Height probe is also used dur-
ing datum creation to probe the 3 or
more points needed to level the part.
NOTE
Leveling is discussed in detail in Chapter 5: Measuring
Chapter 5: Measuring. Leveling is optional.
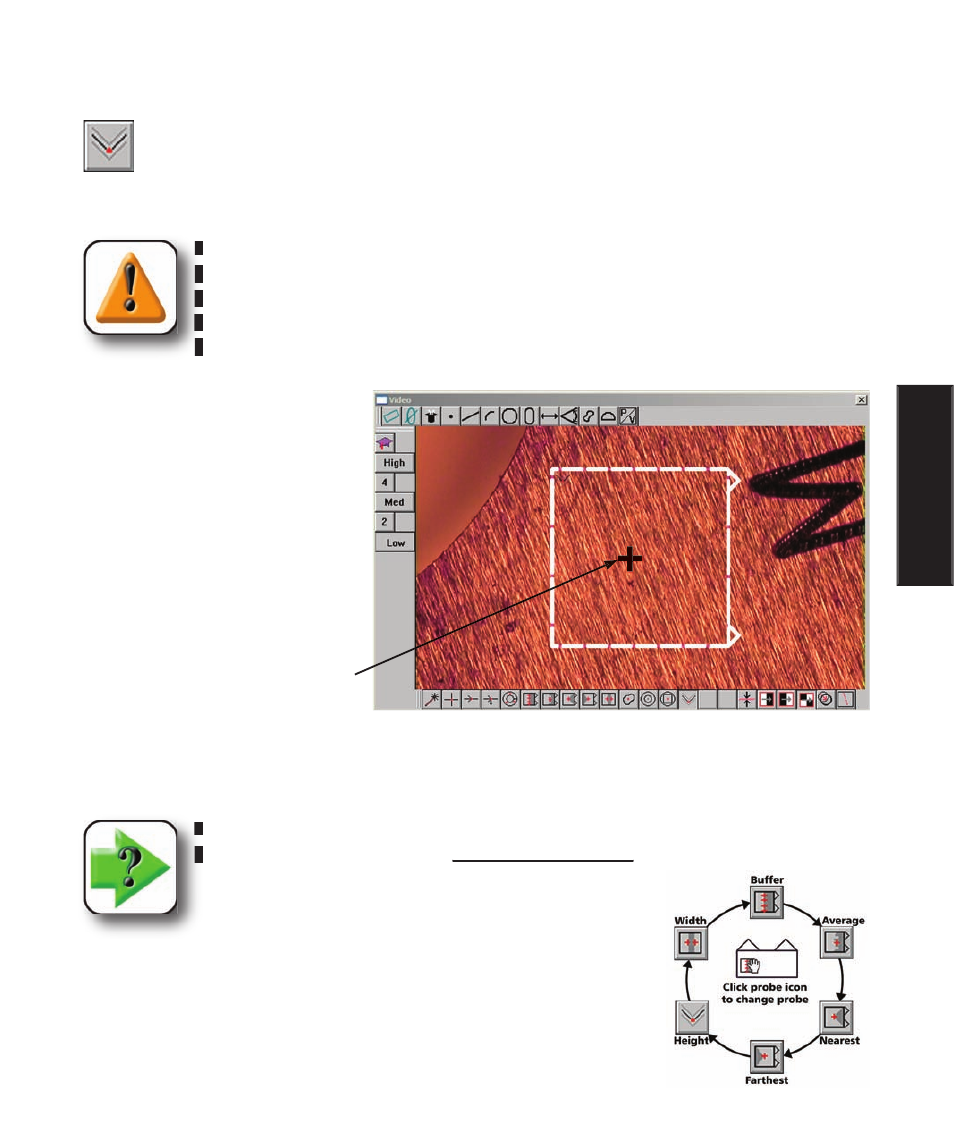
The Height probe can be obtained from a collection of six probes by clicking
on the probe icon. Repeatedly clicking the probe icon cycles through the six
probes shown in this diagram.
The highest Z-axis location contained within the probe box is returned
as a single point
Highest point
Video Probe Descriptions