Grass Valley Xpanel Vertigo Suite v.4.8 User Manual
Page 91

Xpanel User Manual
5-5
Adding events and actions to primitives and objects
4.
In the A
DD
NEW
USER
EVENT
window, type a name for the event followed immediately
by in parentheses into which you will enter a parameter name. For example,
MyEvents(text)
. Then click OK and the custom event is added immediately to the
Events List.
5.
You will now assign a S
END
E
VENT
action to the button object. This will send the new
event to Textbox2.
a.
Select the button object on the panel.
b.
Select O
N
C
LICK
(S
TATE
0) from the Event list.
c.
Click the A
DD
A
CTION
button.
d.
Select the S
END
E
VENT
action from the
EFINE
A
CTIONS
> drop-down list.
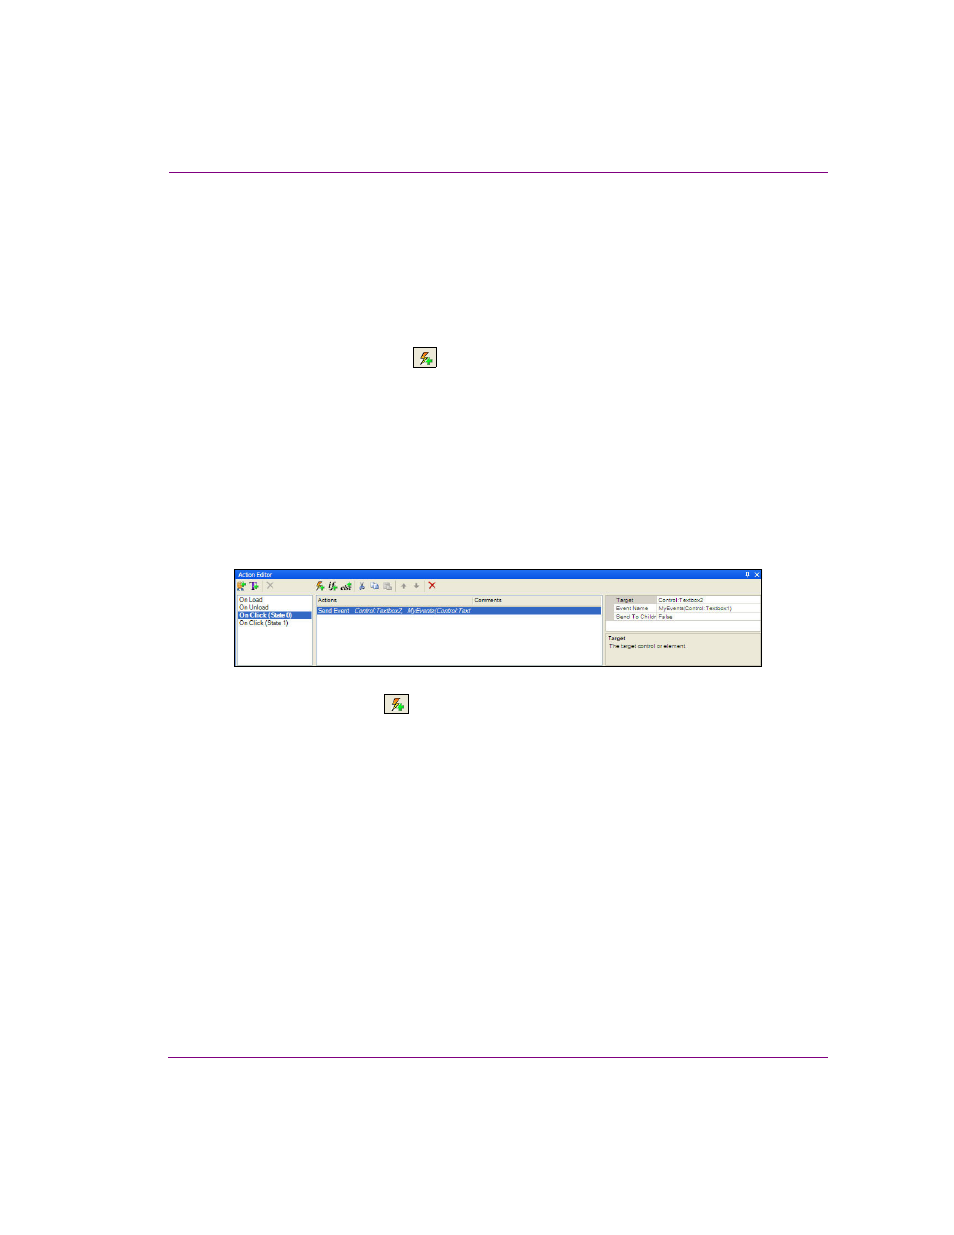
The Send Event is immediately added to the Action Table.
6.
In the A
CTION
P
ARAMETERS
, enter the name of your event in the E
VENT
N
AME
field
followed by a parentheses into which you will enter Control:Textbox1. For
example, MyEvent(Control:Textbox1).
This means that whatever text is entered in Textbox1 becomes the parameter for the
U
SER
event.
7.
In the T
ARGET
field, enter Control:Textbox2.
This means that when the button is clicked, it sends the custom event to Textbox2
(which is expecting it) with the contents of Textbox1 as the parameter.
8.
Select Textbox2 on the panel and then select your custom event from the Event list.
9.
Click the A
DD
A
CTION
button and select the S
ET
T
EXT
action from the
EFINE
A
CTIONS
> drop-down list.
The S
ET
T
EXT
action is immediately added to the Action Table.
10. In the S
OURCE
field of the A
CTION
P
ARAMETERS
, type Event: and then the event
parameter. For example, if your User event is MyEvent(text), you would enter
Event:text
.
• You can also format the S
OURCE
parameter. For example, to make the
parameter text appear uppercase you would put Event:text in parentheses
and precede it with ucase.
• You could also append text by using & and then text in quotation marks. For
example, your entry could look like this: ucase(Event:text & “ is
coming up next”)
.
