Creating a multi-ticker, Creating a multi-ticker -11 – Grass Valley Xpanel Vertigo Suite v.4.8 User Manual
Page 113
Xpanel User Manual
6-11
Adding a data source to an object
10. Click OK.
This closes the D
ATA
T
ICKER
S
ETTINGS
window.
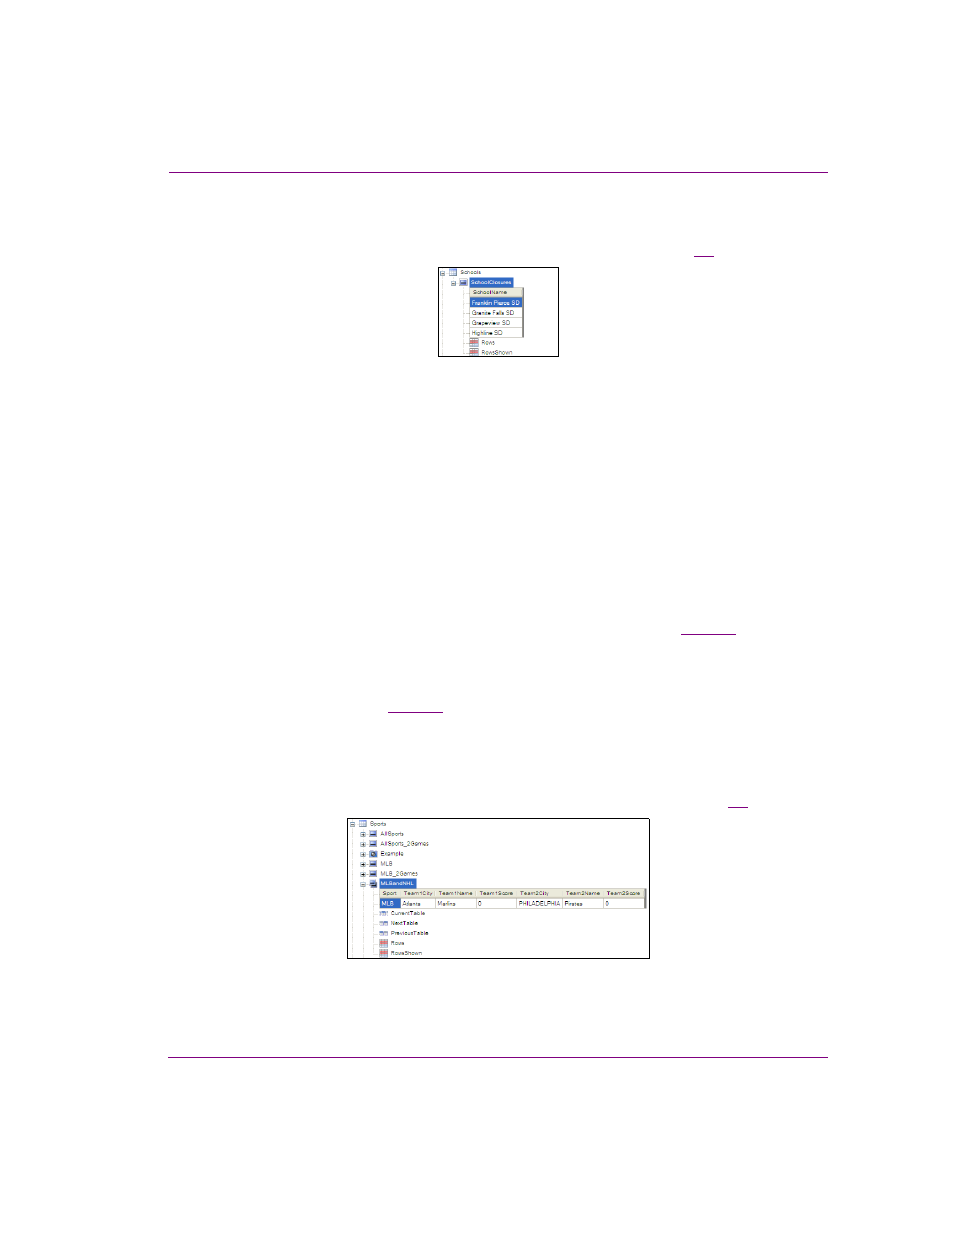
To view the new ticker, expand the schema in the Asset Browser (figure
).
Figure 6-5. New ticker is listed under the schema
Creating a multi-ticker
A multi-ticker looks and acts exactly like a ticker, except that it takes its data from more than
one data source within a single schema. This allows you to run through all data from one
and then immediately move on to the next one.
To create a multi-ticker:
1.
Open Xpanel’s Asset Browser (Ctrl+A) and select the D
ATA
tab.
2.
Right-click on the schema that you want to add the snapshot to and select the N
EW
M
ULTI
-
TICKER
command.
The D
ATA
M
ULTI
-
TICKER
S
ETTINGS
window appears.
3.
In the M
ULTI
-
TICKER
N
AME
field enter a name for your ticker.
4.
Specify the T
ICKER
S
ETTINGS
by following the instructions in step 4 on
5.
Under S
UB
-T
ICKERS
click the N
EW
button. This enables the fields under Individual S
UB
-
T
ICKER
S
ETTINGS
. The sub-tickers are individual tickers that make up the multi-ticker.
6.
Within S
UB
-
TICKER
S
ETTINGS
, enter a name for the sub-ticker in the S
UB
-T
ICKER
N
AME
field.
7.
Follow steps 5 to 9 on
to complete the rest of the sub-ticker information.
8.
Click the S
AVE
button to save the new sub-ticker. It is immediately added to the S
UB
-
TICKERS
section.
9.
Repeat steps 5 to 8 from this procedure until all data sources for the multi-ticker have
been created, then click OK. This closes the D
ATA
M
ULTI
-
TICKER
S
ETTINGS
window.
To view the new multi-ticker, expand the schema in the Asset Browser (figure
).
Figure 6-6. New multi-ticker is listed under the schema