Grass Valley Xpanel Vertigo Suite v.4.8 User Manual
Page 110
6-8
Xpanel User Manual
Adding a data source to an object
c.
To have only specific records returned, use the S
ET
K
EY
area. To use stock
information as an example, you could display only stocks that have gone up or
down by $1.00 or more.
d.
Each line in the Set Key area represents a filter on the available data and is expressed
as a condition on the value of a column. Select a column name and operator from the
drop-down list in their respective columns. The value can either be entered as a
constant or can be set to the value of another column by choosing a column name
from the drop down list in the V
ALUE
column. Alternatively, it is possible to set a
DYNAMIC VALUE by choosing
e.
To sort returned records, use the S
ET
S
ORTING
O
RDER
table. Click in the N
AME
column
to display a drop-down list that contains all column names of the selected tables in the
data source. Once the column has been selected, click in the O
RDER
row to display
the drop-down list that contains your two choices: A
SCENDING
and D
ESCENDING
.
5.
In the R
EFRESH
R
ATE
field, enter the time interval in seconds that will separate data refreshes,
or select the N
EVER
R
EFRESH
check box to deactivate the R
EFRESH
R
ATE
field.
6.
In the G
ARBAGE
C
OLLECT
field, enter the time interval at which the system will purge
outdated instances of data variables.
7.
In the M
AX
R
OWS
field, enter the maximum number of rows to be returned by the query.
This will ensure that the system’s performance will not be hampered by the retrieval of
unnecessarily large tables. If you would prefer that there be no limit on the number of
rows returned by the query, enter 0.
8.
The value of the S
TALE
I
NTERVAL
field represents the frequency at which the system
checks to see if the data has been updated. If the data has not been updated with the
specified time, a warning is sent to the Xpanel log file. Note that the Stale Interval value
must either be left blank (default) or be a value greater than the Refresh Rate value.
9.
Click OK.
This closes the D
ATA
S
NAPSHOT
S
ETTINGS
window.
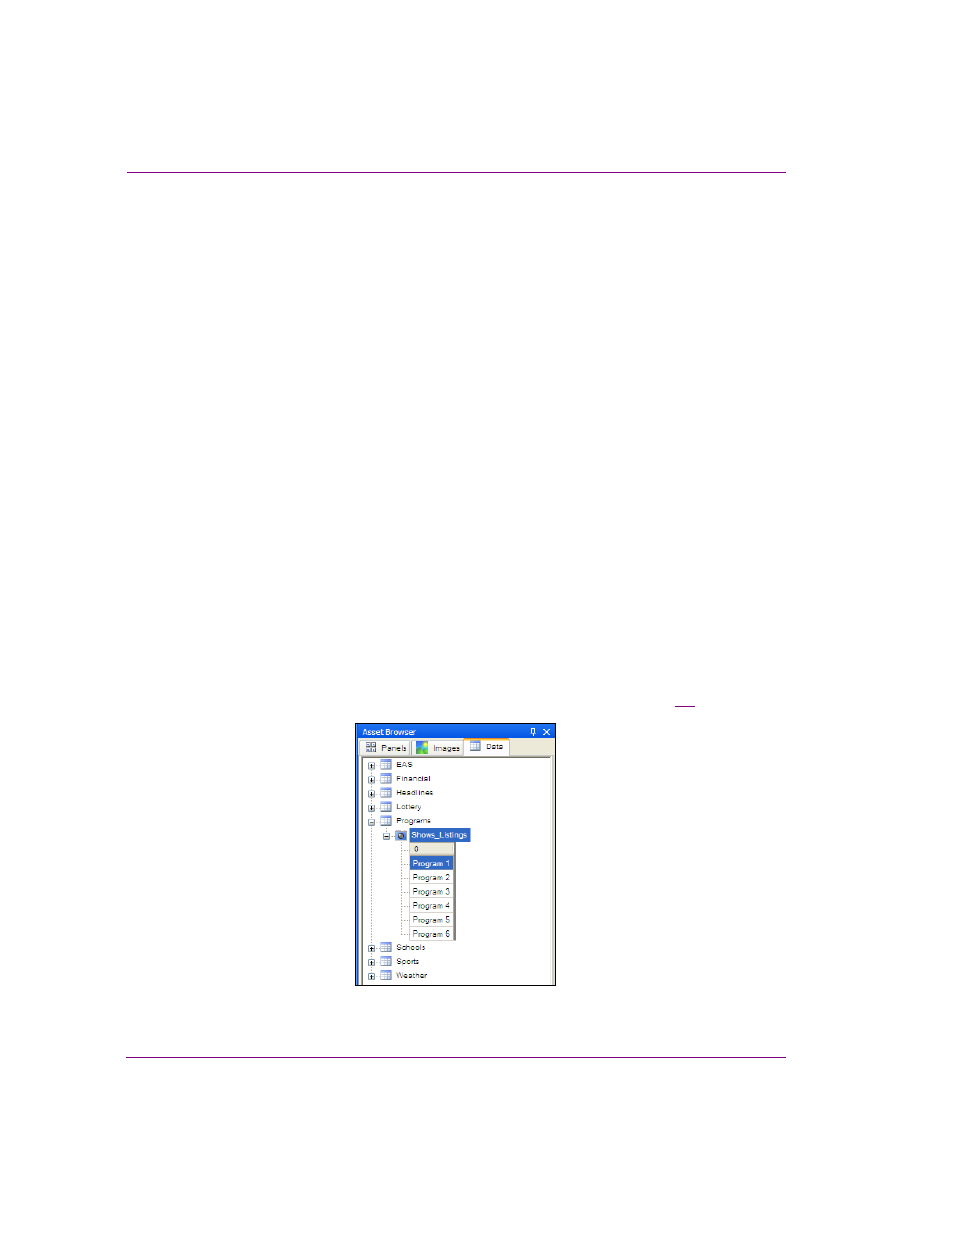
To view the new snapshot, expand the schema in the Asset Browser (figure
).
Figure 6-4. New snapshot is listed under the schema