Saving shared pages to the xmedia server – Grass Valley Xnews Vertigo Suite v.5.0 User Manual
Page 98
Xnews User Manual
6-5
Shared Pages: Creating, editing and previewing
Saving shared pages to the Xmedia Server
You must save the page to conserve any changes that were made to the page or to archive
the shared page in a category on the Xmedia Server.
The Xnews toolbar features three (3) buttons that can be used to save the shared page. The
S
AVE
PAGE
button
is used to simply save the page to a category on the Xmedia Server.
The S
AVE
AND
INSERT
PAGE
button
not only saves the page to the Xmedia Server, it also
inserts it into the story that is currently open in the NCS interface. The S
AVE
AND
C
LOSE
PAGE
button
indicates that the page being edited is part of, and will be saved to, the rundown.
N
OTE
If the S
AVE
P
AGE
button
is disabled in the toolbar, the A
LLOW
C
REATION
OF
S
ERVER
P
AGES
setting has been disabled. See
“Preferences settings” on page 2-15
for information
on how to enable this setting and enable the S
AVE
P
AGE
button.
To save a shared page:
1.
With the page open in the Home Area:
• Click the S
AVE
PAGE
button
in the toolbar to just save the page to a
category on the Xmedia Server.
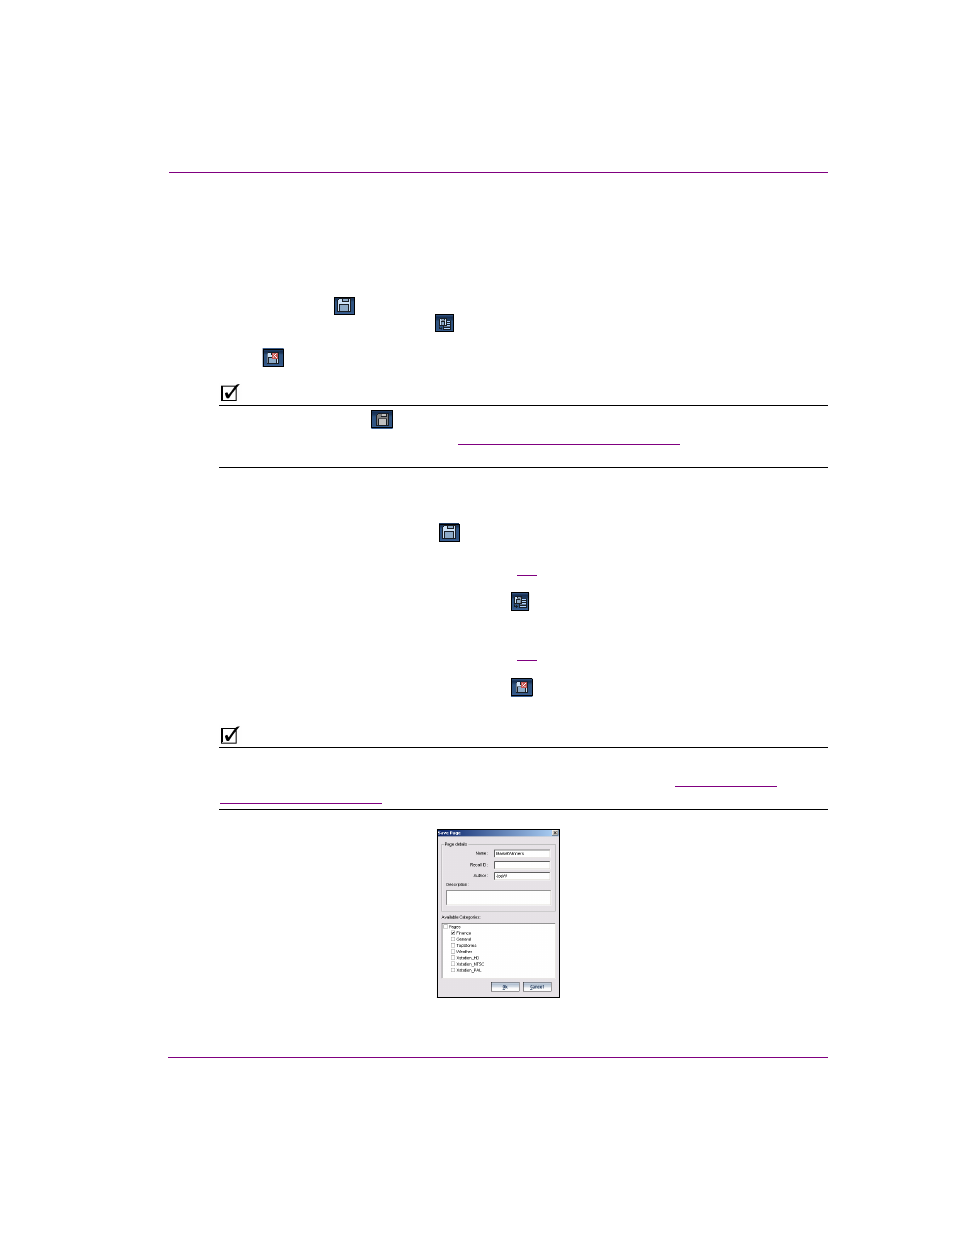
The S
AVE
P
AGE
window appears (figure
).
Or,
• Click the S
AVE
AND
INSERT
PAGE
button
in the toolbar to save the page to
a category on the Xmedia Server and insert it into the story that is currently
open in the NCS interface.
The S
AVE
P
AGE
window appears (figure
).
Or,
• Click the S
AVE
AND
C
LOSE
PAGE
button
in the toolbar to save any edits
make to the page to the existing rundown and Xmedia Server.
N
OTE
If the S
AVE
P
AGE
window does not appear and it appears that the page was saved
automatically, then Xnews might have its Q
UIET
M
ODE
2 setting enable. See
for more information.
Figure 6-4. Fill in the fields on the Save Page window to save a shared page to the Xmedia Server