Adding a video or audio track – Grass Valley K2 AppCenter v.7.2 User Manual
Page 182
182
K2 AppCenter User Manual
05 April 2010
Chapter 12 Channel Ganging and Track Mapping
3. Click the Import button.
4. The Windows Open dialog box displays
NOTE: If you’re using a PC running Control Point software to access a K2 system,
your view of the “local” Windows file system is a view of the Control Point PC.
However, the “local” drives (such as C:) that AppCenter uses for importing .wav files
are not the local drives of the Control Point PC. You cannot import directly from your
Control Point PC to the K2 system unless you map a network drive. To do this, go to
the source or destination machine, create a shared folder, then on the Control Point
PC map that shared folder as a network drive. For a more detailed description of this
“To map a source or destination drive”
5. Browse to the .wav file to import and click
OK
.
When you import a file, the new track appears at the end of the working asset’s track
list.The file name is used as the initial audio track label. After the file has been
imported, you can highlight the track and rename it with the Rename button.
Adding a video or audio track
This feature is part of the licensable AppCenter Pro option.
You can view, edit, add or remove video and audio tracks in an clip. The tracks should
be of the same format. (For example, if you have an NTSC clip, do not add a PAL
track to it.) You can have up to four video tracks or 32 audio tracks in one clip. Added
tracks are aligned to the start of the clip.
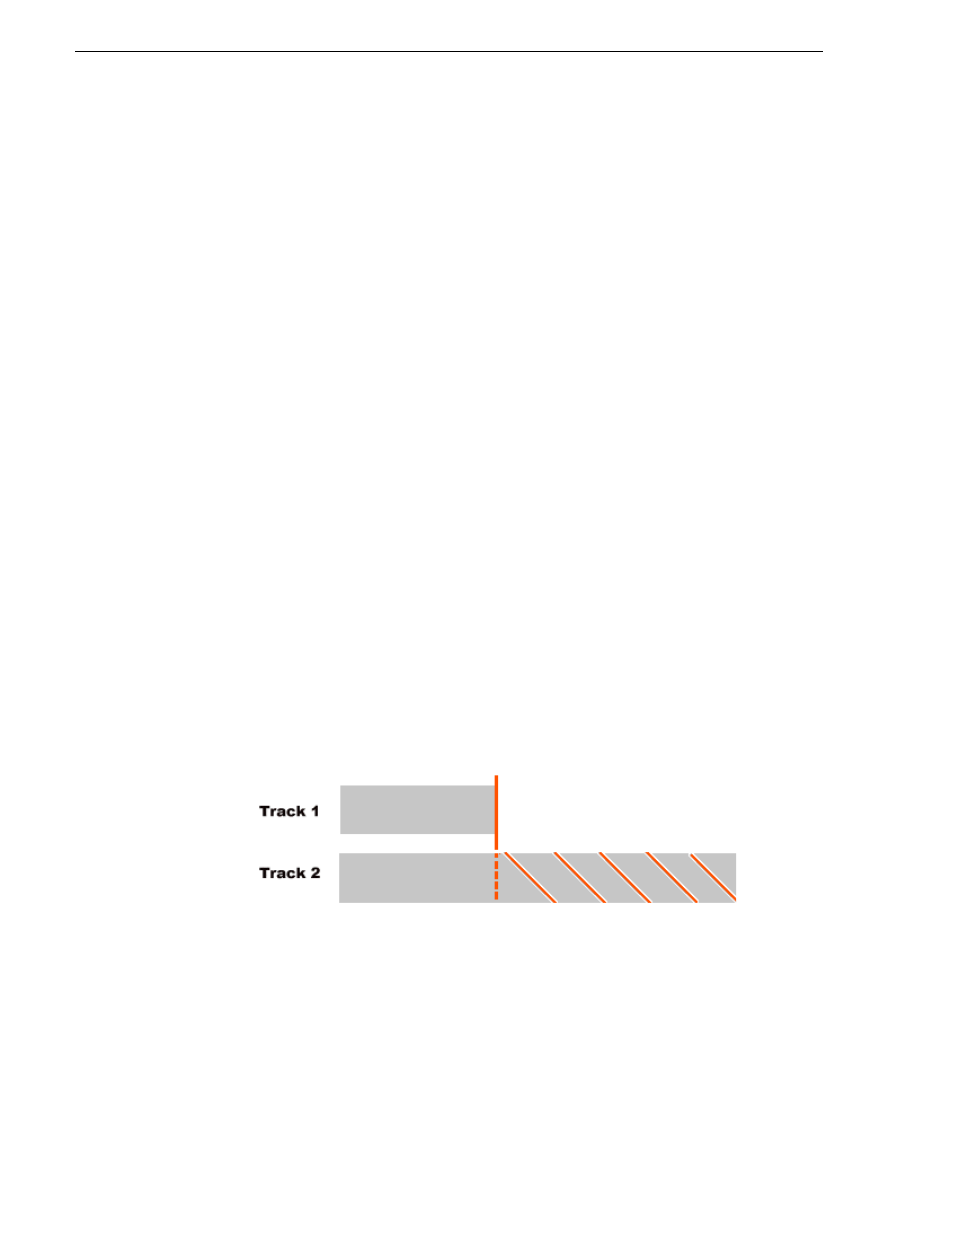
Clips may contain tracks of different lengths. The length of the overall clip is limited
to the length of the original track. For example, if you have a clip that is thirty seconds
long and you add a two-minute audio track, AppCenter adds only the first thirty
seconds of audio from the added track.
If an additional track is longer than the original track, any material
beyond the length of the original track is not played.