Step 6: installing & configuring allégro systems, Installing allégro systems – Grass Valley iControlEdge v.1.20 Installation User Manual
Page 47
Installing & Configuring Allégro Systems
43
2. Connect an RCA cable to the appropriate audio connectors from the back of your set-top box to the back
of the appropriate audio probe in your Densité frame (refer to the documentation for your specific
set-top box model and Densité probe).
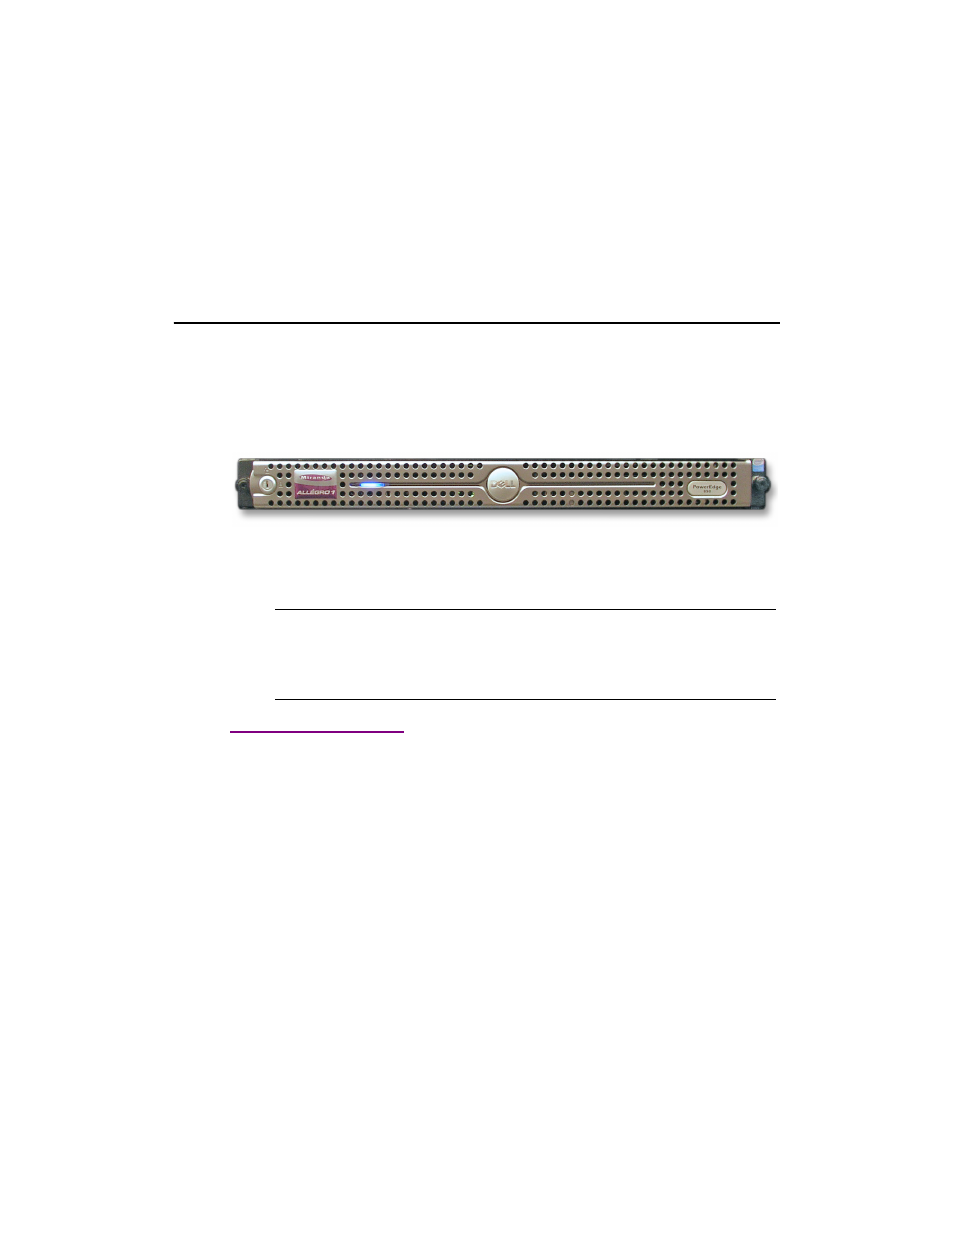
Step 6: Installing & Configuring Allégro Systems
The Allégro is the component of the iControl Edge system that provides a streaming solution for remote
monitoring. The Allégro encodes and transmits video and audio streams in real time with low latency,
making them available to multiple clients simultaneously via IP. It is designed for continuous, autonomous
operation, and is entirely integrated into the iControl Edge environment.
The Allégro-1 Analog is a one-channel streaming encoder server with composite video input and analog
stereo audio input. It allows video encoding (in aspect ratios of both 4:3 and 16:9) to resolutions that range
between 80 × 64 and 640 × 480, using Miranda’s proprietary MVC-1, MVC-2 and MVC-3 video codecs.
Installing Allégro Systems
In a basic configuration, one Allégro system is installed at each site to be monitored.
To install an Allégro system:
1. Install the Allégro in a standard 19-inch rack, using the rails, screws and washers provided. Make sure
that the unit has adequate ventilation.
2. Make the appropriate video, audio and network connections.
3. Connect the supplied AC power cord to the rear-panel AC receptacle, and secure it with the retainer clip
attached to the receptacle.
4. Plug the power cord into an AC outlet to turn the unit on.
Note: Allégro is designed to work in a secure private network with a bandwidth that is
proportional to the desired audio and video streaming quality as well as the number of
simultaneous users. Due to performance considerations, a maximum of 16 simultaneous users
can be connected to the streaming source from an Allégro.