Setting the base address, Setting dynares base address, To set the base address – Measurement Computing DataShuttle User Manual
Page 45: Dynares base address switch additive values
DataShuttle and DynaRes
11-09-01
Installing the DynaRes 4-5
Determine which is to be the First Board. (This is easy, if it is the sole board.) Then turn its dial to 1.
Determine which is to be the Second Board, then set its switch to 2.
Continue to set the switches for all boards in your installation to unique numerical values in an unbroken
sequence.
(As various models of our boards use different kinds of switches, please see their owner’s manuals for an
explanation of how to set switches on other boards.)
Setting the Base Address
The Base Address determines the logical system address where the personal computer expects to find all
data acquisition boards. Base Addresses must be the same on all boards.
The factory setting for all of our data acquisition products is 300H (in hexadecimal format).
It is rarely necessary, but if you have difficulty getting the board to work, you can change these switches to
values different from the factory settings. (Another device in your PC, for example, might be trying to use
the same Base Address.)
Indications of this are: if the program reports it cannot find your board, or if it reports fewer boards than
you really have, or if another board starts to work improperly after you install the DynaRes.
These problems indicate interference with another board using the same base address as the DynaRes
product.
Remedy the problem by changing the switches of all data acquisition boards to an address that has no
conflict. (If you have boards other than DynaRes in your system, please refer to their owner’ s manuals for
instructions on how to change their settings.)
Setting DynaRes Base Address
To Set the Base Address
1. Locate the Address Switches Remove the cover of your computer over the data acquisition board, and
find the location of the Base Address switches. Refer to the board illustration on page 4 – 2 in this chapter
and find “Base Address Switches” on the DynaRes diagram.
On the printed circuit board itself, this is a block of four DIP switches.
Note: Depending on the space available in your installation, it might be necessary to remove the board to
reach the Base Address Switches. If so, please follow the same precautions as in “Physical
Installation” on page 4 – 3.)
2. Change the Setting 300H is the normal base address. It consists of all four DIP switches’ being in the
“up” position (when the board is sitting in the computer’s expansion slot).
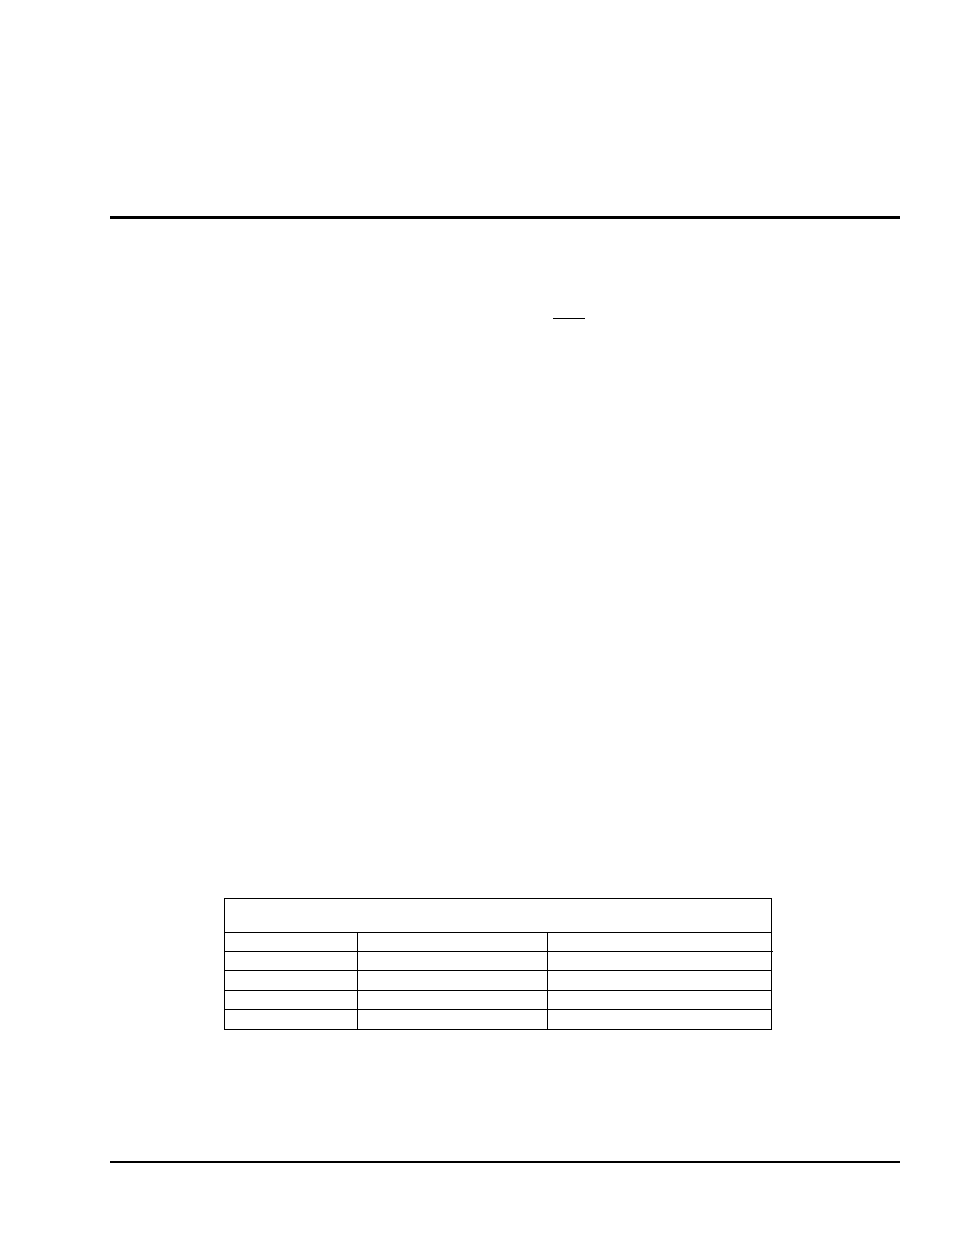
The DIP switches have the labels “1” through “4.” Sliding a switch to the “down” position adds a value to
300H:
DynaRes Base Address Switch Additive Values*
Switch
Position
To 300H Add
1
Down
10H
2
Down
20H
3
Down
40H
4
Down
80H
* As the switches are additive, your sliding Switches 1 and 4 down, for example, is going to add 10H and
80H to the 300H, equalling 390H.