Holding the movie camera for shooting (contd), 6 panning, Tilting – Panasonic NVS7EG User Manual
Page 44: Hints for panning and tilting
Attention! The text in this document has been recognized automatically. To view the original document, you can use the "Original mode".
ENGLISH
Holding the Movie Camera for
Shooting (contd)
6
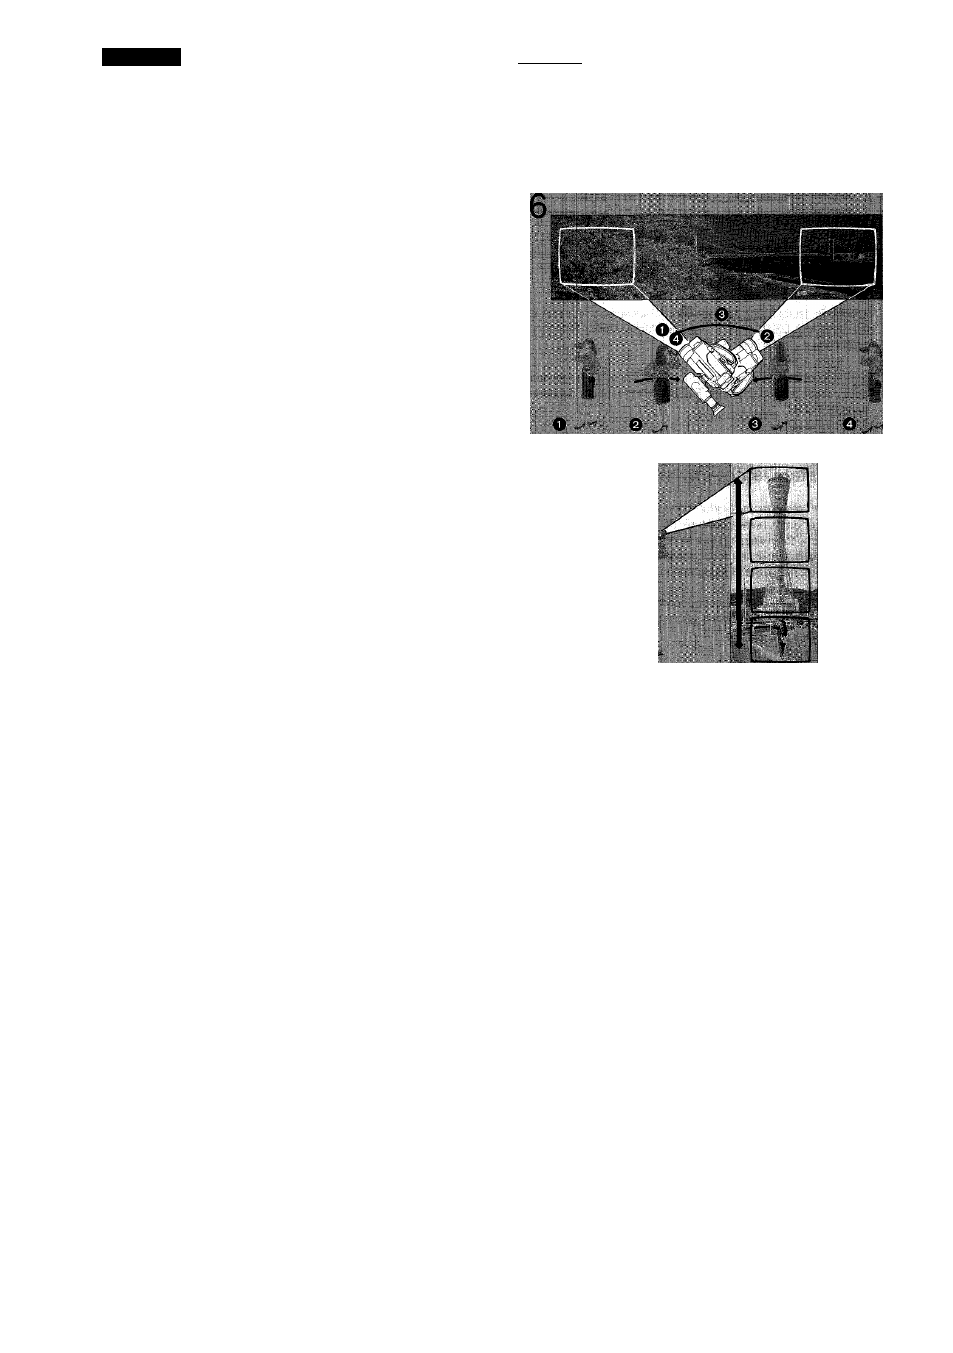
Panning.
Moving the N/lovie Camera from left to right, or vice versa, to follow
a moving subject or to provide a panoramic effect is called panriing.
O First, turn your botfy so that you are facing the point where the
panning is to end.
@ Without moving your feet, turh your upper body to face the point
where the panning is to start, and then start shooting.
Shoot in this position for about 5 seconds.
0 Gradually turn yoMr upper body toward the point where the
panning is to end.
Be careful to move the Movie Camera horizontally and very
slowly so that the viewer pan easily follow the action.
O Finish the panning at the same point'as in step 0.
At this point, continue shooting for about 5 seconds.
/ Tilting.
Moving the Movie Camera vertically from top td bottomi or vice
versa,
to
followa rfioying subject of to show a narrow tall object;
such as a tail building ortfee in itsfull height is called tilting.
•At the start and at the end of the tilting shot, hold the camera
stable and continue shooting for about 5 seconds in the same
way as for panning shots.
•To emphasize the height Of a subject, shoot it from the bottom to
the top.'
■ Hints for Panning and Tilting
For best results, define the start and end points'and rehearse the
panning or tilting before actually shooting. Be sure to keep the
panning speed very slow.
Iinibjkjy
go
I
-44-