QOMO QClick V7 User Manual
Page 16
Copyright © 2012 All Rights Reserved by QOMO HiteVision.
www.qomo.com
16
1. Click the Student button
in the Class Setting windows menu. An option menu
will pop up.
2. To add a new student, select Add from the option menu, click the Add icon
, or
right click on the student roster table.
3. To edit the selected student profile, select Edit from the option menu, click the Edit icon
, or click the needed cell on the student roster table.
4. To delete the selected student, select Delete from the option menu, click the Delete icon
, or right click on the student roster table.
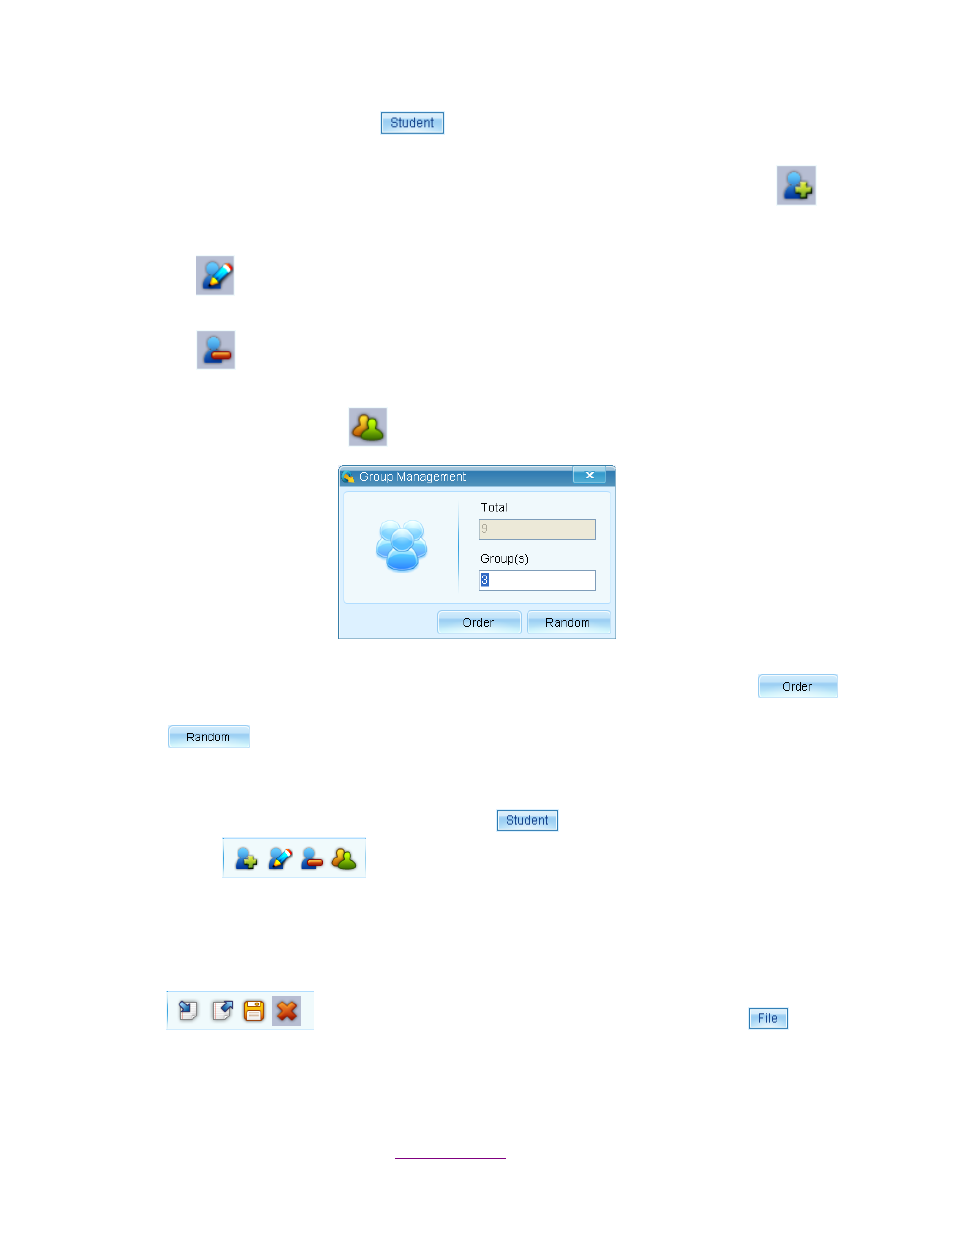
5. To set up groups for the students in the class, select Group from the option menu or
click the Group icon
to display the Group Management window.
There are two grouping methods displayed on the window: Order and Random. For orderly
grouping, type in the number of groups that you want and click the Order button
.
The software will automatically group the students in order. Click the Random button
for the random grouping. The software will randomly select students for the
grouping. Students can be grouped manually by double clicking the cells on the student
roster table.
Note: The functions of the Student button
are the same as the controls on the
toolbar
.
Other Settings
The other settings are Import, Export, Save and Exit. You can find these controls displayed on the
toolbar
and displayed in an option menu by clicking the File button
.
Import Class List
To import a class list, follow these steps: