Dakota Ultrasonics DFX-8 plus MANUAL2 User Manual
Page 62

Dakota Ultrasonics
58
displaying the submenu items. Alternatively, press the
LEFT and
RIGHT arrow keys multiple times using the left button wheel.
3) Press the
UP and DOWN arrow keys multiple times using the left button
wheel to scroll through the sub menu items until MATL 1PT is highlighted.
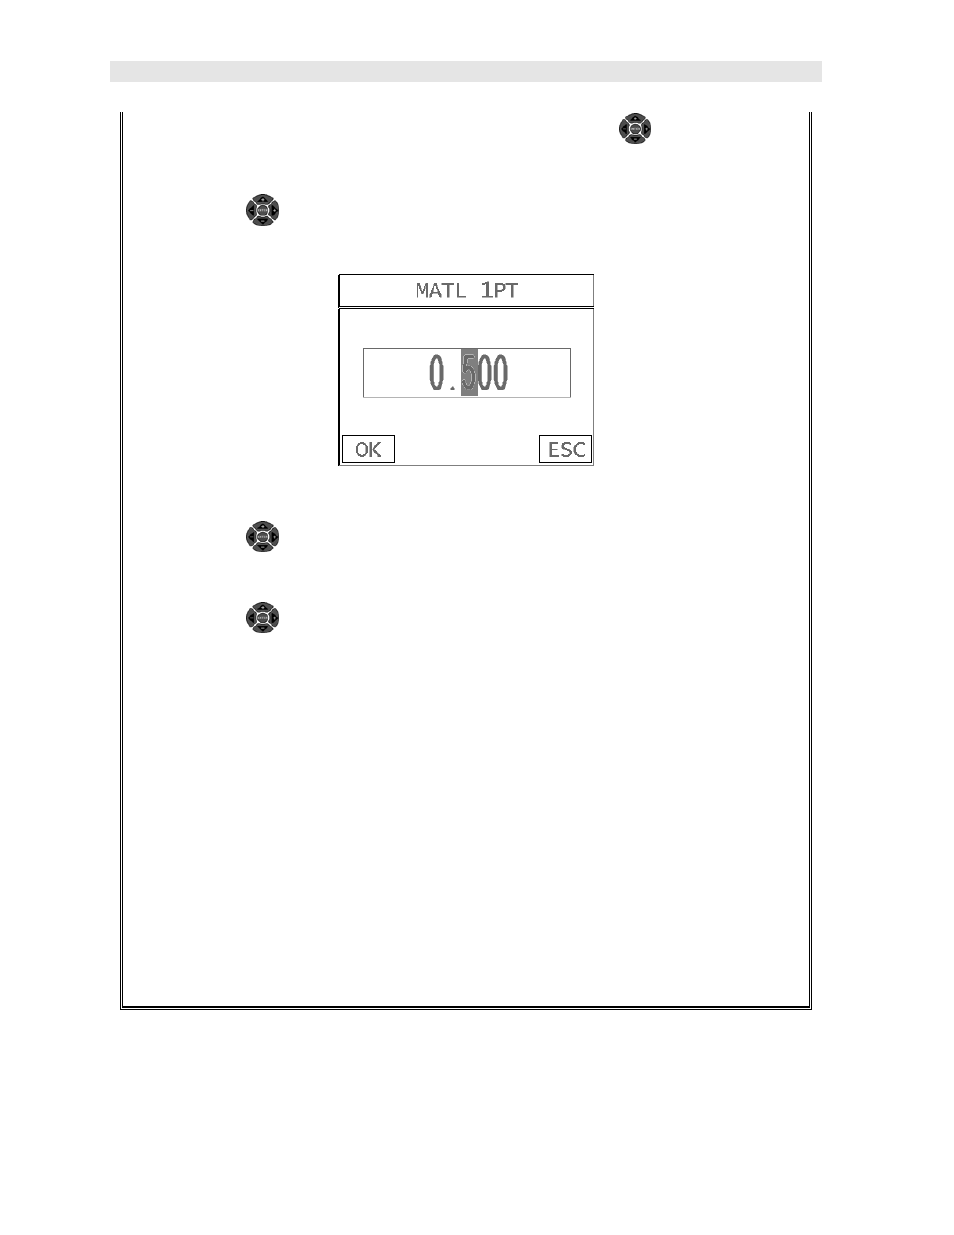
4) Press the ENTER key to display the Digits Edit Box.
5) Press the
UP and DOWN arrow keys multiple times using the left button
wheel to scroll the highlighted value.
6) Press the
LEFT and RIGHT arrow keys multiple times using the left
button wheel to scroll the digit locations.
7) Repeat steps 5 & 6 until the known thickness value is correctly displayed.
8) Press the OK key to calculate the velocity and return to the menu screen, or
ESC to cancel the one point calibration.
9) Finally, press the MEAS key to return to the measurement screen and begin
taking readings.
Note: CHECK YOUR CALIBRATION! Place the transducer back on the
calibration point. The thickness reading should now match the known
thickness. If the thickness is not correct, repeat the steps above.
At some point there may become a requirement for improved accuracy over a smaller
measurement range. In this case, a two point calibration would be most suited for
the job. For example, if the measurement range was .080” (2.03mm) to .250”
(6.35mm), the user would perform a one point calibration on a known thickness
