Creating a port trunk – Allied Telesis AT-S24 User Manual
Page 75
AT-S24 Version 2.01 User’s Guide
75
Creating a Port
Trunk
This section contains the procedure for creating a port trunk.
Caution
Do not connect the cables to the port trunk on the switch until after
you have created the port trunk. Connecting the cables prior to
creating the trunk will result in data loops in your network topology.
To create a port trunk, perform the following procedure:
1. From the Omega Main Menu, select System configuration.
The System Configuration menu is displayed.
2. Select System switch configuration.
The System switch configuration menu in Figure 16 on page 51 is
displayed.
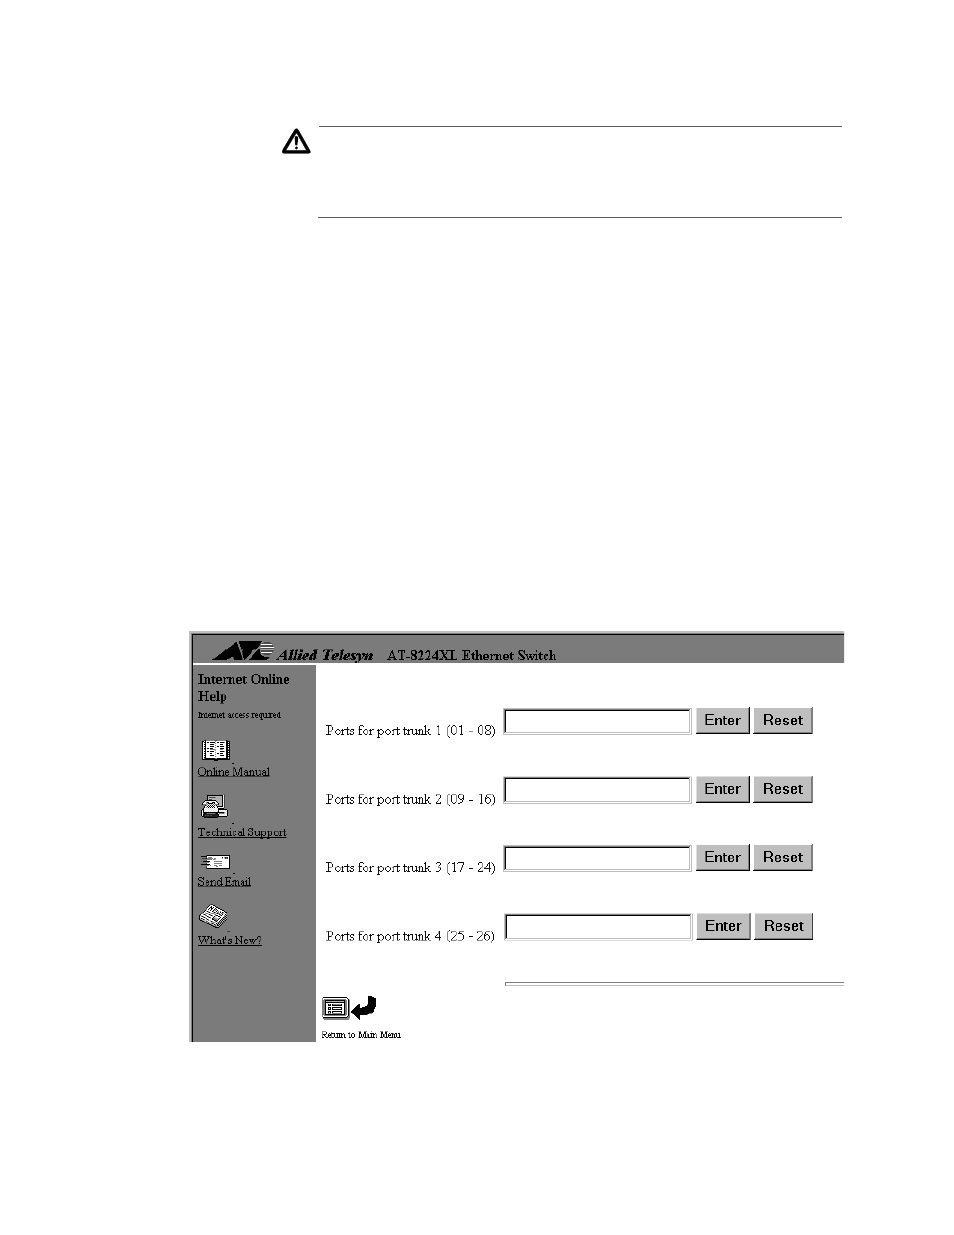
3. Select Port Trunking in the 10/100M Speed Port.
The Omega program displays the Port Trunking window, which lists
the port groups on the selected switch. This window will differ
depending on the number of ports on the switch. The example in
Figure 31 shows the port groups on an AT-8224XL Switch. Port
groups 1, 2, and 3 are for the twisted pair ports and port group 4 is for
an optional expansion module.
Figure 31 Port Trunking Window for an AT-8224XL Switch