Installing the ethernet line cards – Allied Telesis AT-SBx81CFC960 User Manual
Page 136
Chapter 7: Installing the AT-SBx81CFC960 Controller and Ethernet Line Cards
136
Section II: Installing the Chassis
Installing the Ethernet Line Cards
This section contains the installation procedure for the Ethernet line cards.
The illustrations show the AT-SBx81GP24 Line Card. The procedure is
the same for all the cards.
Note
Please review “Guidelines to Handling the Controller and Line
Cards” on page 128 before performing this procedure.
This procedure requires the following tools:
#2 Phillips-head screwdriver (not provided)
#2 Phillips-head, 5 inch-lbs torque screwdriver (optional — not
provided)
To install the Ethernet line cards, perform the following procedure:
1. Choose a slot in the chassis for the Ethernet line card.
You may install Ethernet line cards in slots 1 to 4. You may also use
slot 6 if the chassis has only one controller card. (Slot 5 is reserved for
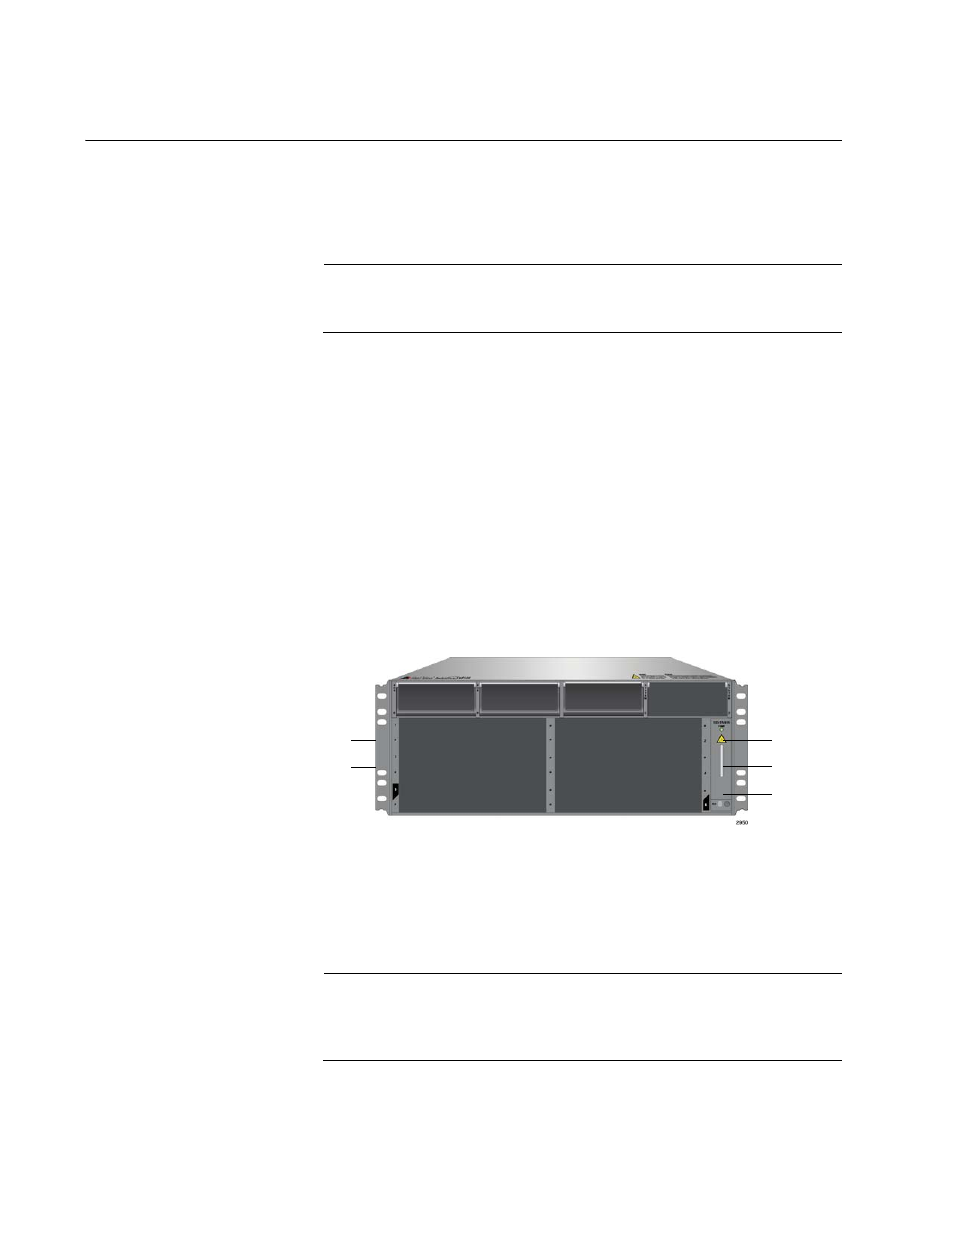
the controller card.) The slots are shown in Figure 76.
Figure 76. Slots 1 to 4 for the Ethernet Line Cards
2. Remove the line card from the shipping package. If it is missing or
damaged, contact your Allied Telesis sales representative for
assistance.
Note
Store the packaging material in a safe location. You should use the
original shipping material if you need to return the unit to Allied
Telesis.
Slot 1
Slot 3
Slot 2
Slot 4
Slot 6