Printhead removal – HP Designjet 5100 Printer series User Manual
Page 49
3-5
Maintain the ink system
HP Designjet 5100 printer Customer Reference Guide
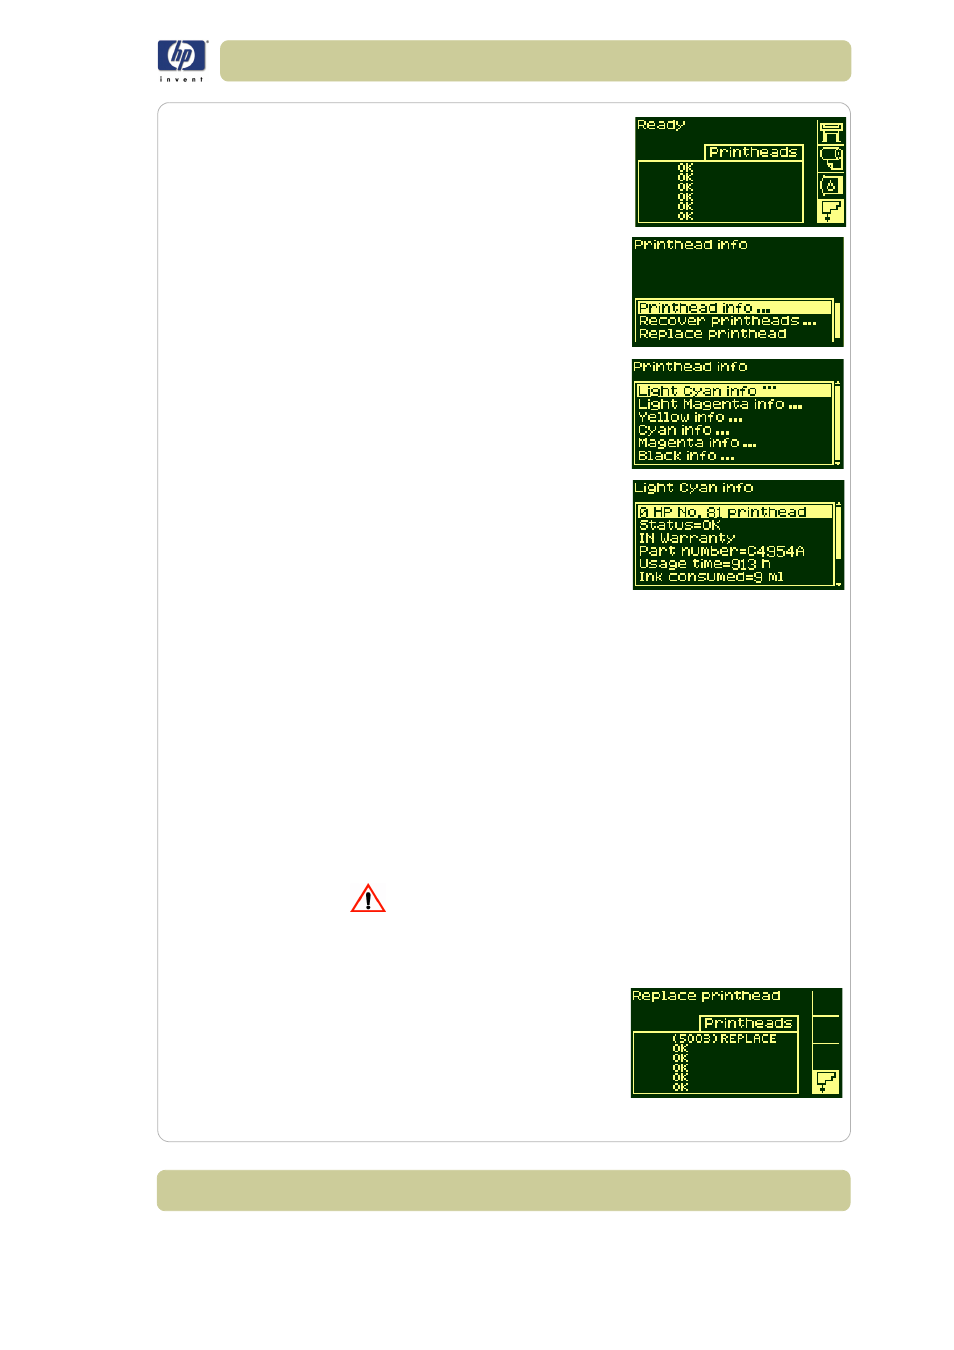
2 Press the ↑ or ↓ key until the front panel
displays the printhead menu icon. Press the
Enter
key
.
3 Press the ↑ or ↓ key until the front panel
highlights ‘Printhead info …’. Press the
Enter
key
.
4 Press the ↑ or ↓ key until the front panel
highlights the color that you want to see
information on. Press the Enter key.
5 The front panel displays information on the
selected printhead.
The information supplied is:
The status of the printhead warranty
The make of the printheads (HP 705 is recommended)
The current status of the printhead
The re-order part number of the printhead
The time that the printhead has been operating in the printer
How much ink has been consumed by the printhead
The year and the month that the printhead was manufactured
Printhead removal
WARNING
Make sure the printer wheels are locked (the brake
lever is pressed down) to prevent the printer from
moving.
Printhead replacement must be performed with the printer switched on at the
power isolation switch.
1 Select the Printhead menu on the front
panel by using the ↑ and ↓ keys, and then
press the ENTER key.