4 removing and replacing parts, Library robotics controller, Required tools – HP EML E-series Tape Libraries User Manual
Page 81: Removing the library robotics controller
4 Removing and replacing parts
This chapter provides information for the removal and replacement of each expansion module and
field replaceable unit (FRU).
CAUTION:
Components within the library contain static-sensitive parts. Use appropriate ESD precautions, including
the use of a grounding strap, when performing service inside the library. For more information, see
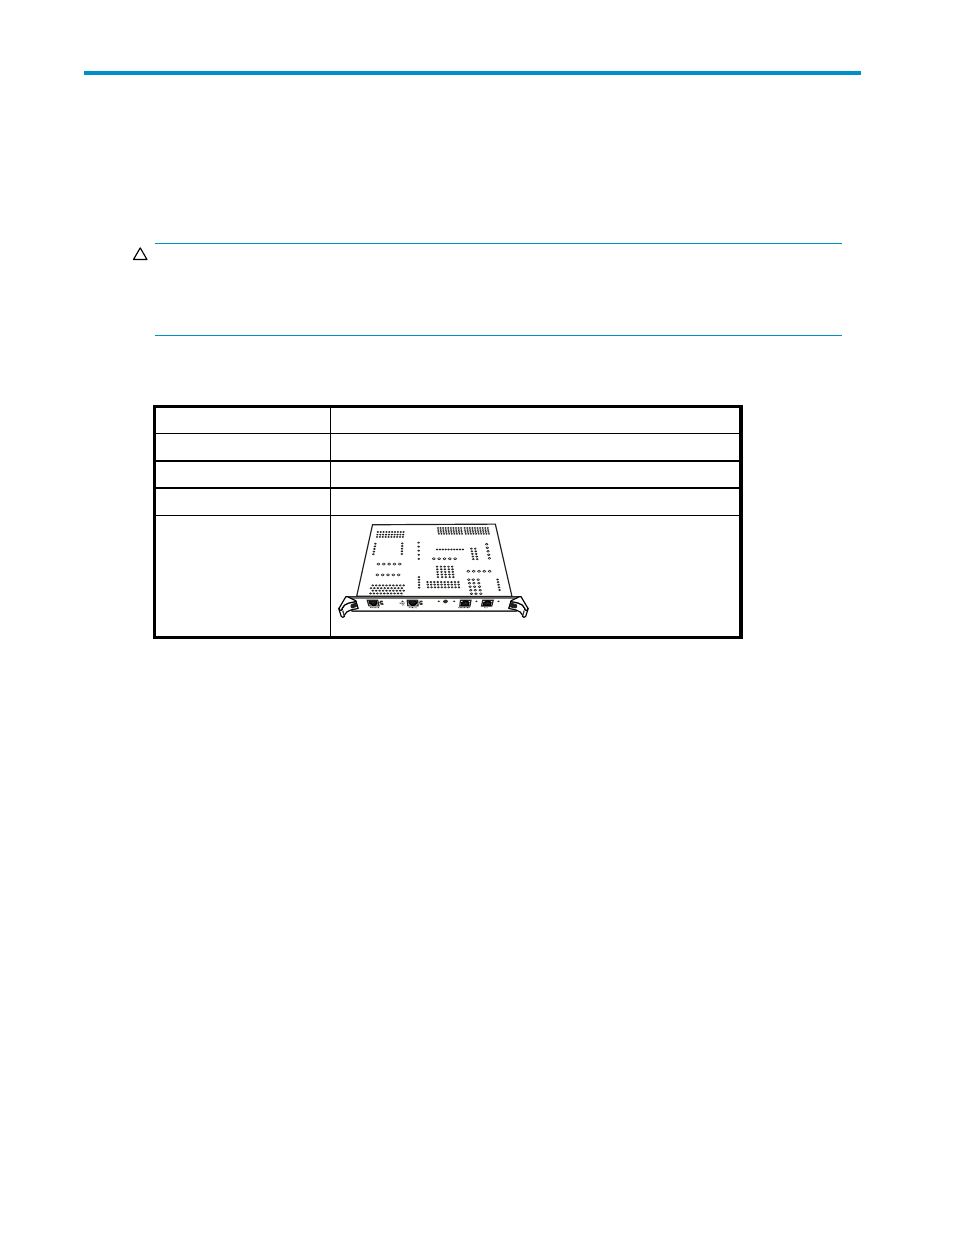
Library robotics controller
Part Number
375814-001 or 435891-001
Location
Top slot in the base-module card cage
Characteristics
Contains one Ethernet connection to the Interface Manager card
Function
Controls the movement of the library robotics
Illustration
10462
Required tools
•
#1 Phillips screwdriver
Removing the library robotics controller
1.
Use your backup software to stop all library activity and make sure the picker is empty.
2.
Turn off the power to the library.
3.
Identify the library robotics controller in the top slot in the card cage in the base module.
4.
Label the cables or write a note that shows the locations of all the cables plugged into the library
robotics controller to make it easier to reconnect them later.
5.
Unplug all cables from the library robotics controller.
6.
Loosen the captive screws in the ejector handles at both ends of the library robotics controller.
Use a #1 Phillips screwdriver.
7.
Push in the red tabs on the ejector handles and push the ejector handles to the outside.
8.
Pull the ejector handles to remove the library robotics controller from the library.
Enterprise Modular Library E-Series
81