Configuring the layer 2 protocol – ADTRAN 600R User Manual
Page 161
Total Access 600 Series System Manual
Section 4 User Interface Guide
61200624L1-1B
© 2004 ADTRAN, Inc.
159
2. Configuring the Layer 2 Protocol
For more details on the configuration parameters discussed in this section, refer to the following pages:
Layer 2 Frame Relay Protocol menus beginning on
Layer 2 PPP Protocol menus beginning on
Layer 2 Ethernet menus beginning on
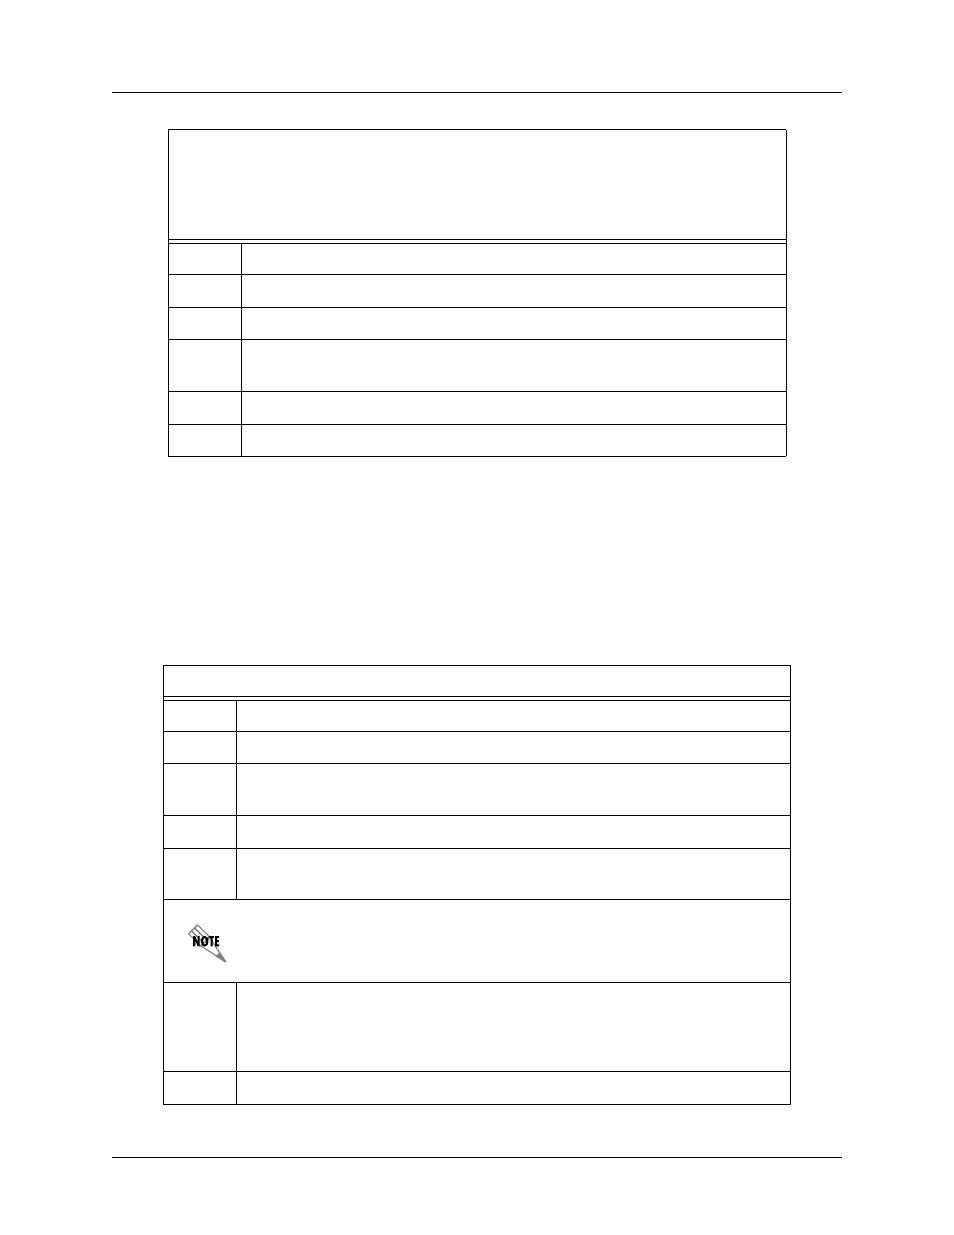
Ethernet Interface Setup Instructions
Most applications should not require a manual setup for the Ethernet interface. By
default, the Ethernet interface is configured to auto-detect the data rate (as either 10
or 100 Mbps). The following steps disable the auto-negotiation parameter and
manually configure the interface.
Step
Action
1
From the main menu, select I
NTERFACES
.
2
Highlight the C
ONFIG
menu for the ETH interface and press
NTER
>.
3
Use the right arrow to select A
UTONEGOTIATION
and press
NTER
>. Use the
down arrow to choose OFF.
4
Select the D
ATA
R
ATE
field and specify either 10B
ASE
T or 100B
ASE
T.
5
Select the D
UPLEX
T
YPE
field and specify either H
ALF
D
UPLEX
or F
ULL
D
UPLEX
.
Layer 2 Protocol (FRE) Configuration – T1 Interface
Step
Action
1
From the main menu, select L2 P
ROTOCOL
and press
NTER
>.
2
Use the arrow keys to select the P
ROTOCOL
field for the T1 interface. Press
NTER
>. Select FRE from the list of available protocols.
3
Highlight the C
ONFIG
menu for the T1 interface and press
NTER
>.
4
Set the M
AINTENANCE
P
ROTOCOL
to A
NNEX
D (ANSI), A
NNEX
A (q933a), LMI,
OR
S
TATIC
(no sig).
The M
AINTENANCE
P
ROTOCOL
should be set based on the Frame Relay switch.
5
Down arrow and press
NTER
> on DLCI M
APPING
. Press the right arrow key to
create an entry. To create additional entries, highlight the N
UM
field and press
the key. To delete an entry, highlight the N
UM
field for the entry to delete
and press the
6
Set A
CTIVE
to Y
ES
.