Reset actuator and led, Hardware reset modes, Figure 8. reset button and led – Extron Electronics DMP 128 User Guide User Manual
Page 16
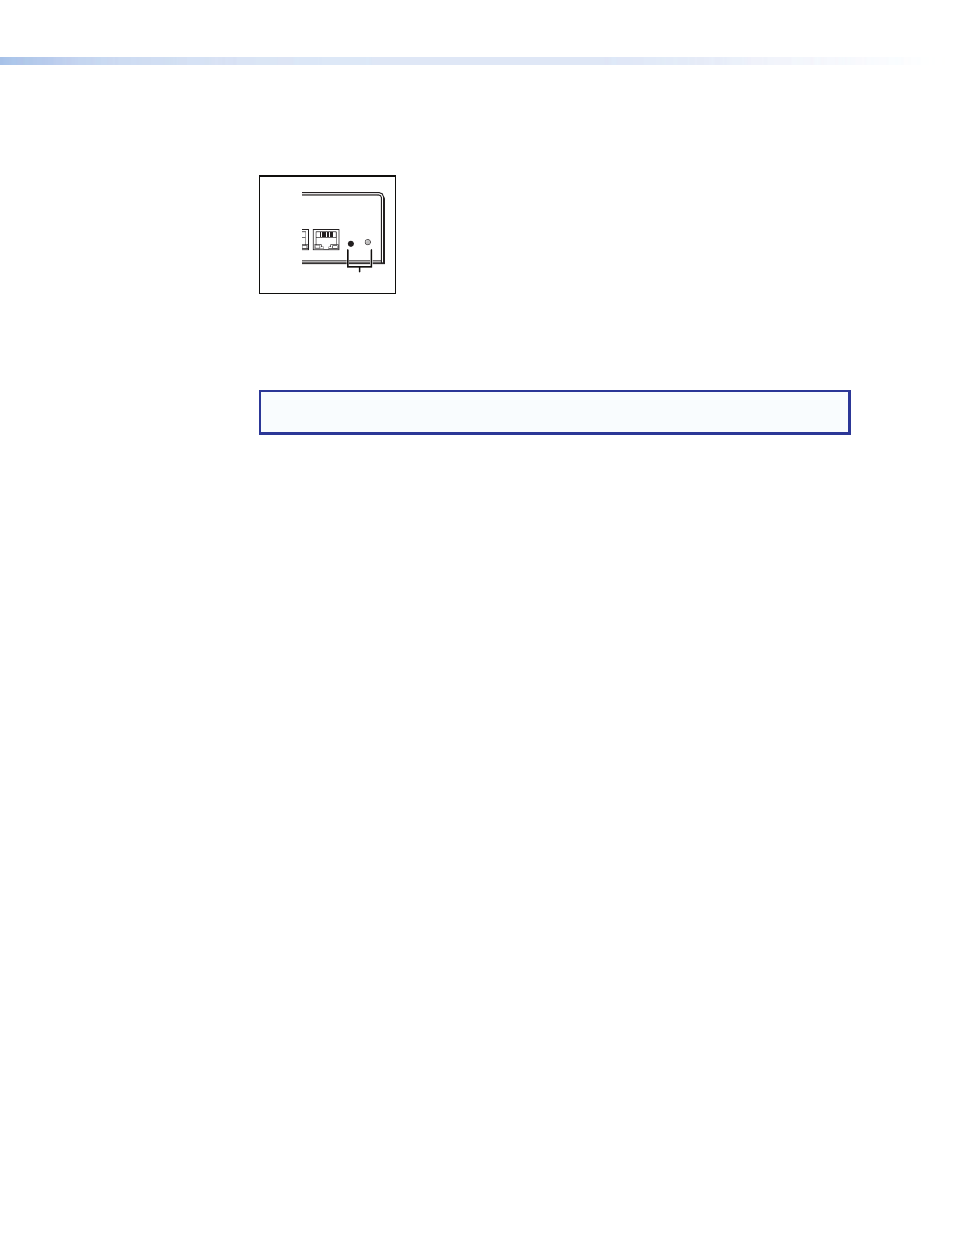
reset actuator and LED
A recessed button on the rear panel initiates several reset modes. The rear panel LED
blinks to indicate the reset mode.
100-240V ~ --A MAX
50/60 Hz
LAN
EXP
LINE
PHONE
RS-232
Tx Rx G
RESET
MIC +48V
5
6
7
8
1
2
3
4
8
4
1
1 2 3 4 5 G
6
1
2
3
4
7 8 9 10 G
11 12 13 14 15 G
16 17 18 19 20 G
2
3
4
5
6
7
8
9
10
11
12
7
3
6
2
5
1
MIC/LINE INPUTS
OUTPUTS
DIGITAL I/O
REMOTE
AT
DMP 128 C P AT
j
Rear Panel
Figure 8.
Reset Button and LED
hardware reset Modes:
notE: The reset modes listed below close all open IP and Telnet connections, and
close all sockets.
With power on, when the reset button is held down, the LED blinks every three seconds.
At the first blink Mode 3 is available, at the second blink Mode 4 is available, and the third
blink indicates Mode 5 is available. The reset modes have separate and distinct functions
outlined below (see
mode 1 — Firmware reset: Disconnect power to the DMP 128. Press and hold the
reset button while applying power to return the firmware to the version shipped with the
unit from the factory. Event scripting does not start when powered on in this mode. This
allows recovering a unit with incorrect or corrupt firmware.
All user files and settings are maintained. When returning the unit to an earlier firmware
release, some user web pages can work incorrectly.
mode 3 — Events reset: With power on, press and hold the reset button until the reset
LED blinks once (~3 seconds). Release the reset button, then within one (1) second press
it again to toggle events on or off, depending on the current state.
•
If event logging is currently stopped, following the momentary (<1 sec.) press, the
reset LED flashes twice indicating events logging has begun.
•
If any events are currently running, following the momentary (<1 sec.) press, the reset
LED flashes three times indicating the events logging has stopped.
If the second momentary press does not occur within 1 second, Mode 3 is exited.
mode 4 — IP Address reset: With power on, press and hold the reset button about
6 seconds until the reset LED blinks twice. Release the reset button, then within one (1)
second, press it again to reset the IP settings.
mode 4:
•
Enables ARP program capability
•
Sets IP back to factory default IP address (192.168.254.254)
•
Sets subnet back to factory default (255.255.0.0)
•
Sets gateway back to factory default (0.0.0.0)
•
Sets digital I/O port mapping back to factory default
•
Turns DHCP off
•
Turns events off
If a second momentary press does not occur within 1 second, the reset is ignored.
DMP 128 • Installation and Operation
10