Modifying playlist information, How to jump to an element timecode, Various options – EVS IPDirector Version 6.0 - November 2012 Part 6 User's Manual User Manual
Page 56
3. Enter the remaining time duration, corresponding to the point you want the system
jumps to.
4. Press ENTER.
The system jumps to the timecode corresponding to the remaining time duration before
the OUT point.
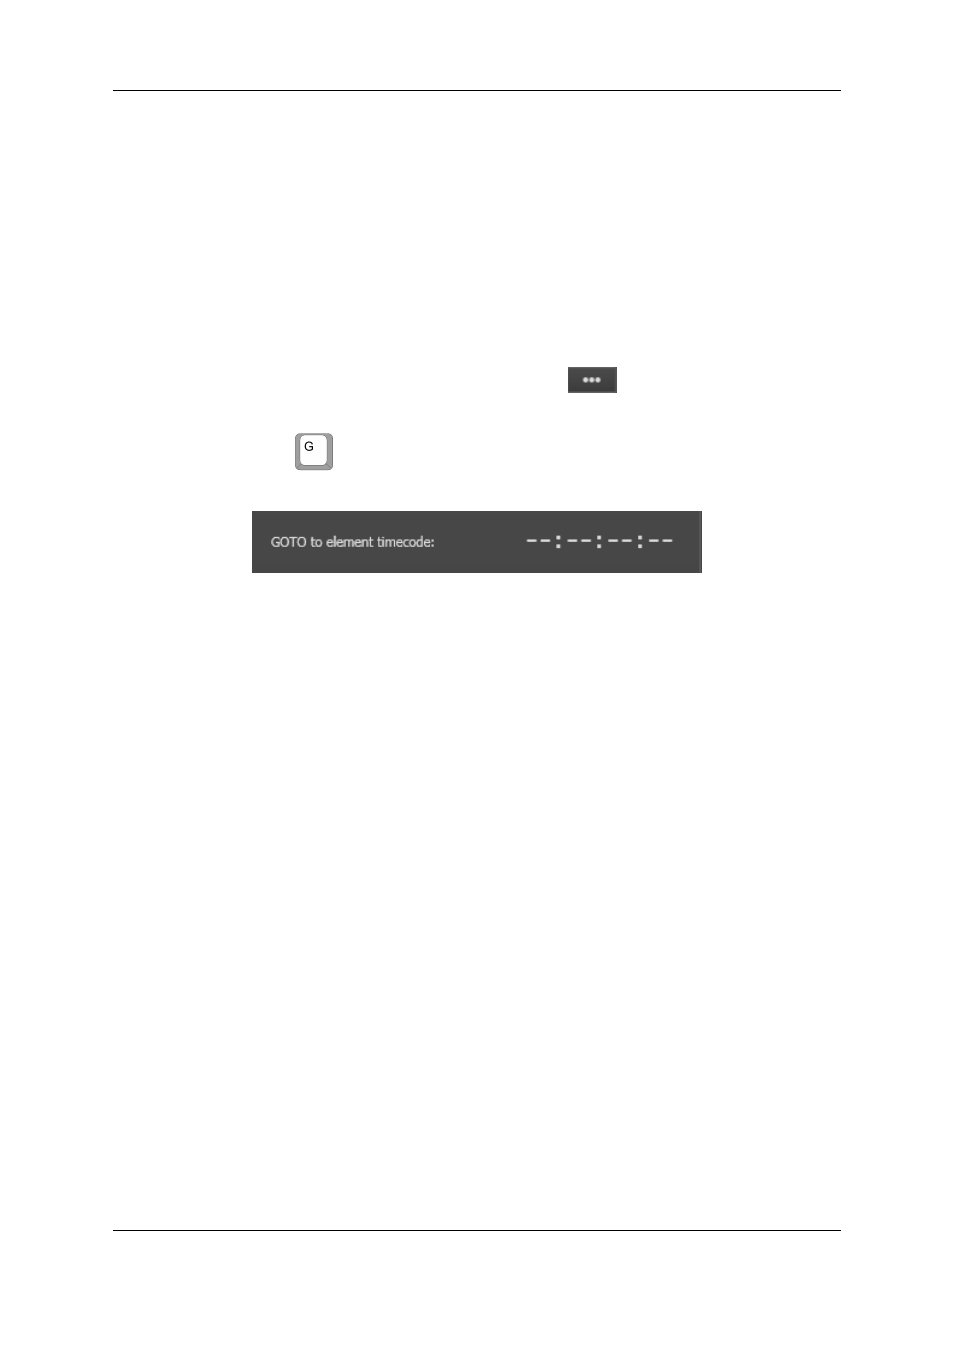
How to Jump to an Element Timecode
To jump to a specific timecode within an element, proceed as follows:
1. Select a playlist element.
2. Click in the GoTo Element Timecode button
OR
press
key.
The GoTo Element Timecode zone is displayed.
3. Enter the timecode value, corresponding to the point you want the system jumps to.
4. Press ENTER.
The system jumps to the defined timecode of the selected element.
1.4.7.
Modifying Playlist Information
Various Options
Modifying playlist information, such as name, tape ID, keywords, playlist type, sent to
destinations, published to groups, metadata, is allowed either in the Playlist Panel, in the
Clip-List tab of the Control Panel or in the Playlist tree view of the Database Explorer.
To modify playlist information via the Control Panel, refer to the section "Modifying Media
Information" of the Control Panel chapter in part 5 of the user manual.
To modify playlist information via the Database Explorer, refer to the section Playlist
Contextual Menu of the Database Explorer chapter in part 3 of the user manual.
How to Modify Playlist Information or Rename a
Loaded Playlist
To modify playlist information via the Playlist Panel, proceed as follows:
1. Load the playlist in the Playlist Panel.
2. Right-click on the Playlist Name field.
The Playlist contextual menu opens.
46
1. Playlist Panel
EVS Broadcast Equipment S.A. - November 2012
Issue 6.00.B