Pre-operation inspection – RIDGID Hydraulic Pipe Bender User Manual
Page 9

Hydraulic Pipe Bender
7
• Inspect the power cord and plug for damage or
modification, such as cuts or a missing ground
plug.
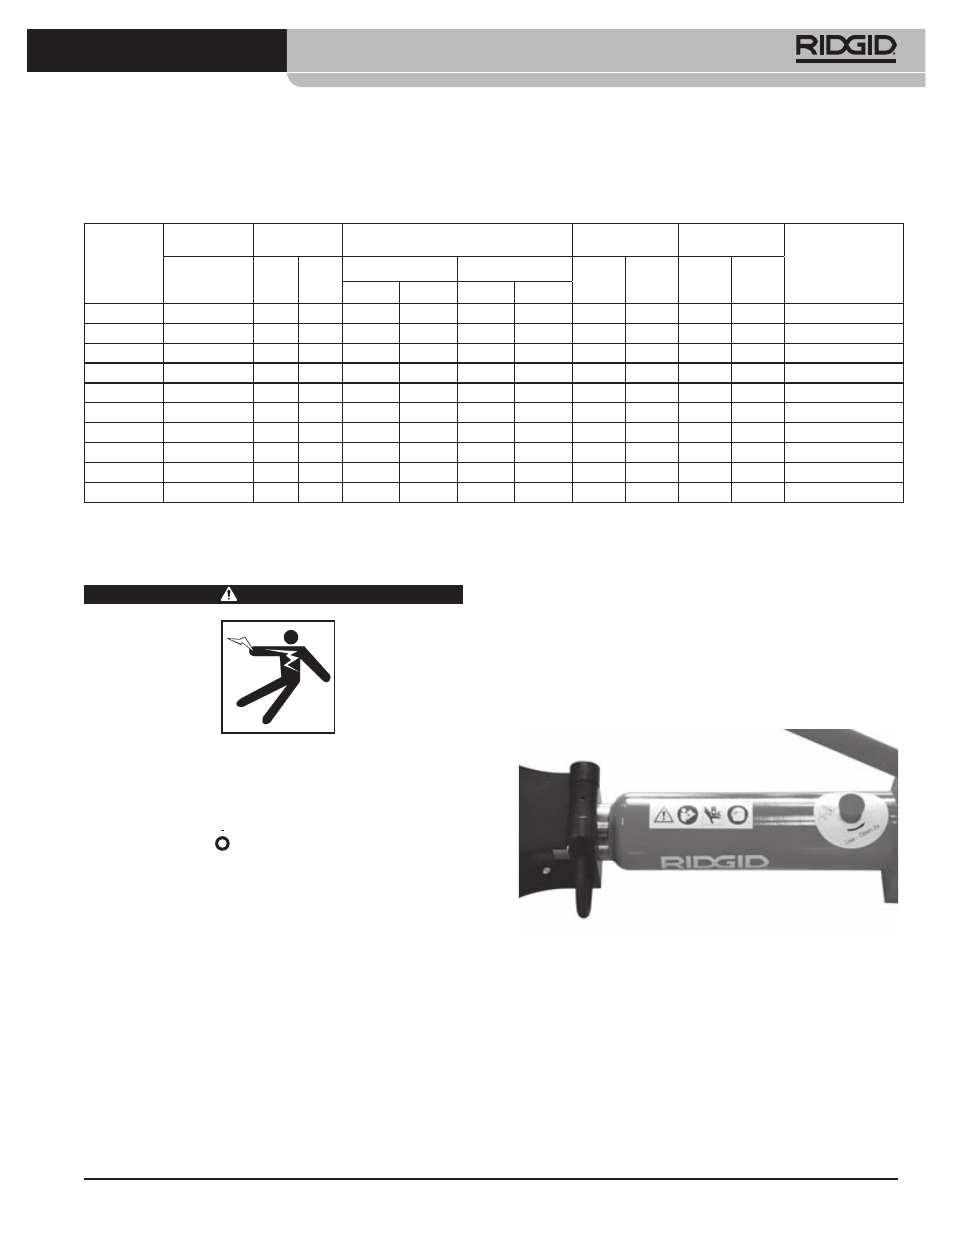
• Presence and legibility of the warning label. See
Figure 4A and 4B.
If any issues are found during the inspection of the
bender, do not use until those issues have been cor-
rected.
Figure 4A – Warning Label (Manual)
Manual
Pre-Operation Inspection
WARNING
Before each use, inspect your pipe bender and cor-
rect any problems to reduce the risk of serious inju-
ry from electric shock, crushing injuries and other
causes and prevent machine damage.
1. If an electric bender, make sure the ON/OFF switch
is in the OFF ( ) position and the power cord is
un plugged.
2. Clean any oil, grease or dirt from the pipe bender,
including the handles and controls. This allows bet-
ter inspection of the pipe bender and helps prevent
the pipe bender or control from slipping from your
grip during use.
3. Inspect the bender for:
• Hydraulic leaks. Check the hydraulic fluid level
and adjust as needed (see Maintenance Section).
• Any broken, cracked, bent, missing, misarranged
or binding parts or any other condition that may
prevent the safe and normal operation of the
bender.
• Cracks or breaks in the formers and corner sup-
ports.
All benders come with appropriate formers and corner supports for the size range, and are packaged in a
reusable wooden crate. Formers are for pipes to EN10255 and equivalent as listed below:
Former
* Bend radius to centerline of pipe. ** See description for more information.
Catalog No.
Nominal Pipe
Size
Pipe O.D.
Wall Thickness
Bend Radius*
Weight
Pipe**
Type/Standard
Inch
Inch
mm
MIN.
MAX.
Inch
mm
lbs
kg
Inch
mm
Inch
mm
37218
1
/
4
"
0.540 13,5
0.08
2,2
0.16
4
2.36
60
2.2
1
EN10255, ASTM A53
37223
3
/
8
"
0.675 17,2
0.09
2,3
0.16
4
1.77
45
1.8
0,8
EN10255, ASTM A53
37228
1
/
2
"
0.840 21,3
0.10
2,6
0.16
4
1.97
50
2.4
1,1
EN10255, ASTM A53
37233
3
/
4
"
1.050 26,9
0.10
2,6
0.16
4
3.15
80
4.0
1,8
EN10255, ASTM A53
37238
1"
1.315 33,7
0.13
3,2
0.20
5
4.33
110
4.0
1,8
EN10255, ASTM A53
37243
1
1
/
4
"
1.660 42,4
0.13
3,2
0.20
5
5.31
135
4.6
2,1
EN10255, ASTM A53
37248
1
1
/
2
"
1.990 48,3
0.13
3,2
0.20
5
6.10
155
9.5
4,3
EN10255, ASTM A53
37253
2"
2.375 60,3
0.14
3,6
0.22
5,5
8.66
220
14.4
6,5
EN10255, ASTM A53
37258
2
1
/
2
"
2.875 76,1
0.14
3,6
0.28
7
12.60
320
38.5
17,5
EN10255, ASTM A53
37263
3"
3.500 88,9
0.16
4
0.30
7,6
15.35
390
59.9
27,2
EN10255, ASTM A53
