Operating instructions – RIDGID Hydraulic Pipe Bender User Manual
Page 11
Hydraulic Pipe Bender
9
Figure 7 – Assembled 2”/3” Electric Bender
6. Open the fill cap on the cylinder two full turns. This
allows air into the reservoir during use for proper
operation. (See Figure 10.)
Powering the Electric Bender
1. Confirm that the ON/OFF ( / ) switch is in the
OFF ( ) position.
2. Makes sure that the power cord is routed away
from the work area. Run the cord along a clear path
to the outlet, and with dry hand plug in. Keep all
connections dry and off the ground. If the power
cord is not long enough, use an extension cord
that:
• Is in good condition.
• Has a plug similar to that on the tool.
• Is rated for outdoor use and contains a W or W-A
in the cord designation (i.e. SOW), or complies
with H05VV-F, H05RN-F types or IEC type design
(60227 IEC 53, 60245 IEC 57).
• Has sufficient wire size (16 AWG (1,5 mm²) for 50’
(15,2 m) or less, 14 AWG (2,5 mm²) for 50’ – 100’
(15.2 m – 30.5 m) long). Undersized wires can
overheat, melting the insulation or causing a fire
or other damage.
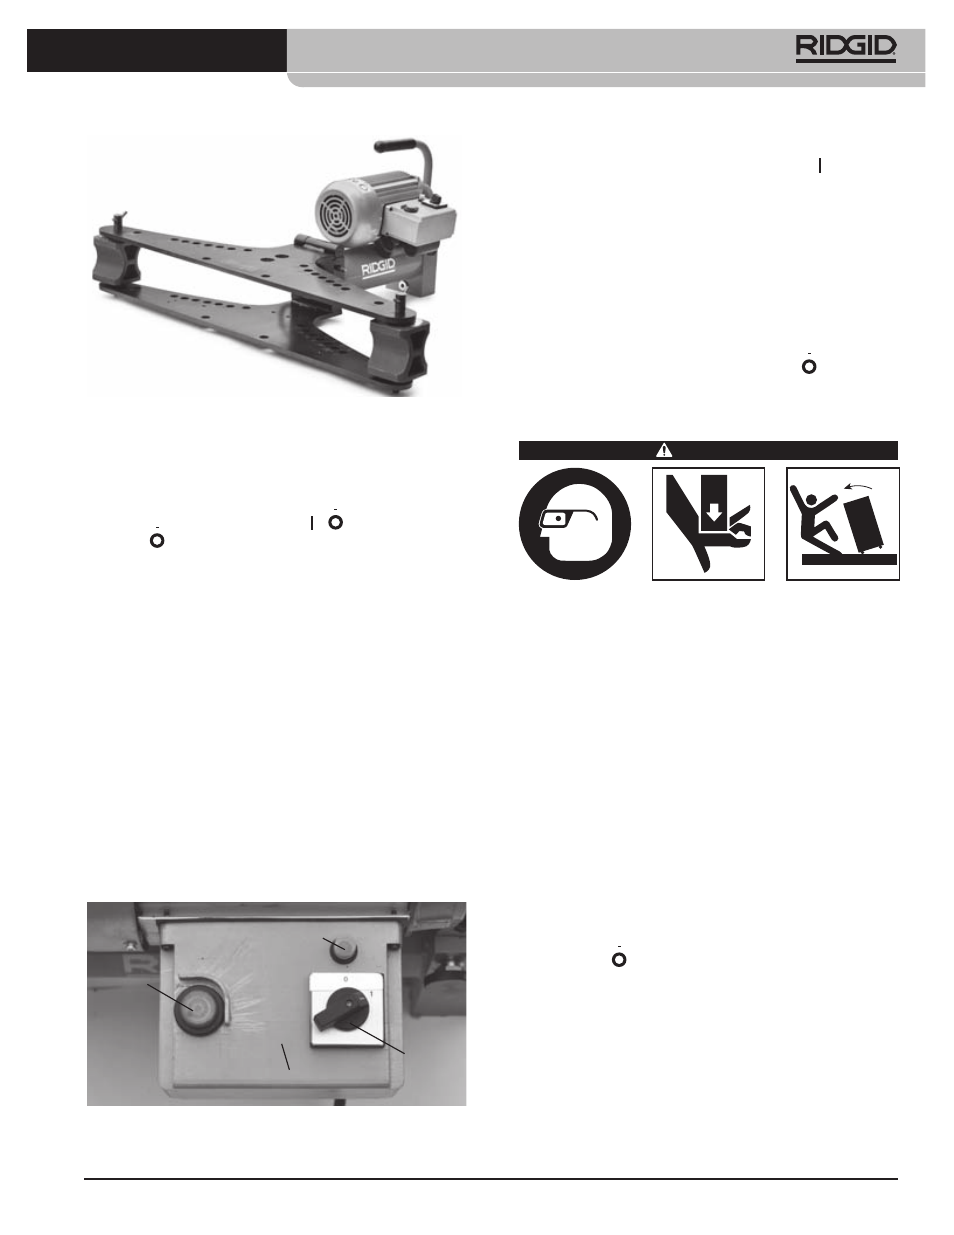
Figure 8 – Electric Bender Controls
Run Switch
Circuit Breaker
Motor
ON/OFF
Switch
3. Check the bender for proper operation.
Move the ON/OFF switch to the ON ( ) position.
Press and release the Run switch. If the ON/OFF
switch and Run switch do not control the motor
operation, do not use the bender until it has been
repaired.
Depress and hold the Run switch. Inspect for mis-
alignment, binding, odd noises or any other unusual
conditions. Release Run switch. If any unusual con-
ditions are found, do not use the machine until it has
been repaired.
Move the ON/OFF switch to the OFF ( ) position.
Operating Instructions
WARNING
Keep your fingers and hands away from the bend-
ing attachments and work piece during bending.
Your fingers, hands and other body parts can be
caught, crushed, fractured or amputated if they
become entangled in the bender or between these
components and any other object.
Properly support the tool and pipe. This will help to
prevent the tipping of the pipe and equipment.
Pipe moves during bending and can cause strik-
ing or crushing injuries. Be sure there is adequate
clearance around the pipe before bending
Follow operating instructions to reduce the risk of
injury from entanglement, striking, crushing, elec-
trical shock and other causes.
Loading the Pipe
1. Confirm that the equipment and work area has
been properly set up and is free of by-standers and
other distractions. Confirm ON/OFF switch is on
the OFF ( ) position.
2. If needed, mark the pipe to be bent at the appro-
priate location.
3. Remove the pins from the corner supports and
open the upper wing.
4. Choose the appropriate bending former for the
pipe to be bent. Formers are marked with the size
and catalog number. See the Specifications for more
information. Place former over the end of the ram.