Creating a pan & scan effect – Matrox Electronic Systems Matrox RT.X2 User Manual
Page 136
128
Chapter 4, Setting Up Realtime Effects with Adobe Premiere Pro
Creating a pan & scan effect
The Matrox pan & scan effect lets you easily convert footage from one aspect
ratio to another. Tracking on-screen action to make accurate judgements is easy
because you see the entire source clip and the section of it that will become the
final result.
You can use the Matrox pan & scan effect to convert your entire production to
another aspect ratio. To do this you should apply the pan & scan effect to a nested
sequence:
1
Choose
File > New > Sequence
.
2
Give your new sequence a name and click
OK
.
3
Drag your original sequence from the
Project
panel into the new sequence.
4
Apply the Matrox pan & scan effect to the new sequence.
5
Adjust the pan & scan settings as desired for your entire production.
For more information about creating nested sequences, see your Adobe Premiere
Pro documentation.
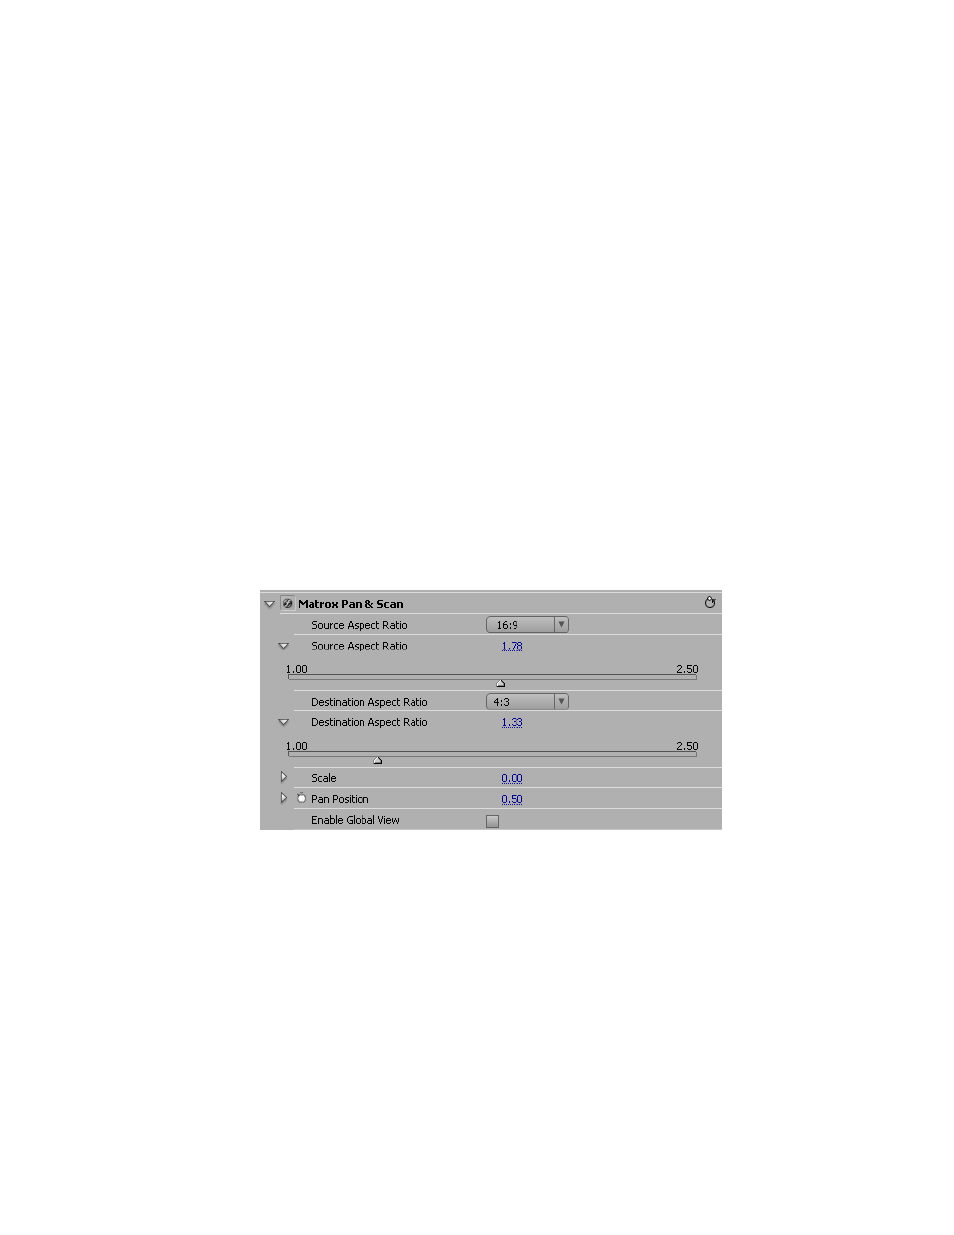
° To set up a Matrox pan & scan effect:
Click the triangle beside
Matrox Pan & Scan
to expand the property list.
•
Source Aspect Ratio
Use this to select the aspect ratio of your source
clip. You can click the triangle on the right to expand the list and choose a
predefined aspect ratio or use the
Source Aspect Ratio
slider to select a
custom aspect ratio.
• Destination Aspect Ratio
Use this to select the new aspect ratio that you
want for your clip. You can click the triangle on the right to expand the list
and choose a predefined aspect ratio or use the
Destination Aspect Ratio
slider to select a custom aspect ratio.