Creating a mask effect – Matrox Electronic Systems Matrox RT.X2 User Manual
Page 122
114
Chapter 4, Setting Up Realtime Effects with Adobe Premiere Pro
Creating a mask effect
The Matrox mask effect lets you choose from dozens of soft-edged cutout shapes
that you can apply to a clip to superimpose it onto another clip.
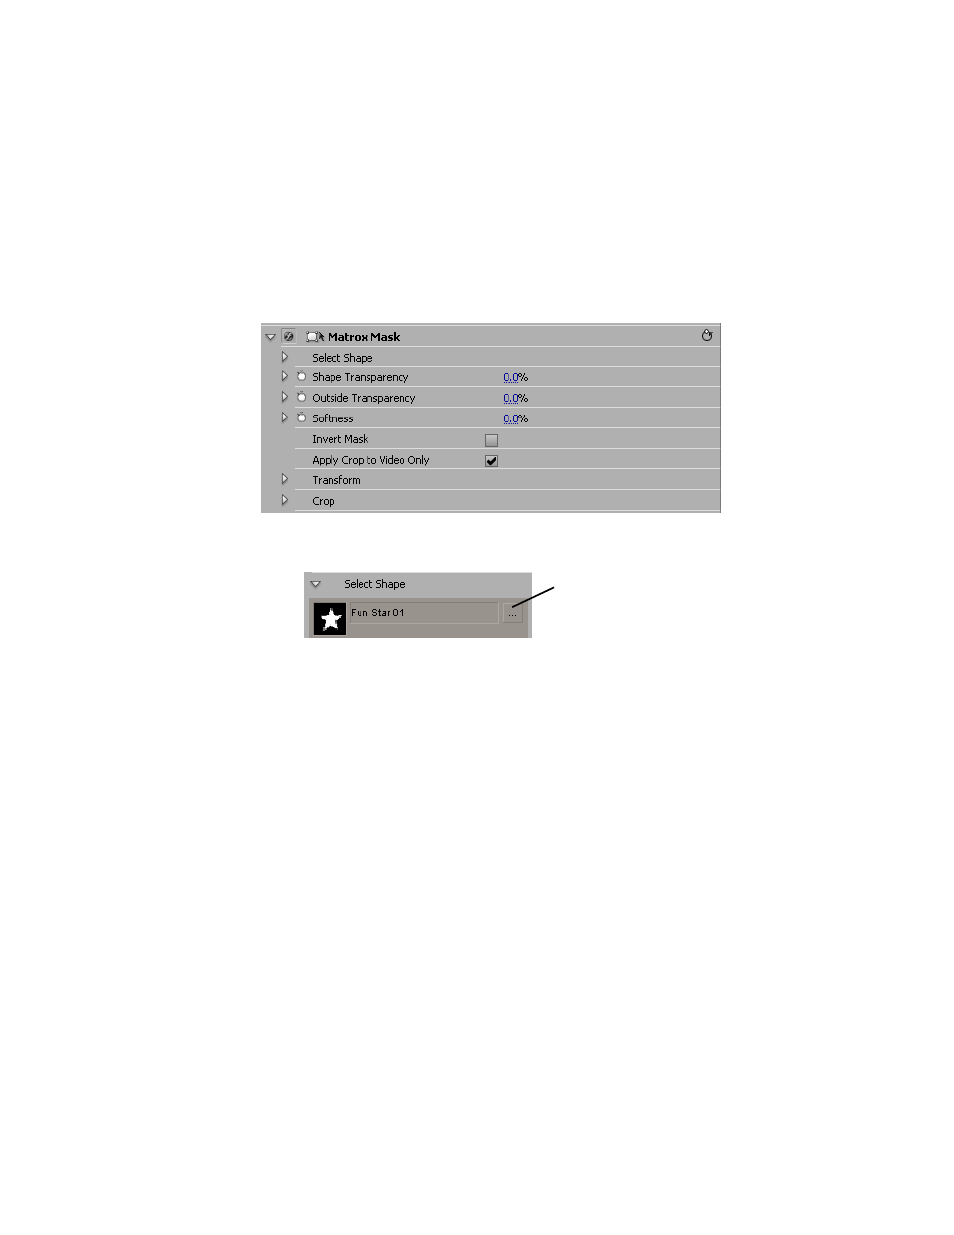
° To set up a Matrox mask effect:
Click the triangle beside
Matrox Mask
to expand the property list.
•
Select Shape
Click the button to the right of the current pattern to see the
list of available mask patterns.
•
Shape Transparency
Sets the transparency of the shape and the area
around the shape. At the default setting (0), the shape is completely opaque
and the area around the shape is transparent. Dragging the slider to the left
increases the transparency of the shape. Dragging the slider to the right
decreases the transparency of the area around the shape.
•
Outside Transparency
Sets the transparency level of the area outside
your mask.
¦
Note
The
Outside Transparency
setting is applicable only if you’ve
scaled down, moved, or rotated your mask using the transform controls so that
the mask doesn’t cover the entire screen. When
Outside Transparency
is
applied, the
Shape Transparency
sets the overall transparency of the entire
clip.
•
Softness
Applies softness to the edges of your mask.
•
Invert Mask
Select this option if you want to invert the opaque and
transparent areas of your mask.
•
Apply Crop to Video Only
Select this if you want the mask to be
squeezed to fit your cropped clip. If you don’t select this option, the mask
will be cropped by the same amount that you crop your clip.
Click here to
select a new
pattern