beautypg.com
2-12
Connecting Fixtures
Studio Color LCD Controller
1.
Keep pressing the
button on the fixture until the
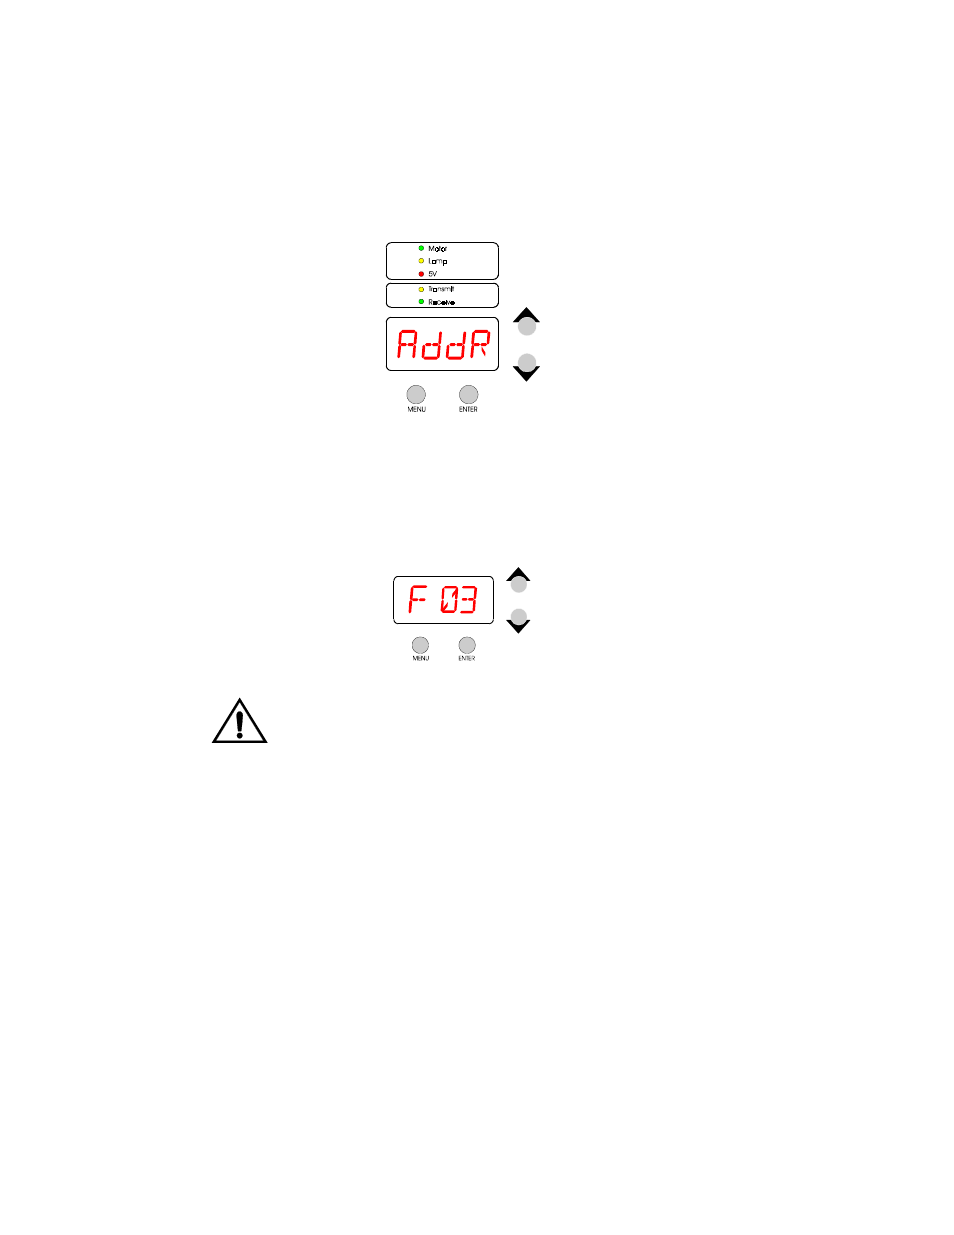
menu appears as shown below:
Figure 2-5. The controller’s Addr(ess) menu allows you to set an fixture number from 1—8 so the controller will recognize the fixture.
2.
Press the
button to view the current fixture number.
It should appear in the format F xx, as shown below:
Figure 2-6. The fixture number display.
Note
If the display is not in the format F xx as shown above, you must follow the instructions in the next section, titled “Selecting Fixture Numbering” on page 2-13. Do not continue with this procedure.
3.
Use the
and
arrow buttons to change the fixture
number if you wish. Do not select a fixture number higher than 8 (or F 08) because the controller will send only fixture numbers 1—8.
You must select a unique fixture number for each fixture you wish to respond independently to control commands. Selecting the same fixture number for more than one fixture means that all fixtures will respond to the same set of control commands.