Takes, Example, 107 cr series – Grass Valley CR Series v.3.2 User Manual
Page 119: User’s guide, Destination mode, Source mode

107
CR Series
User’s Guide
At power-up, the router loads stored program code into its internal FPGA and restores its
previous operational state. (The “state” includes the crosspoint map between inputs and
outputs and which of the outputs are locked.)
If a router’s rotary switch is set to the 0 position, the router reverts to the factory-default
state, not its previous state.
At power-up, the router detects the presence or absence of a video reference signal.
At power-up, a control panel’s ‘Panel Lock’ button is on (red). You must turn Panel Lock off
before you can use the panel.
At power-up, a control panel lights one of its level buttons, if the rotary switch of the router on
which it is mounted is set to a value in the range 1–4. If the rotary switch is set otherwise, the
control panel does not light any level button. In any case, all level buttons are inoperable
because, for a single stand-alone CR Series, level selection is disabled.
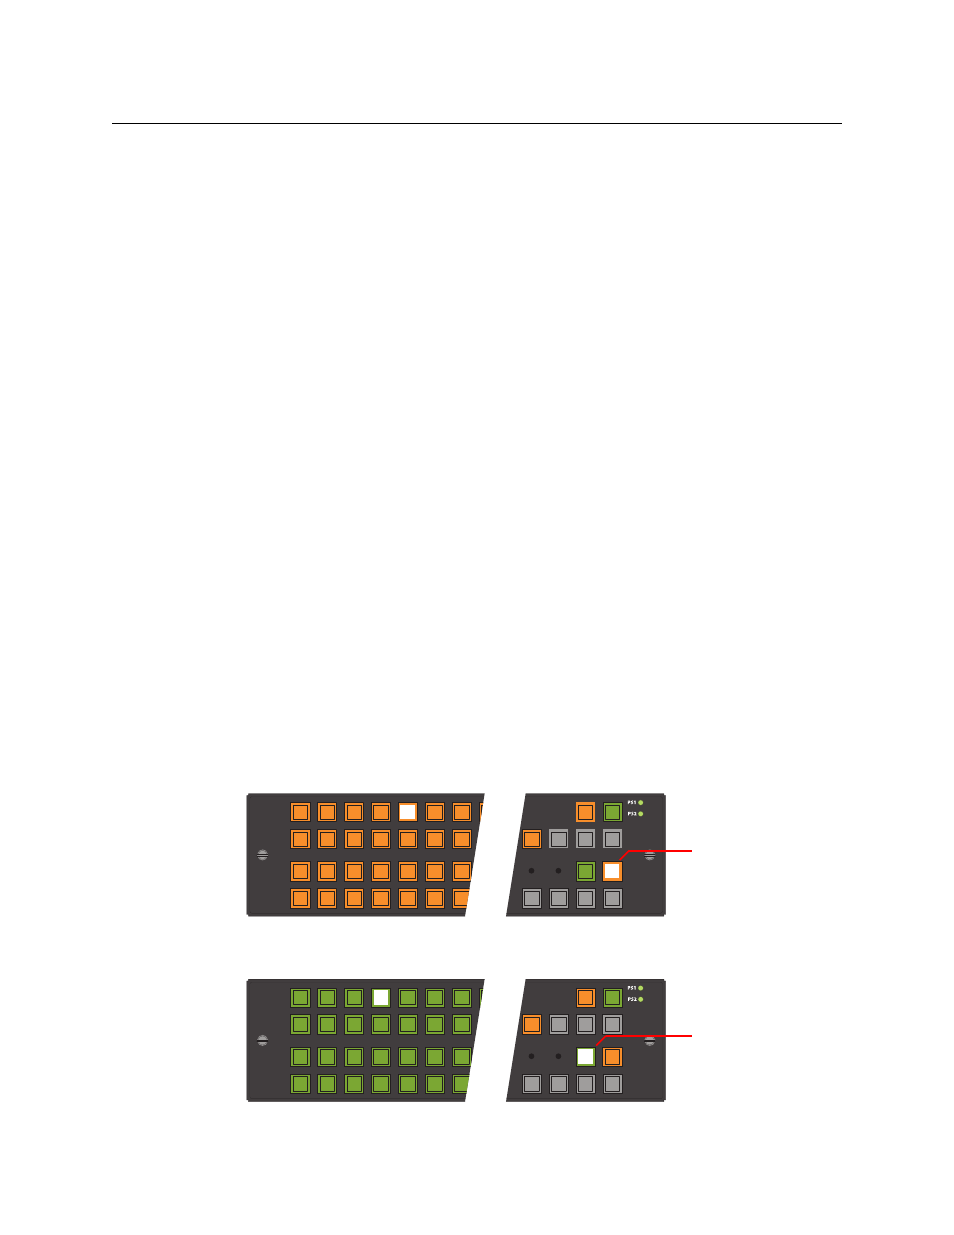
Takes
There are 4 very simple steps to perform a take (using a CP6464 panel):
1 Press the destination mode button. (The selection buttons turn amber, representing desti-
nations.)
2 Press one of the selection buttons to select a destination. The destination’s button goes
high-tally. It will be red if the destination is locked and the take will not be allowed.)
3 Press the source mode button. (The selection buttons turn green, representing sources.)
4 Press one of the selection buttons to select a source. The source’s button goes high-tally. The
take is complete.
Example
You want to route input 4 (VTR2) to output 5 (MON1). The monitor is presently connected to
input 3 (VTR1).
1 Press the ‘Destination Mode’ button. The selection buttons turn amber. Then press selection
button 5. It is labeled ‘MON1’ in this example. It goes high tally:
2 Press the ‘Source Mode’ button. The selection buttons turn green. Then press selection but-
ton 4. The button for input 3 goes low tally and selection button 4 (VTR2) goes high-tally.
49 50
51 52 53 54 55
33 34 35
36
37
38 39
17 18 19 20 21
22 23
1
2
3
4
5
6
7
MON
1
PNL
LOCK
DST
LOCK
DST
MODE
SRC
MODE
Destination Mode
49 50
51 52 53 54 55
33 34 35
36
37
38 39
17 18 19 20 21
22
23
1
2
3
4
5
6
7
VTR
2
VTR
1
PNL
LOCK
DST
LOCK
DST
MODE
SRC
MODE
Source Mode
