The logging period, Checking marked events, Selecting the live logging workspace – Grass Valley iTX SmartClient v.2.6 User Manual
Page 48: Performing tasks in the live logging workspace
40
The Live Logging Workspace
The Logging Period
3 An Events tab. On this, you can view details of events within the selected placeholder
clip and the business metadata that has been assigned to them.
4 A Metadata tab, which displays the metadata for the selected placeholder clip. By using
an annotation template, you can add metadata for this clip.
5 An Actions tab. You use the buttons on this tab to trigger an iTX Workflow job for the
selected placeholder clip
Note:
The encoder should have the same time reference as SmartClient, so
that the timecode values of marked events correspond with the timecode
values in the media that the events relate to.
The Logging Period
SmartClient allows you to mark events during the logging period of a placeholder clip. This
is the period when the time of day falls on or between the timecode values of the clip
boundary points.
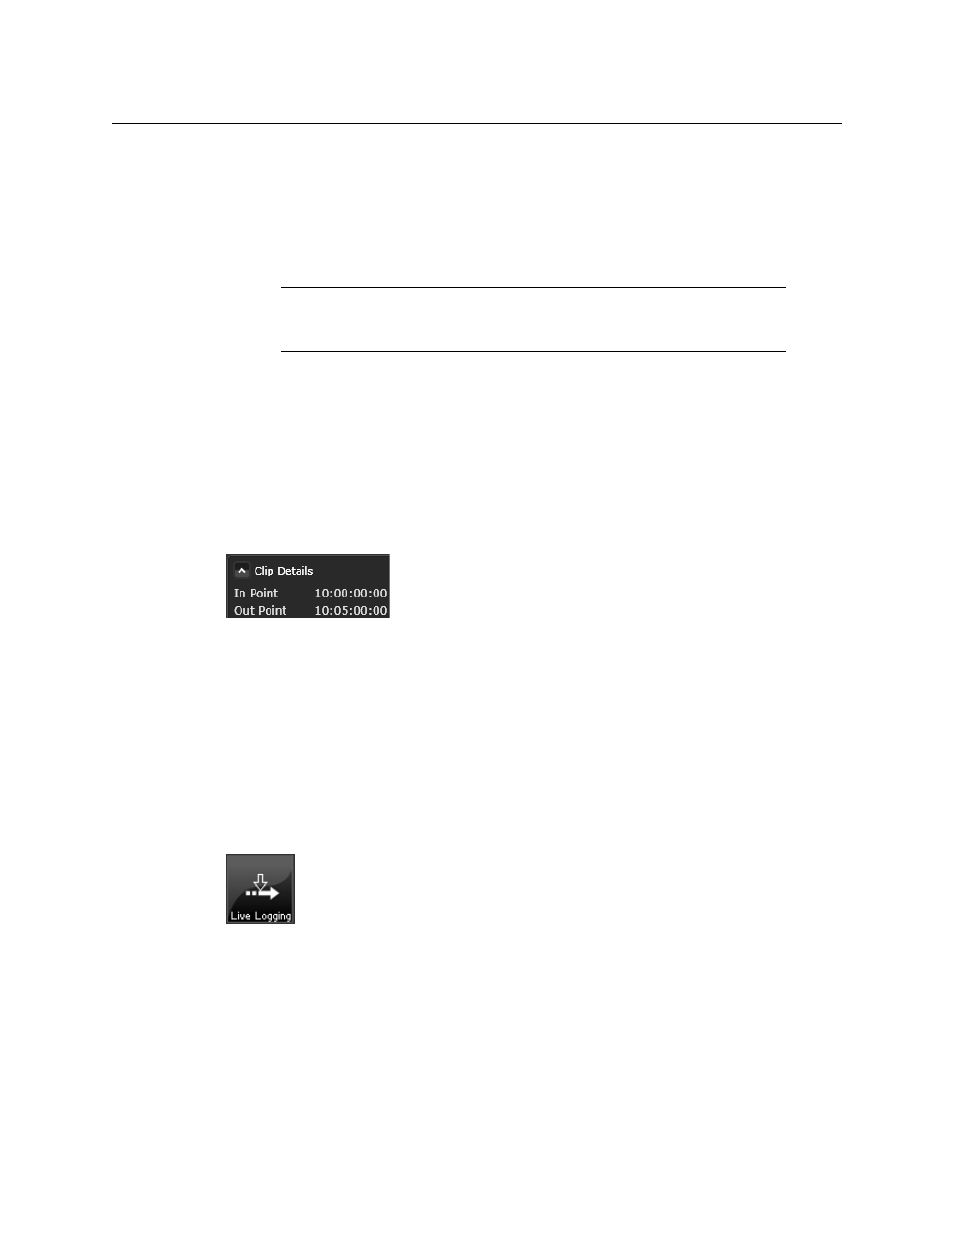
For example. The following illustration shows a placeholder clip with in- and out-points of
10:00:00:00 and 10:05:00:00. The logging period is then from 10:00 to 10:05; you can mark
events for this clip between these times.
Checking Marked Events
When a recording finishes, the new media file is imported into iTX and associated with the
placeholder clip; a low-bit-rate media file, suitable for previewing, is created. Once this is
done, you can check the marked events in SmartClient and adjust them where necessary.
Selecting the Live Logging Workspace
You display the Live Logging workspace by clicking the Live Logging activity button on
your SmartClient Dashboard:
Performing Tasks in the Live Logging Workspace
Preparing a Placeholder Clip for Live Event Logging
Before starting to log events in a placeholder clip, you need to create the clip or load it from
the iTX System Database.