Creating a project clip, Starting a new project clip, Loading a project clip – Grass Valley iTX SmartClient v.2.6 User Manual
Page 42: Starting a new project clip loading a project clip
34
The Shot List Workspace and Project Clips
Creating a Project Clip
Creating a Project Clip
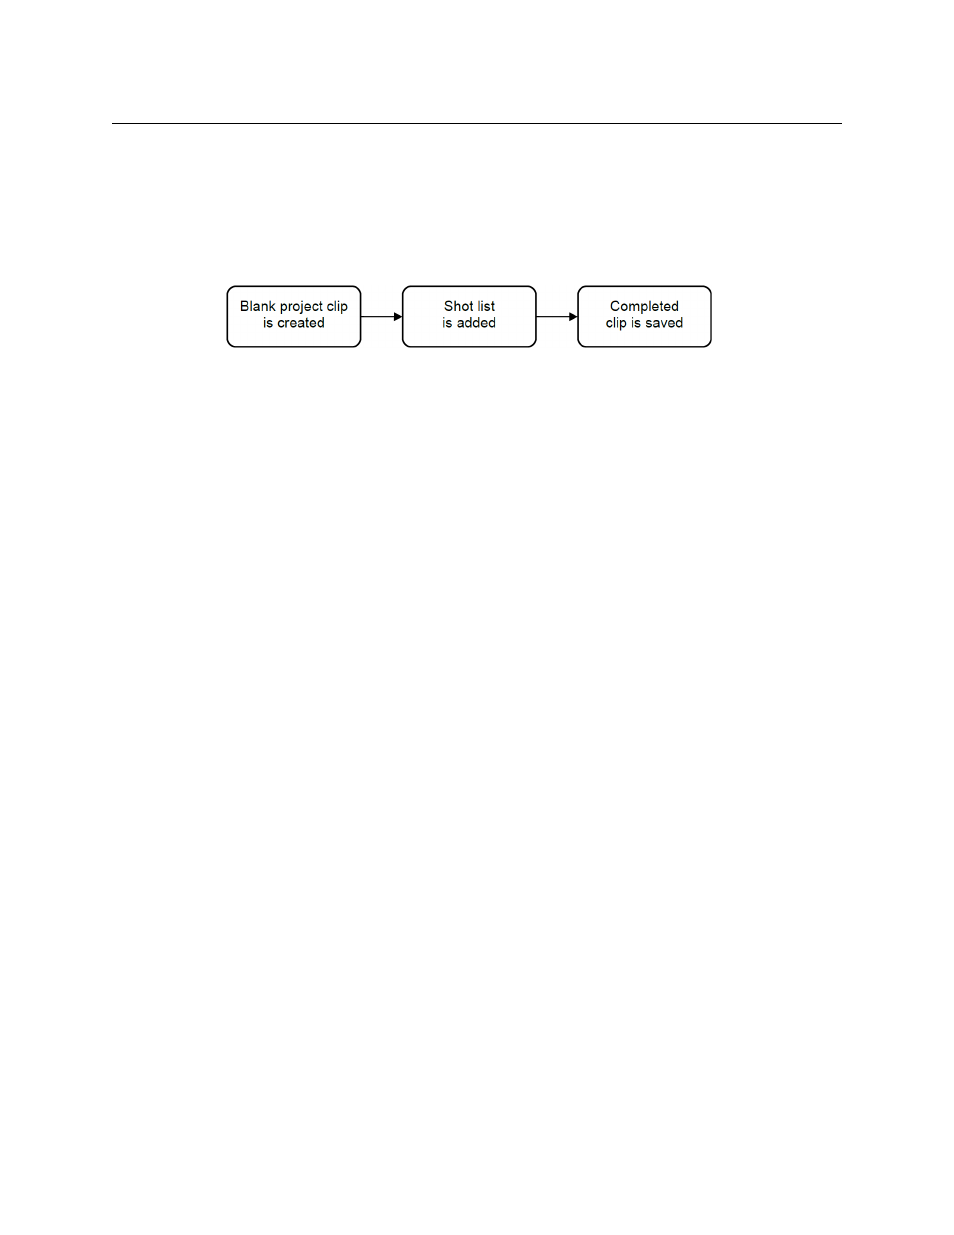
In general, the creation of a finished project clip is a 3-step process. You create the project
clip, without media, in the System Database; you add the media in the form of a shot list to
the project clip; you save the completed project clip.
This diagram shows the steps:
Below, we first describe the general procedure for producing a completed project clip. We
then give detailed instructions for performing various tasks referred to in the general
procedure.
To create a finished project clip:
1 Use one of the clip-management buttons to select a project clip to work with:
• New to start a new project clip.
• Load to load an existing project clip.
2 On the Source Shot Selection tab, do the following for each shot you want to include in
your project clip.
• Load a source clip in the Media Viewer.
• Mark a shot and add it to the shot list.
3 Click Save to save the project clip at any time while working on it and when it is
complete.
Starting a new project clip
To start a new project clip:
1 Click New.
SmartClient enters a default name and title in the Name and Title boxes for a new
project clip; it displays a clear Source Shot Selection tab.
2 Edit the Name and Title entries, if you want to.
3 Click Save.
SmartClient saves the new project clip in the iTX System Database.
Loading a project clip
You may load a project clip that has previously been saved from SmartClient or that has
been imported into your system.
To load a project clip:
1 Click Load.
SmartClient opens the PinPoint Project Search window. This has standard PinPoint
features, including the Search Builder and Results Table.
2 Enter search criteria in the Search Builder, and perform a search for project clips of the
type you want to work with. SmartClient displays the search results in the Results Table.
3 Select a project clip.