Selecting the shot list workspace, Clip management buttons – Grass Valley iTX SmartClient v.2.6 User Manual
Page 34
26
The Shot List Workspace and Project Clips
Selecting the Shot List Workspace
If you want the shot list to be available as a single piece of media, you may export the
project clip and required files for rendering in a third-party video-editing application, such
as Apple Final Cut Pro or Adobe Premiere. The file created in the rendering process may be
given the same name as the project clip and imported into iTX; it can then be used for
playout.
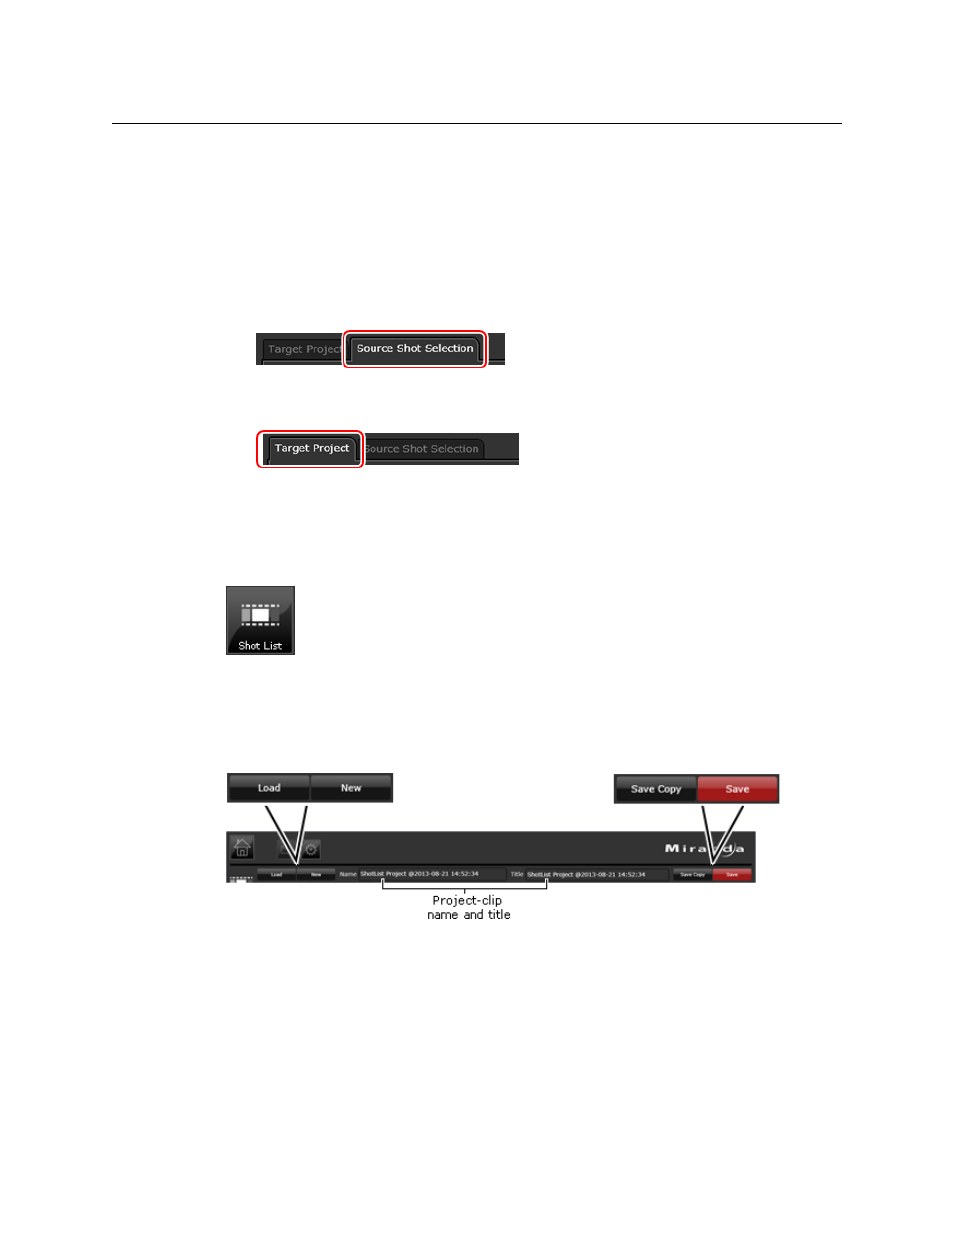
The features in the Shot List workspace are organized on two main tabs:
• The Source Shot Selection tab has features for working with the source video clips to
build shot lists:
• The Target Project tab enables you to add metadata and set up an export job for the
project clip:
Selecting the Shot List Workspace
You display the Shot List workspace by clicking the Shot List button on your SmartClient
Dashboard:
Clip Management Buttons
Buttons for managing project clips appear above the two main tabs in the Shot List
workspace:
You use the buttons to:
• Create a project clip.
• Load an existing project clip.
• Save changes to the current project clip.
• Save a copy of the current project clip with a different name.
The name and title of the current project clip appear between the buttons.