RLE FMS V.1.13 User Manual
Page 58
58
FMS User Guide
800.518.1519
3
Web Interface Configuration
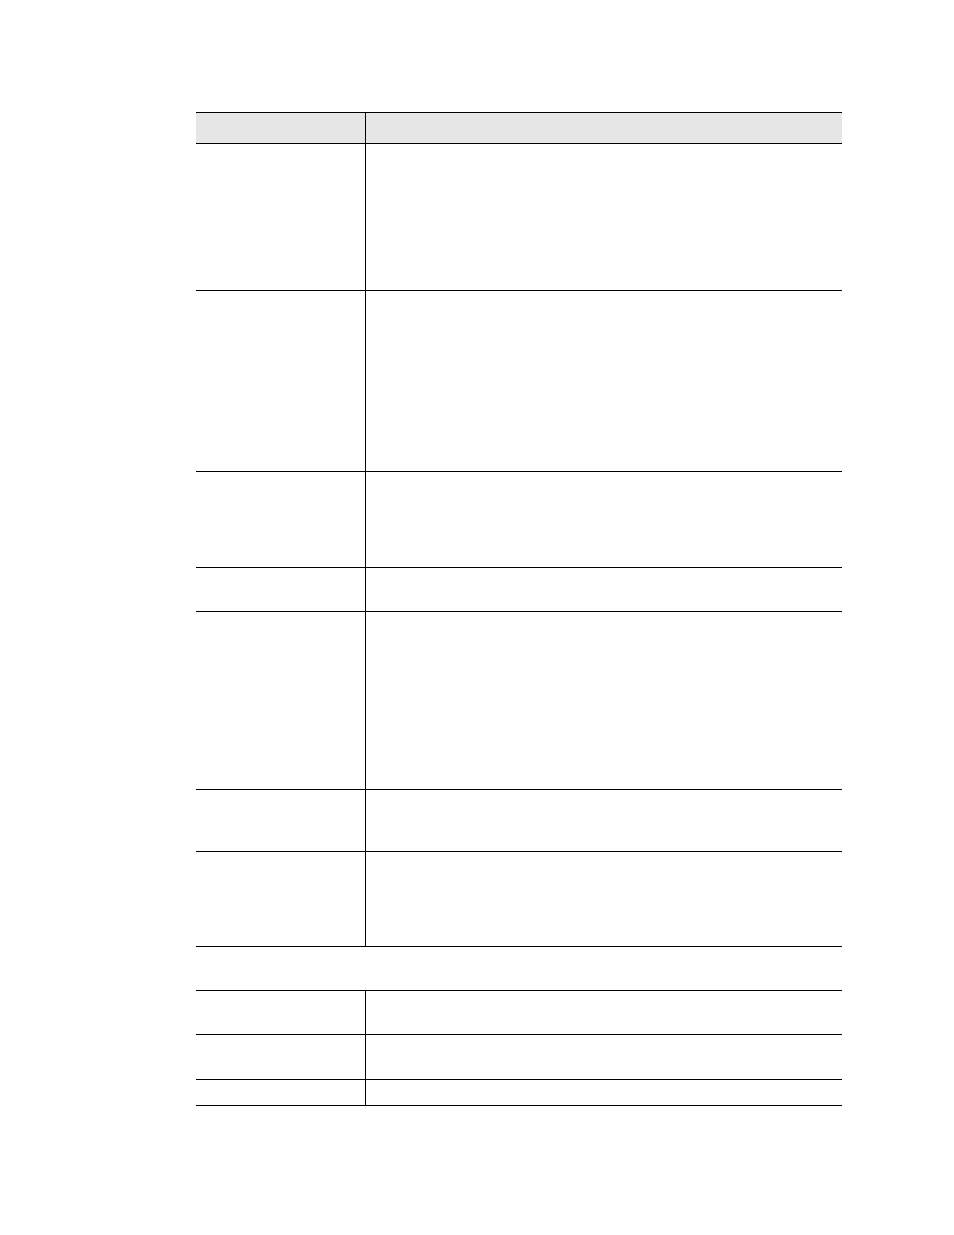
OR'D Alarm IDs
Displays the Alarm IDs of the inputs specified through the Relay
Configuration link on the Input Configuration Menu. The Alarm IDs
displayed can be translated by using
. The Alarm IDs are also displayed
on the Input Configuration page. The Relay Control Logic diagram
in
Appendix G, “Relay Control Logic” on page 213
, shows how the
OR’d Alarm IDs, AND’d Alarm IDs and the Combo Gate are
internally connected.
AND’d Alarm IDs
Allows up to four Alarm IDs (High Limit, Low Limit or Digital Alarms)
to be specified for the AND Gate Function Block input of the Relay
Control Logic. Alarm IDs can be obtained from
ID Reference Tables” on page 199
. The Alarm IDs are also
displayed on the Input Configuration page. The Combo Gate
Function Block of the Relay Control Logic will either OR or AND the
OR'd Alarm and AND'd Alarm inputs together. The Relay Control
Logic diagram in
Appendix G, “Relay Control Logic” on page 213
,
shows how the OR'd Alarm IDs, AND’d Alarm IDs and the Combo
Gate are internally connected.
Combo Gate
The Combo Gate allows OR’d and AND’d IDs to be used in
conjunction with each other. The Relay Control Logic diagram in
Appendix G, “Relay Control Logic” on page 213
, shows how the
OR'd Alarm IDs, AND’d Alarm IDs and the Combo Gate are
internally connected.
On-Delay Time
Specifies the number of seconds the Relay Control Logic will be
delayed before activating the relay on alarm.
On-Duration Time
Specifies how long the relay will be active after a valid alarm
combination is recognized through the Relay Control Logic.
•
A positive number entry in seconds will keep the relay in its
alarm state (activated) for the fixed period specified.
•
A negative number entry in seconds will keep the relay in its
alarm state (activated) after the alarm condition has returned to
normal for the fixed period specified.
•
A zero entry will configure the relay to be active until the alarm
condition returns to normal.
Latch Mode (Non-
Latching, Latching,
Silenceable)
Latching will cause the relay to latch, or remain in its alarm state,
when activated until it is reset by the user. If latching is selected, the
on-duration time function will be disabled.
Schedule
Designates which of the schedules (None, A or B) the relay will
follow. The schedules are specified in the Configuration Menu. If
schedule A or B is selected, all other function blocks of the Relay
Control Logic for that relay will be disabled. This allows the relay
output to be energized based on day-of-week and time-of-day.
The next four rows contain information that pertains to graphical mapping. If you’d
like more information regarding mapping, refer to ####
Map Label
Assign a label to this relay, so you can identify the point on the
graphical map.
Map Coordinate
Fine tune the location of the object on the map. Refer to
“Facility
Mapping” on page 129
for further information.
Graphical Mapping
Designate the device’s location on the FMS graphical map.
Option
Description
Table 3.4
Relay Configuration Menu Options